
Leave enough space inside a shipping box for about 2 inches of cushioning material around the item, while keeping the contents from moving when the box is gently shaken. The exact amount depends on the product’s fragility, weight, shape, and the cushioning material you use. A sturdy item may need less space, while glass, ceramics, electronics, and other delicate products often need more protection and stronger packaging.
The goal is not to fill every empty area with packing material or to choose the smallest possible box at any cost. The goal is to create a protective buffer that absorbs impacts, supports the product, and keeps it centered without making the package unnecessarily large. A well-packed box should close without bulging, resist crushing, and arrive with the item in the same condition in which it was shipped.
What the Empty Space Inside a Box Does
Empty space provides room for protective material between the product and the outside walls of the box. During handling, packages may be set down forcefully, stacked, tipped, or pressed against other shipments. Without a cushioning layer, the product can contact the cardboard directly and transfer that force to the item.
Protective space also helps prevent common problems such as:

- Corner and edge damage from drops or impacts
- Cracked, dented, or scratched products
- Breakage caused by items hitting one another
- Movement that weakens the box or damages the contents
- Pressure on the product caused by a box that is too tightly packed
However, empty space by itself does not protect anything. The space must be filled with an appropriate cushioning material, and that material must remain effective after the box is closed and handled.
How Much Cushioning Space to Leave
For many ordinary shipments, plan for roughly 2 inches of cushioning on every side of the product. This includes the bottom, top, and all four side walls. The measurement refers to the space available for protective material, not an empty gap that remains unfilled.
For example, if a product measures 10 inches long, 6 inches wide, and 4 inches high, a starting point with approximately 2 inches of cushioning on each side would require an inside box size of about:
- 14 inches long
- 10 inches wide
- 8 inches high
This is a planning estimate, not a universal packaging rule. The actual box may need to be larger if the product has an unusual shape, requires an inner carton, or needs a thicker protective layer. It may be smaller if the product is durable and a thinner layer of packaging is appropriate.
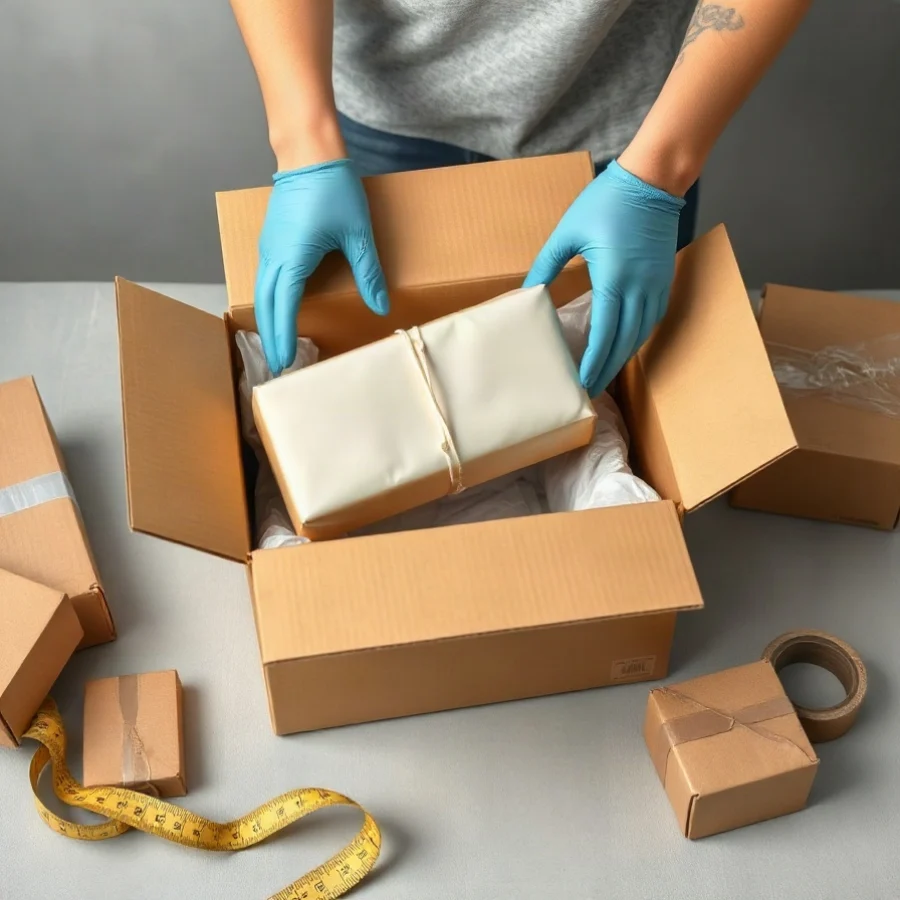
Use more space for fragile or heavy items
Fragile items generally benefit from a larger and more consistent cushioning zone. Glassware, framed products, ceramics, instruments, and delicate electronics should not sit close to the carton walls. Heavy items also need careful planning because their weight can compress soft material and allow the product to reach the box during an impact.
For a heavy or fragile shipment, consider using a stronger box, denser cushioning, an inner box, or a combination of these methods. A larger empty area is not automatically safer if the packing material collapses under the product’s weight.
Use less space only when the product and material allow it
Durable products with simple shapes may not need a thick cushioning layer on every side. A book, clothing item, or well-protected nonbreakable product may be safely packed with less padding, provided the box is not oversized and the contents cannot shift significantly.
Do not reduce the protective space solely to lower the shipping price. A smaller box can reduce dimensional weight in some cases, but product damage, returns, and replacement costs can outweigh that benefit.
Measure the Product Before Choosing the Box
Measure the product at its widest, longest, and tallest points. Include parts that project outward, such as handles, knobs, corners, cables, or accessories. If the product is already wrapped or placed in an inner container, measure that complete unit rather than the bare item.
Record the measurements in the order length by width by height. Then add the planned cushioning allowance to both sides of each dimension. If the product measures 12 by 8 by 5 inches and you want 2 inches of cushioning around it, add 4 inches to each dimension. The estimated interior box size would be 16 by 12 by 9 inches.
Remember that listed box dimensions may describe either the inside or outside of the carton, depending on the seller and product specification. For packing calculations, the usable interior dimensions matter. When a box is a close fit, verify the inside dimensions before ordering a large quantity.
For additional help with box measurements, use the Box Size Calculator to compare product dimensions with a practical box size.
Choose Cushioning That Matches the Product
The right amount of space depends partly on how well the cushioning material performs. Different materials protect in different ways.
Paper and crumpled kraft paper
Paper can fill voids and prevent movement, but it must be crumpled sufficiently to provide volume. Flat sheets may add little protection. Place cushioning under the product, around its sides, and above it before closing the box. Heavy products can compress paper, so check whether the item still has a protective layer after packing.
Bubble cushioning
Bubble cushioning can protect against light impacts and surface scratches. Use enough layers to create a stable barrier, especially around corners and delicate surfaces. Secure the wrapping so it does not unwind during handling, but avoid compressing fragile items so tightly that pressure is transferred to them.
Foam and molded inserts
Foam sheets, foam blocks, and molded inserts can provide consistent spacing and support. They are useful when the product has a specific shape or needs to remain centered. The insert should hold the item securely without pressing sharply against weak points.
Air pillows
Air pillows are useful for filling voids around lightweight products, but they may shift or lose effectiveness under heavy loads. They are usually less suitable as the only protection for dense, sharp-edged, or fragile items unless the package design specifically supports that use.
How to Tell Whether the Box Has Too Much Space
A box has too much usable space when the product can travel inside it, even after adding packing material. Close the carton temporarily and gently shake it. If you hear or feel the product moving, open the box and add material around the sides, then repeat the test.
Excessive space can also cause trouble when the box is stacked. Packing material may shift toward one end, leaving the product exposed on another side. Use enough material to keep the contents centered and supported throughout normal handling.
Do not fill large voids with loose scraps that can settle to the bottom. The material should be distributed evenly, with extra attention to corners, edges, and the top surface. If the box is much larger than the product, choosing a better-fitting carton may be more reliable than adding a large volume of loose filler.
How to Tell Whether the Box Has Too Little Space
A box has too little protective space when the product touches the carton wall, the cushioning cannot be placed evenly, or the flaps will not close naturally. A carton that bulges after taping is also a warning sign. Excessive pressure can weaken the box and place stress on the product.
Do not force a fragile product into a tight carton. Either reduce the amount of wrapping only if the product remains protected, or move to a larger and stronger box. The final package should have room for cushioning without leaving the contents loose.
Pack the Box in a Practical Sequence
- Inspect the product. Remove loose parts, protect sharp edges, and wrap surfaces that could scratch.
- Prepare the bottom. Add a stable layer of cushioning before placing the product inside.
- Center the item. Keep it away from all carton walls, especially corners and seams.
- Fill the sides. Add cushioning around the product so it cannot slide from side to side.
- Protect the top. Place material above the product before closing the flaps.
- Test for movement. Gently shake the closed carton and add material if the contents shift.
- Seal the box. Use packing tape on the main seam and any seam that needs reinforcement.
- Inspect the shape. The finished carton should be square, closed, and free of bulges or soft unsupported areas.
For unusually heavy items, consider whether the bottom cushioning and carton strength are adequate for the total package weight. A box that looks well filled may still fail if its bottom bows or the product is concentrated in one corner.
Balance Protection Against Package Size
A larger box can improve protection, but it also increases the package’s measured dimensions. Some carriers and services may calculate shipping charges using dimensional weight when the package takes up more space than its actual weight would suggest. The applicable formula and dimensional-weight divisor can vary by carrier, service, destination, package type, and current pricing rules.
Do not assume that every carrier uses the same calculation. Check the current official FedEx service information for the shipment you are preparing, including any applicable rounding or minimum-charge rules. You can also review the Dimensional Weight Calculator for a planning estimate, then confirm the result with the carrier’s current terms.
The best box is usually the smallest carton that safely accommodates the product, its protective material, and any required inner packaging. It is not necessarily the box with the smallest exterior dimensions if that choice leaves the item vulnerable.
FedEx-Specific Checks Before You Ship
Because this guide is in the FedEx Package Guide category, check the current FedEx requirements for the service, destination, and package type before shipping. Size-based charges, handling requirements, and other conditions may change or differ among services. Review the official source rather than relying on an old chart, a previous shipment, or a general rule from another carrier.
Before creating the label, measure the sealed package rather than relying only on the product dimensions. Record the outside length, width, and height, and weigh the completed shipment. If you need more guidance, see how to measure a package before shipping with FedEx and compare your carton with the current FedEx requirements.
For a broader comparison of carton choices, the guide to choosing the right box for a FedEx shipment can help you review fit, protection, and package size together.
A Simple Final Check
Before handing over the shipment, ask five questions: Is there cushioning beneath and above the product? Is the item separated from every carton wall? Can it move when the box is gently shaken? Do the flaps close without force? Have you measured and weighed the sealed package?
If the answers are yes, no, yes, no, and yes respectively, the package likely needs adjustment. Add or redistribute cushioning when the item moves, use a larger or stronger carton when the box is too tight, and remeasure after every change. Careful spacing protects the product while keeping the package as compact as practical.

Comments
0No comments yet. Be the first to share a helpful note or question.
Leave a Comment
Your email address will not be published. Comments are reviewed before appearing on the site.