
For most items, choose a box with about 1 to 2 inches of usable space around the item on every side when you plan to add protective packaging. That means the box’s inside length, width, and height should each be roughly 2 to 4 inches larger than the item, depending on the thickness of the cushioning. Fragile products may need more room, while durable items that fit snugly in a protective mailer or molded insert may need very little extra space. The goal is not to make the box as large as possible; it is to leave enough room for protection without allowing the item to move freely.
Why the right amount of extra space matters
A box that is too small can crush the product, compress its protective material, or place pressure on corners and seams. It may also force you to bend, compress, or remove the packaging that the item needs for safe transit.
A box that is too large creates a different set of problems. The item can shift during handling, increasing the chance of impact damage. You will need more void fill, and the package may become heavier or more expensive to ship. Larger outside dimensions can also increase the package’s dimensional weight, depending on the carrier, service, destination, and current pricing rules.
The best box is usually the smallest one that allows adequate protection on all sides. This is sometimes called a close-fitting or right-sized package. It should have enough interior space for the product and its packaging materials, but not so much empty space that the contents can gain momentum inside the carton.

How much extra space should you leave?
There is no single clearance amount that works for every product. Use the item’s fragility, shape, weight, and protective material to set the allowance.
Durable, nonfragile items
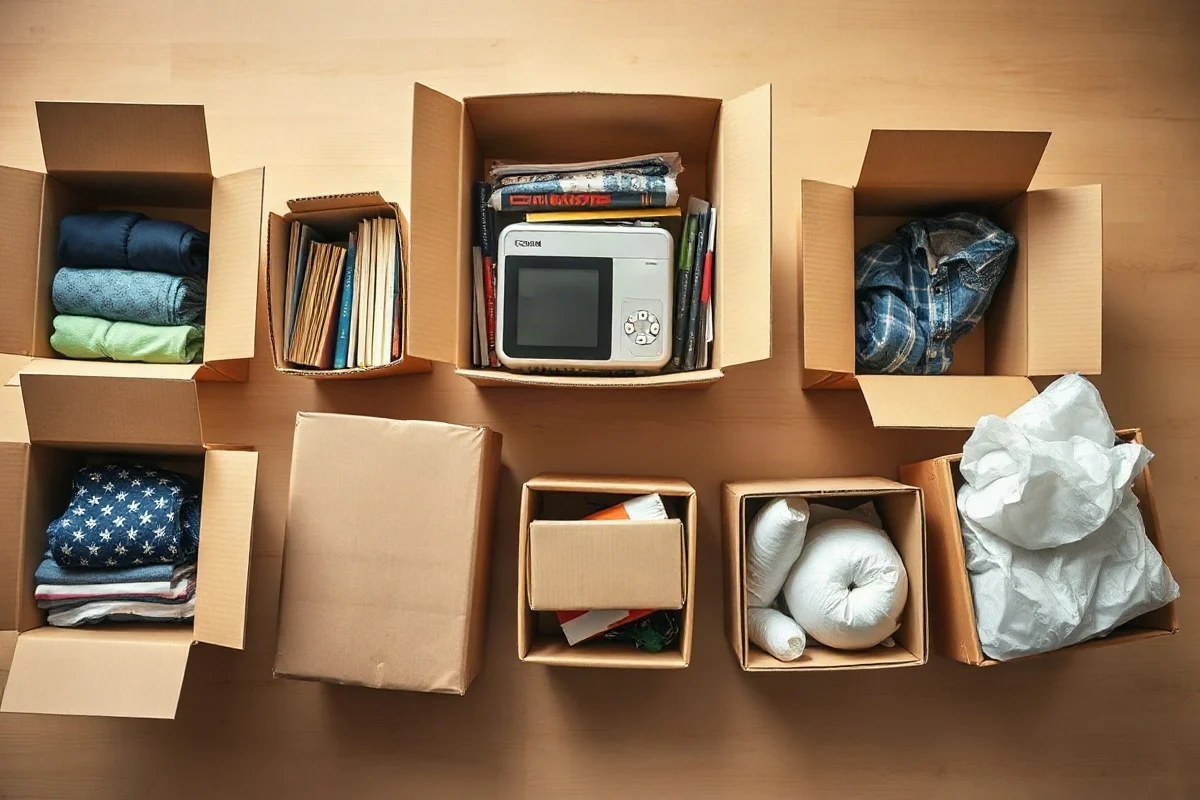
For books, clothing, soft goods, many plastic products, and other durable items, about 1/2 to 1 inch of clearance on each side may be enough if the item is already protected by a bag, sleeve, or other packaging. Some products can be packed with almost no empty space when they are placed in a properly sized poly mailer or fitted carton.
General merchandise
For many ordinary shipments, allow about 1 inch of cushioning space on every side. If the item measures 10 by 6 by 4 inches, a practical starting point may be a box with an interior size near 12 by 8 by 6 inches. That leaves approximately 1 inch around the item in each direction, assuming the product is centered and the protective material is not unusually thick.
Fragile or breakable items
Glass, ceramics, electronics, framed products, and other fragile items often need 2 inches or more of cushioning between the item and the box walls. The exact amount depends on the cushioning type and the product’s shape. A rigid object with vulnerable corners may need more protection than a compact item with a smooth, durable exterior.
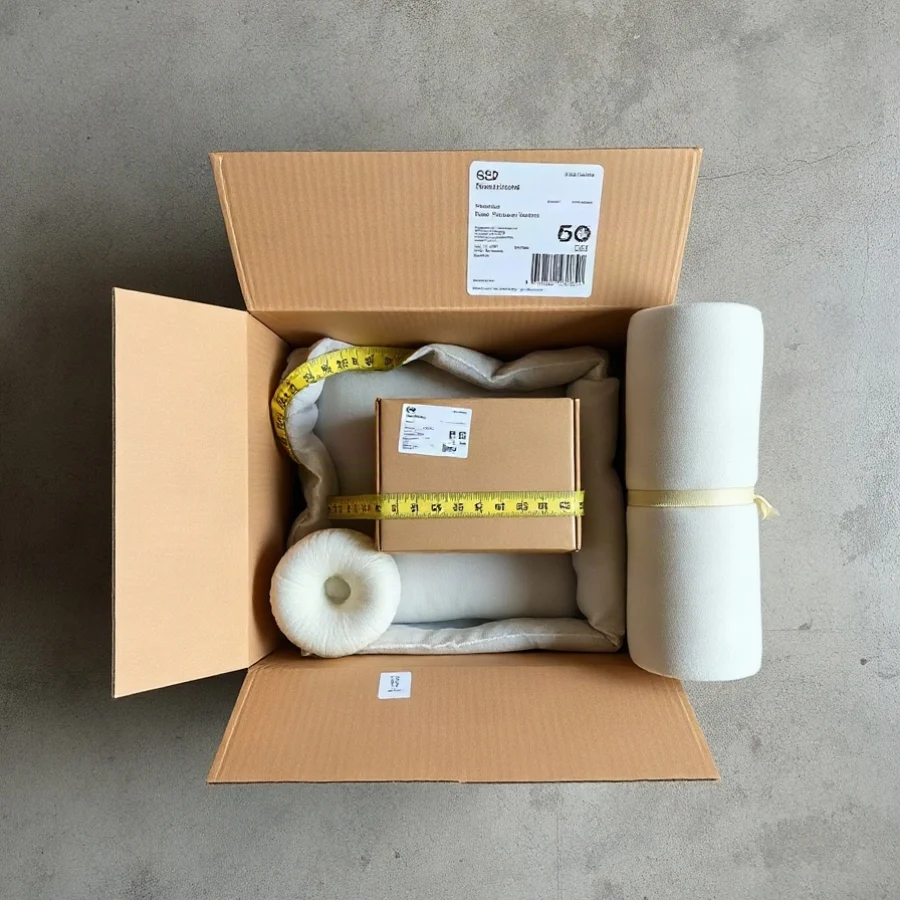
For fragile shipments, do not treat the extra space as a substitute for a tested packing method. The item should be wrapped or contained, surrounded by cushioning, separated from other contents, and prevented from touching the box walls. Heavy objects should not be placed on top of delicate ones.
Measure the item before choosing a box
Start with the item in the condition in which it will actually ship. Include removable parts, handles, protruding controls, lids, and any product packaging that will remain with it. Do not measure only the main body if a corner, cable, or accessory extends beyond it.
- Measure length: Measure the longest side of the item.
- Measure width: Measure the next-longest side at a right angle to the length.
- Measure height: Measure the remaining dimension.
- Record the measurements in the same units: Use inches for most U.S. shipping calculations, or convert all dimensions before doing the math.
Measure irregular items at their greatest overall points. If a product is round, tapered, or asymmetrical, use the maximum length, width, and height that the packaging must accommodate. For soft items, decide whether they will be folded, compressed, or left at their natural size before measuring.
Calculate the minimum interior box size
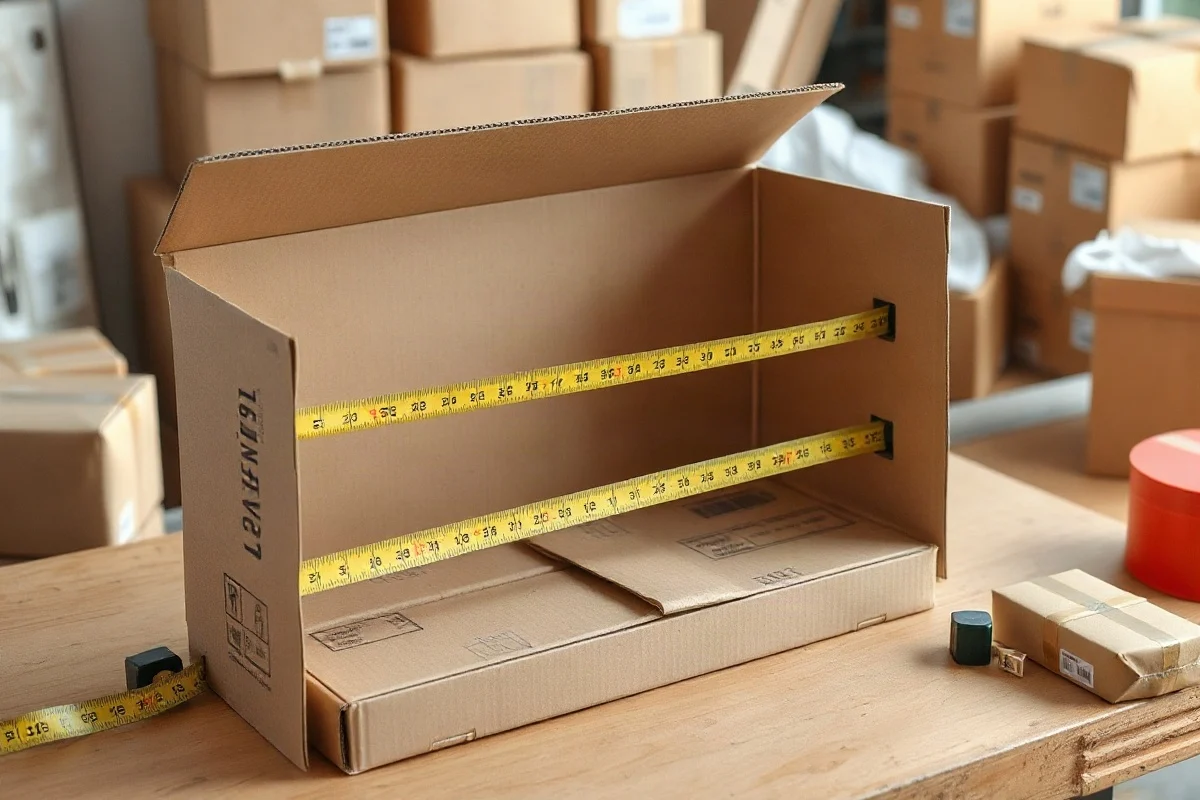
Once you know the item’s dimensions, add the required protection to both sides of each dimension.
Minimum interior length = item length + protection on the left and right
Minimum interior width = item width + protection on the front and back
Minimum interior height = item height + protection on the top and bottom
If you want 1 inch of cushioning on every side, add 2 inches to each item dimension. For example, an item measuring 10 by 6 by 4 inches would require at least 12 by 8 by 6 inches of interior space before accounting for the thickness of an inner box, insert, or unusually bulky wrapping.
Remember that advertised box sizes can refer to interior or exterior measurements. When the fit is close, confirm which measurement the manufacturer provides. The inside dimensions are what determine whether the product and cushioning will fit. The outside dimensions are what may be used for shipping charges or carrier size calculations.
Examples of box clearance
Example 1: A small durable product
Suppose a product measures 8 by 5 by 3 inches and will be placed in a thin protective bag with a small amount of paper padding. You may need approximately 1/2 inch of space on each side. Adding 1 inch to each dimension gives a minimum interior size of about 9 by 6 by 4 inches. A slightly larger standard box may be acceptable, but fill the remaining space so the product cannot slide from end to end.
Example 2: A ceramic item
A ceramic object measures 9 by 7 by 5 inches. If it needs 2 inches of cushioning on each side, add 4 inches to each dimension. The calculated minimum interior space becomes about 13 by 11 by 9 inches. The final box must also accommodate the wrapping method, corner protection, and any inner container. If the item is packed inside a smaller inner box, measure the fully protected inner box rather than the ceramic object alone.
Example 3: Multiple items
When shipping several products together, do not simply add their individual dimensions in a straight line. Test different arrangements. Place items so that their combined footprint uses the box efficiently, and separate them with dividers or cushioning. Measure the complete packed arrangement, then add the necessary protection between the arrangement and the outer box walls.
Choose cushioning based on the product, not just the gap
The amount of empty space and the type of cushioning work together. A thin layer of crumpled paper may be suitable for some lightweight products, but it may not protect a heavy or fragile item from repeated impacts. Foam, molded pulp, air cushions, corrugated inserts, and other materials have different strengths and limitations.
Use enough material to keep the item centered and to prevent direct contact with the box walls. After closing the package, gently shake it. If the item moves, opens, rattles, or presses against the carton, add protection or choose a better-fitting box. This simple check does not replace formal package testing, but it can reveal obvious problems before shipment.
Do not rely on a loose layer of padding at the top of the box while leaving the sides unprotected. Protection should surround the item, especially at corners and edges. For products with a high center of gravity, use a packing arrangement that prevents tipping.
Account for the box and inner packaging
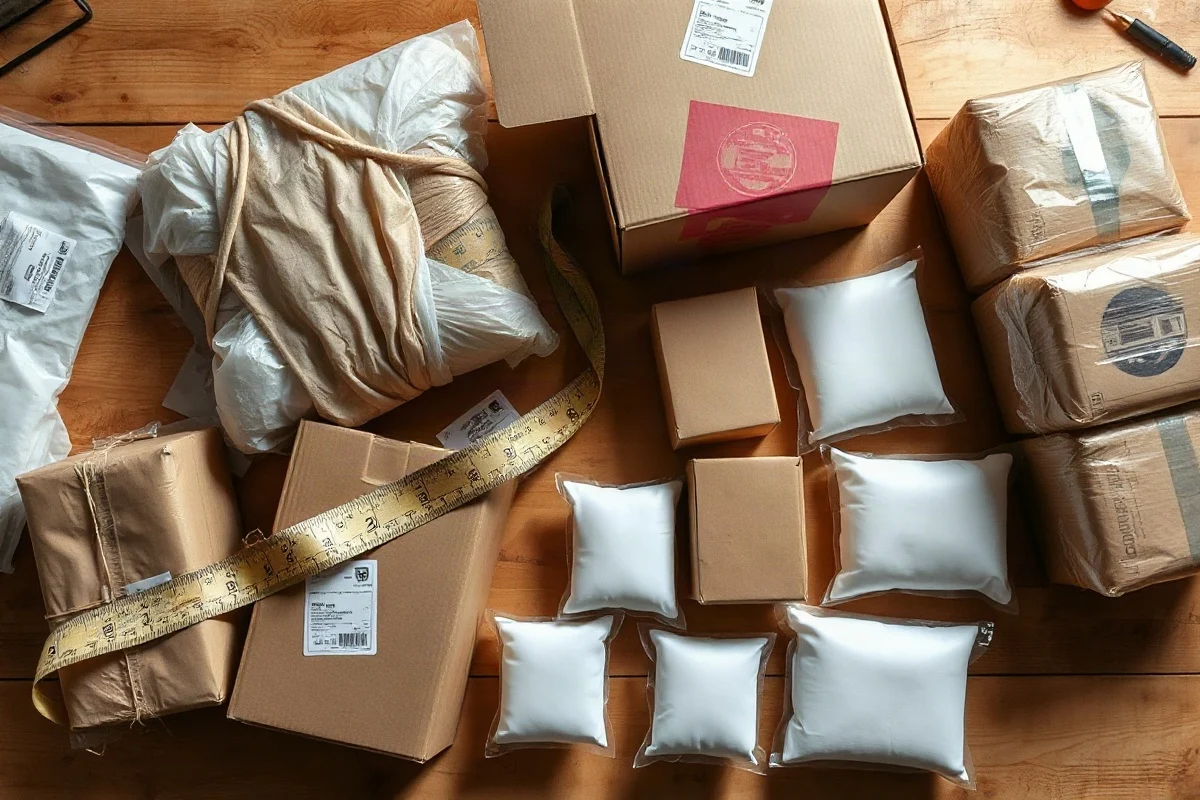
The item is not always the largest thing that must fit inside the carton. Add the dimensions of any inner box, retail packaging, sleeve, tray, divider, or fitted insert. If you wrap an item in several layers of bubble cushioning, measure the wrapped item or calculate the material’s compressed thickness rather than using the bare product dimensions.
A practical workflow is:
- Measure the product or the product’s retail package.
- Pack or wrap it as planned.
- Measure the protected unit again.
- Add the clearance needed between that protected unit and the outer box.
- Compare the result with the box’s confirmed interior dimensions.
This process is more reliable than choosing a box from the product dimensions alone. It also helps identify whether a standard box or a custom carton will reduce empty space.
Do not overlook dimensional weight
A larger box may cost more even when the shipment is light because some services use dimensional weight. Dimensional weight is generally based on package volume and a carrier- or service-specific divisor, but the applicable method can vary. Carriers may also apply different rules based on service level, destination, package type, billing method, or current terms.
Use the package’s actual outside dimensions after it is closed and ready to ship. Do not estimate the chargeable size from the product alone. For a quick comparison, enter the proposed package measurements in the dimensional weight calculator, then confirm the result against the current official rules for the carrier and service you plan to use.
When two boxes provide similar protection, the smaller outside package may be the better choice. However, reducing the box size is not worthwhile if it compresses the cushioning or makes the product vulnerable to damage. A damage claim, replacement, or return can cost more than the extra packaging space.
How to select a standard box
After calculating the minimum interior dimensions, compare them with available box sizes. Select a box that meets or slightly exceeds all three minimums. A box that is long enough but too shallow will not work, and rotating the item may change which dimension requires the most room.
If a standard box is substantially larger than the calculated size, look for another carton or consider an adjustable box. You can also reduce movement with a properly designed insert, but do not fill a large carton with heavy material unless the resulting package remains safe to lift and ship.
For common carton options and measurement guidance, see our guide to standard shipping box sizes. You can also compare your measurements with the Box Size Calculator before purchasing packaging.
Final packing checks
- Confirm that the item is protected on every side, including corners and edges.
- Make sure the item cannot slide, rattle, or touch the carton walls.
- Check that the flaps close without bulging or excessive pressure.
- Weigh and measure the sealed package, not just the contents.
- Round measurements only as required by the carrier or calculator you are using.
- Check current carrier or marketplace packaging requirements when the shipment is subject to special rules.
As a starting point, 1 inch of space around a typical item is often enough, while fragile products may need about 2 inches or more. The correct answer depends on the cushioning system and the finished packed unit. Measure after protection is added, choose the smallest box that safely contains everything, and verify current shipping requirements before sending the package.
Comments
0No comments yet. Be the first to share a helpful note or question.
Leave a Comment
Your email address will not be published. Comments are reviewed before appearing on the site.