
Choose a box by measuring the item, adding enough space for protective material, and selecting the smallest strong box that fits without pressure. The finished package should protect the contents, close securely, and stay within the size and weight rules for your chosen service. A box that is too small can crush or damage the item; a box that is too large can increase material use, shipping cost, and movement inside the package.
Start With the Item, Not the Box
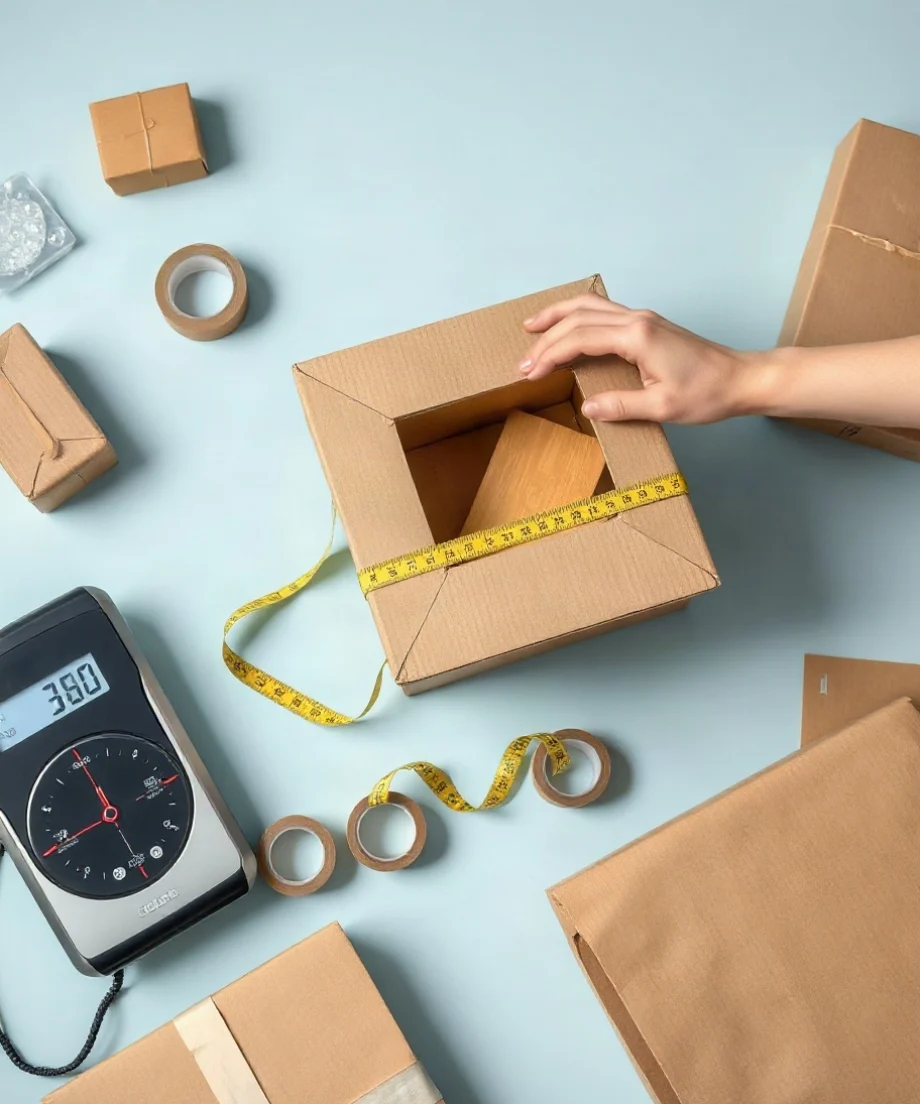
Before looking for a carton, measure the item at its widest, longest, and highest points. Include handles, knobs, corners, lids, cables, or other parts that will remain attached during shipping. If the item is flexible, measure it in the shape it will have inside the package rather than relying on a flat or compressed measurement.
Record the measurements in the same order each time: length, width, and height. For a rectangular item, length is usually the longest side, width is the next side, and height is the remaining dimension. This convention is useful when comparing the item with box dimensions and entering measurements into a shipping calculator.
Measure irregular items from their practical shipping envelope. For example, a mug with a handle may need more width than the cup itself, while a framed print may need corner protection that extends beyond the frame. When an item has an unusual shape, use the smallest rectangular space that can contain it safely.
Allow Room for Protection
A shipping box should not hold the product tightly against the cardboard unless the product and packaging system are specifically designed for that fit. Leave room for cushioning on all sides that need protection. Fragile items generally need more planning than durable items, and the right amount depends on the item’s material, shape, weight, and sensitivity to impact.
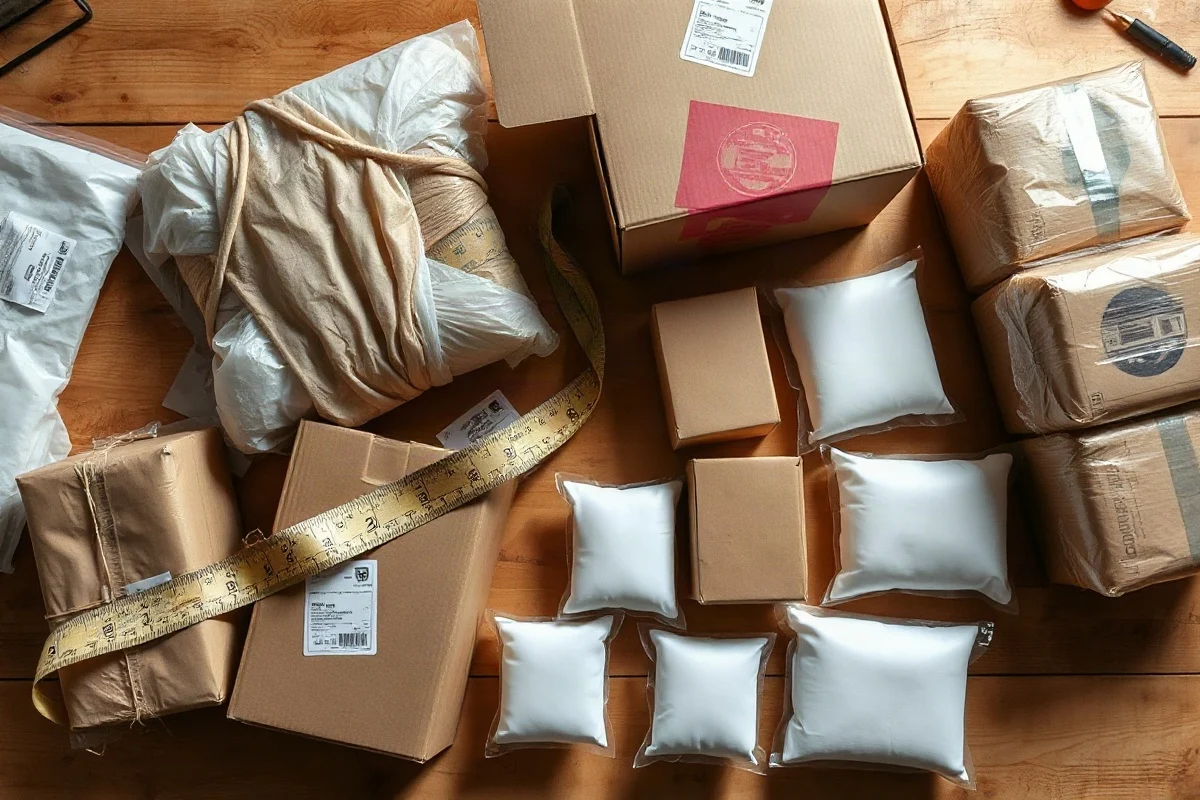
Common protective materials include kraft paper, bubble cushioning, foam sheets, molded inserts, corrugated pads, and air pillows. Each material behaves differently. Some compress under weight, some prevent surface scratches, and some create a rigid barrier around the item. Do not assume that filling empty space alone will protect a heavy or fragile product. The cushioning must hold the item in place and help reduce the effects of drops, vibration, and pressure.
As a starting method, estimate the required clearance on each side, then add it twice to the related item dimension. If a product is 10 inches long and you want 2 inches of protective space at both ends, the box needs at least 14 inches of usable inside length. Repeat the calculation for width and height:
Required inside dimension = item dimension + protection on one side + protection on the opposite side

The amount of clearance is not a universal number. A lightweight, durable item may need less than a delicate glass object, while a dense product may require cushioning that does not collapse under its weight. Test the packaging with a sample shipment when the product is valuable, breakable, or sold in quantity.
Understand Inside and Outside Box Dimensions
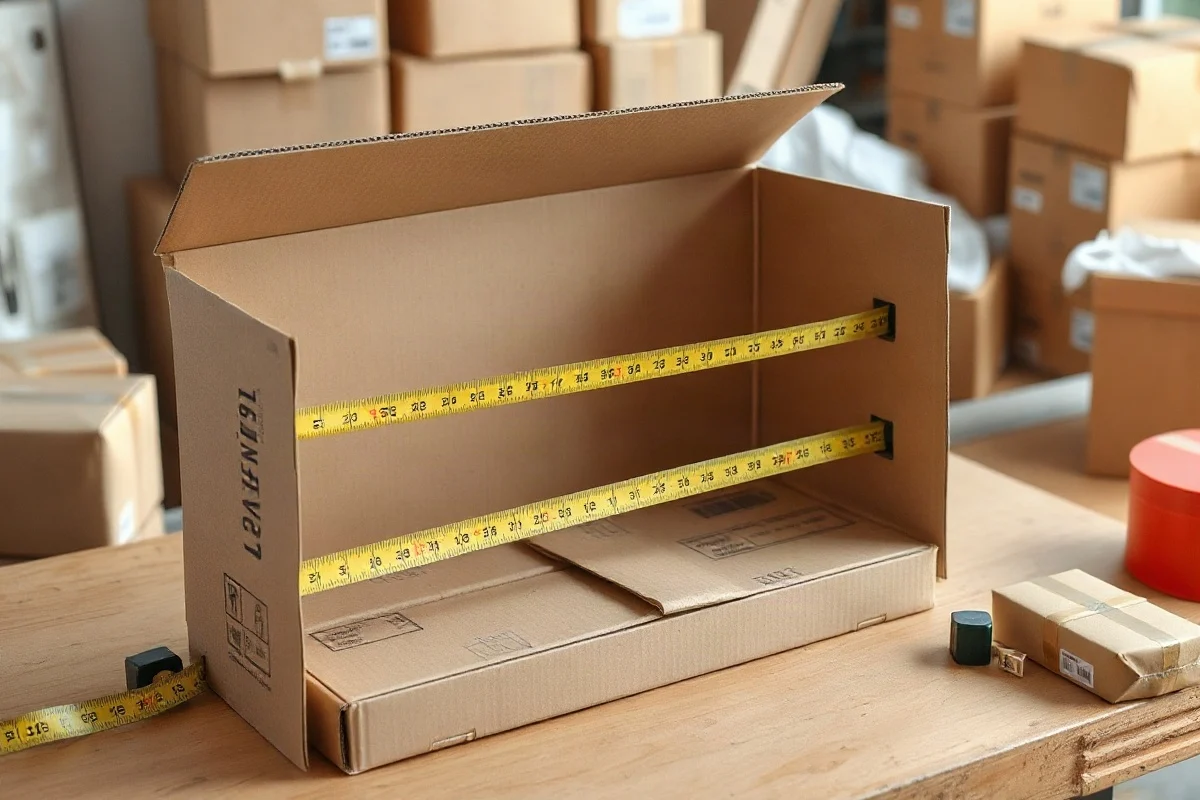
Box dimensions can refer to inside dimensions or outside dimensions, and the difference matters. The usable space is determined by the inside dimensions. Carrier labels, shipping calculators, and dimensional-weight calculations may require the outside dimensions of the sealed package.
Corrugated cardboard has thickness, and larger cartons may have thicker walls or reinforced construction. If a box listing does not clearly identify whether its measurements are inside or outside dimensions, check the manufacturer’s product details before ordering. Do not assume that a box labeled 12 by 10 by 8 inches provides exactly that much interior space.
After packing, measure the completed package rather than relying only on the box manufacturer’s listed size. Tape, bulging flaps, corner protectors, and irregular contents can change the final dimensions. Round measurements according to the current instructions for the carrier or service you plan to use, and verify those instructions before buying labels in volume.
Choose the Smallest Suitable Box
The best box is not always the smallest box available. It is the smallest box that provides adequate protection, closes without strain, and leaves no dangerous gaps. A box that forces the product against the walls can transfer impact directly to the contents. A box with excessive empty space can allow the item to shift and may be more expensive to ship.
Compare several box options when possible. A slightly larger box may work better if it allows even cushioning on every side. On the other hand, reducing a large amount of unused space can lower material use and may reduce dimensional weight. Use the Box Size Calculator to compare potential box dimensions before packing.
For products sold regularly, create a packaging standard. Record the product dimensions, the approved box size, the protective material, the sealing method, and the packed weight. This makes fulfillment more consistent and helps identify when a different box could improve protection or shipping efficiency.
Consider Weight and Box Strength
Box size alone does not determine whether a carton is suitable. A small, dense item can place substantial pressure on the bottom and corners of a box. Check the box’s strength information when available, including the manufacturer’s stated weight capacity or edge-crush information. Use a stronger carton for heavy contents, stacked packages, long-distance shipments, or items with sharp edges.
Distribute weight as evenly as practical. Place dense items toward the center or bottom of the package, add cushioning that will not collapse easily, and prevent the contents from contacting the outer walls. Do not place a heavy object above a fragile one unless an insert or divider is designed to carry the load.
For multi-item shipments, wrap or separate each item when contact could cause scratching, chipping, or breakage. Dividers can be more effective than loose fill for bottles, glassware, and other products that might collide during handling. Make sure the combined contents do not exceed the box’s practical capacity.
Account for Dimensional Weight
Carriers may price some packages by dimensional weight when a package takes up more space than its actual weight would suggest. The exact calculation, divisor, rounding method, eligible services, and minimums can vary by carrier, service level, package type, and destination. Check the current official terms for the service you are using rather than relying on a rule copied from an older label or calculator.
A common form of the calculation is:
Dimensional weight = length × width × height ÷ carrier divisor
The divisor in this formula is not universal. Enter the final outside package dimensions and the correct current divisor into a reliable tool, such as the Dimensional Weight Calculator, then compare the result with the actual scale weight. The billed weight may be based on the higher applicable figure, but the carrier’s current rules control.
When dimensional weight is a concern, reduce empty space without removing necessary protection. Consider a shorter carton, a narrower carton, a fitted insert, or a different product configuration. Never compress a fragile item simply to meet a target dimension.
Match the Box to the Item Type
Books, documents, and flat products
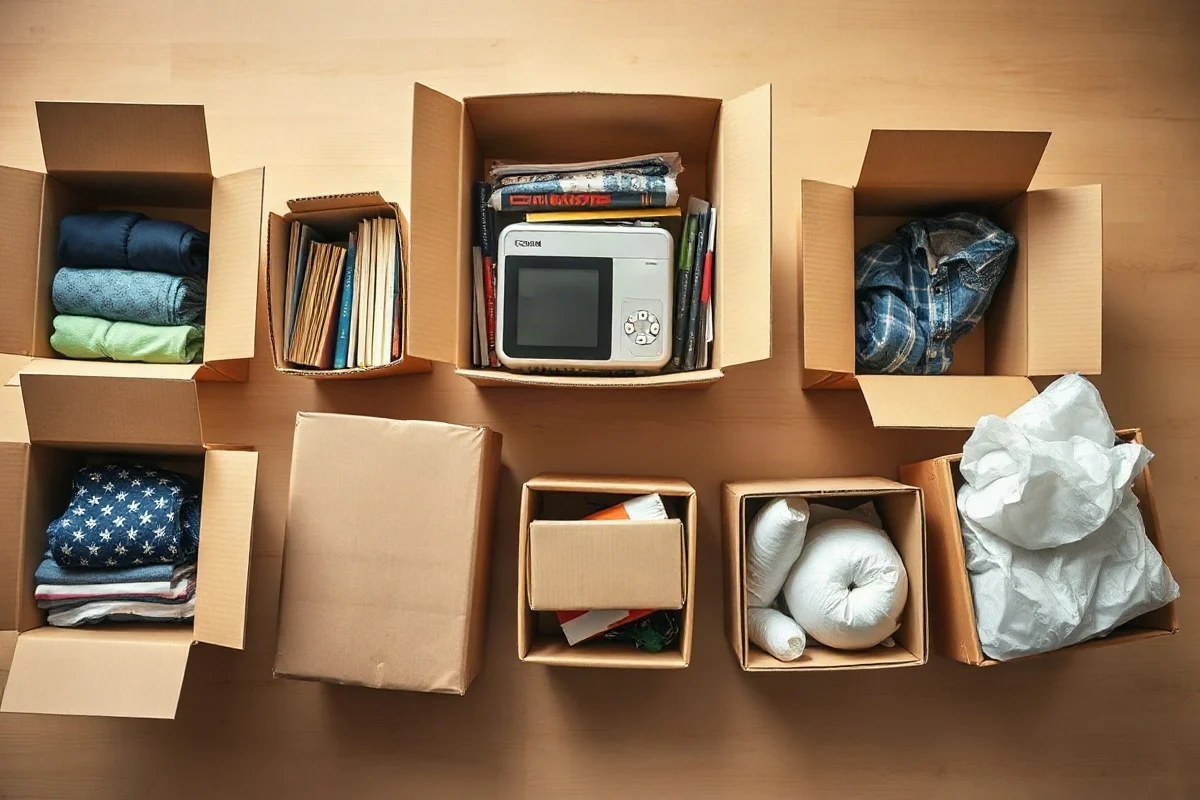
Use a rigid mailer or shallow box that supports the entire surface. Leave enough room for a protective sleeve, corner protection, or a layer that prevents scuffing. A carton that is much deeper than the item may allow bending or shifting unless the empty space is filled securely.
Clothing and soft goods
Poly mailers can work for soft, non-fragile products when the contents are protected from moisture and the package will not be easily punctured. A box is usually a better choice for structured garments, products with hard edges, or orders that need stacking protection. Fold the item consistently and avoid forcing it into a box that could deform the product.
Glass, ceramics, and fragile items
Wrap each piece separately, protect corners and protruding parts, and prevent direct contact with the box walls. If multiple fragile pieces share a carton, use dividers or individual inner packaging. Fill empty space so the contents cannot move, but do not rely on loose material as the only barrier against impact.
Electronics
Use the manufacturer’s inner packaging when it is available and in good condition. Protect screens, buttons, ports, and corners from pressure. Keep accessories from moving against the main device, and use an outer box with enough room for cushioning. If the product is sensitive to static electricity, follow the product maker’s packaging guidance.
Long or irregular items
Choose a box that supports the item along its length without bending. Reinforce weak areas, protect pointed ends, and avoid leaving large empty sections that can collapse. For items that cannot fit safely in a standard carton, use a purpose-built tube or custom package and confirm that the selected service accepts that package type.
Pack and Test the Finished Package
- Inspect the box for crushed corners, moisture, holes, or weakened seams.
- Place cushioning or an insert on the bottom before adding the item.
- Center the contents and protect surfaces, corners, and protruding parts.
- Fill open areas until the item stays in position without being forced.
- Add top cushioning, close the flaps, and check that the box is not bulging.
- Seal all necessary seams with suitable packing tape; do not depend on household tape for a heavy shipment.
- Measure the sealed package at its widest finished points and weigh it on a reliable scale.
- Apply the shipping label to a flat surface, away from seams and edges.
Gently shake the sealed package. The contents should not rattle or slide significantly. This is not a substitute for formal drop testing, but it can reveal obvious gaps or loose components. For a high-value product, document a repeatable test process and evaluate the package after a trial shipment.
Check Carrier and Marketplace Requirements
Before purchasing a shipping label, check the current requirements for the carrier, service level, destination, and package type. Size limits, surcharge rules, dimensional-weight methods, rounding instructions, and restrictions can change. Oversize or irregular packages may be treated differently from ordinary rectangular parcels.
If the order is going to a marketplace fulfillment program, review that program’s current packaging and labeling instructions as well. Requirements may depend on the product category, fulfillment method, dangerous-goods status, or shipment destination. For reference, you can compare guidance in the Box Sizes section and review current carrier topics through the Shipping Rules section, then confirm important details with the official source.
The right box protects the item while using space efficiently. Measure the product carefully, add realistic protection, verify inside and outside dimensions, weigh the sealed package, and check the current rules before shipping. A small packaging test can prevent damaged merchandise, rejected labels, avoidable surcharges, and inconsistent customer deliveries.
Comments
0No comments yet. Be the first to share a helpful note or question.
Leave a Comment
Your email address will not be published. Comments are reviewed before appearing on the site.