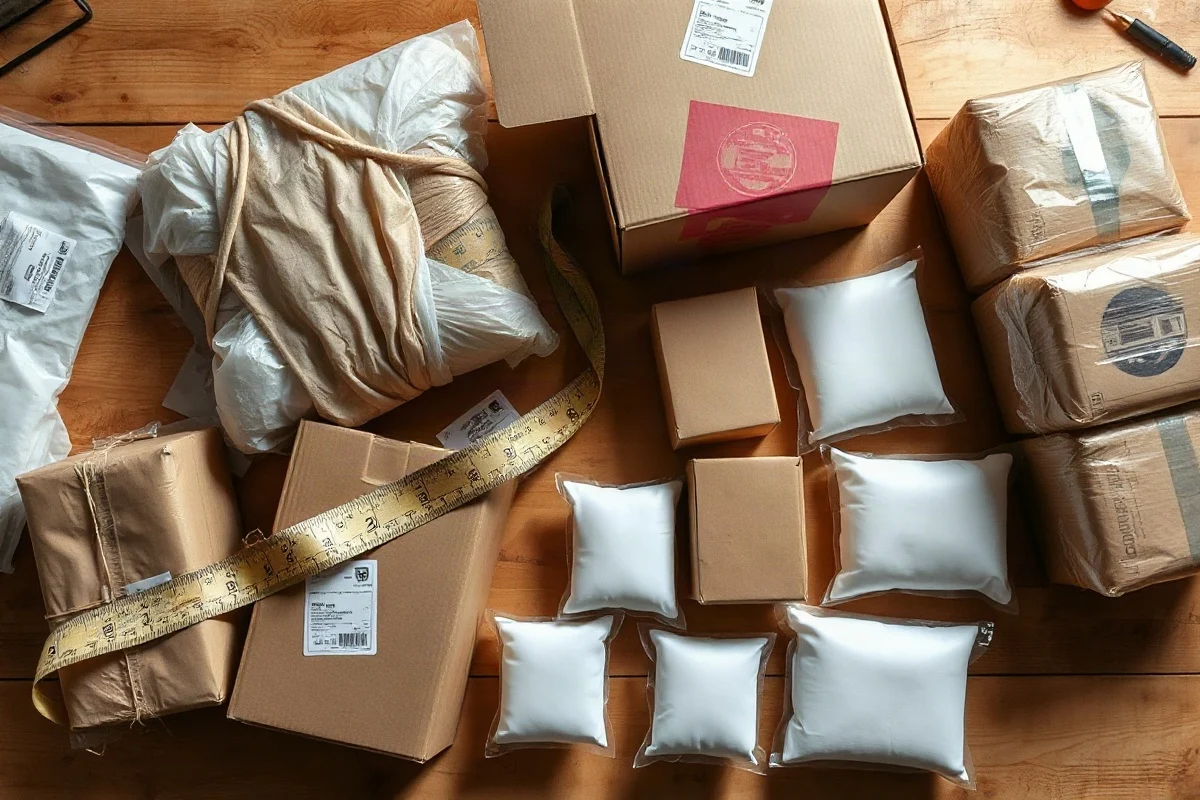
Choose the smallest sturdy box that fits the item, protective material, and required labels without forcing or compressing the contents. Measure the product first, add realistic cushioning space on every side, and compare the resulting inside dimensions with available box sizes. The best box is not always the tightest box; it is the smallest practical box that protects the shipment without creating avoidable empty volume.
Why the right box size matters
A box that is much larger than its contents can create several problems. You may need more paper, foam, air pillows, or other protective material to keep the product from moving. The package can also become harder to close securely, less convenient to handle, and more vulnerable to crushing if the contents shift inside.
Extra outside volume may also affect shipping costs. Some carriers and services calculate charges using dimensional weight, actual weight, or whichever applicable method produces the higher billable weight. The exact formula, divisor, rounding method, and service rules can vary by carrier, destination, package type, and date. Check the current official carrier guidance before relying on a specific calculation.
Reducing wasted space does not mean removing all cushioning. A well-packed shipment needs enough room for protection, but not so much room that the item can move freely or the package becomes unnecessarily large.
Start with the item, not the box
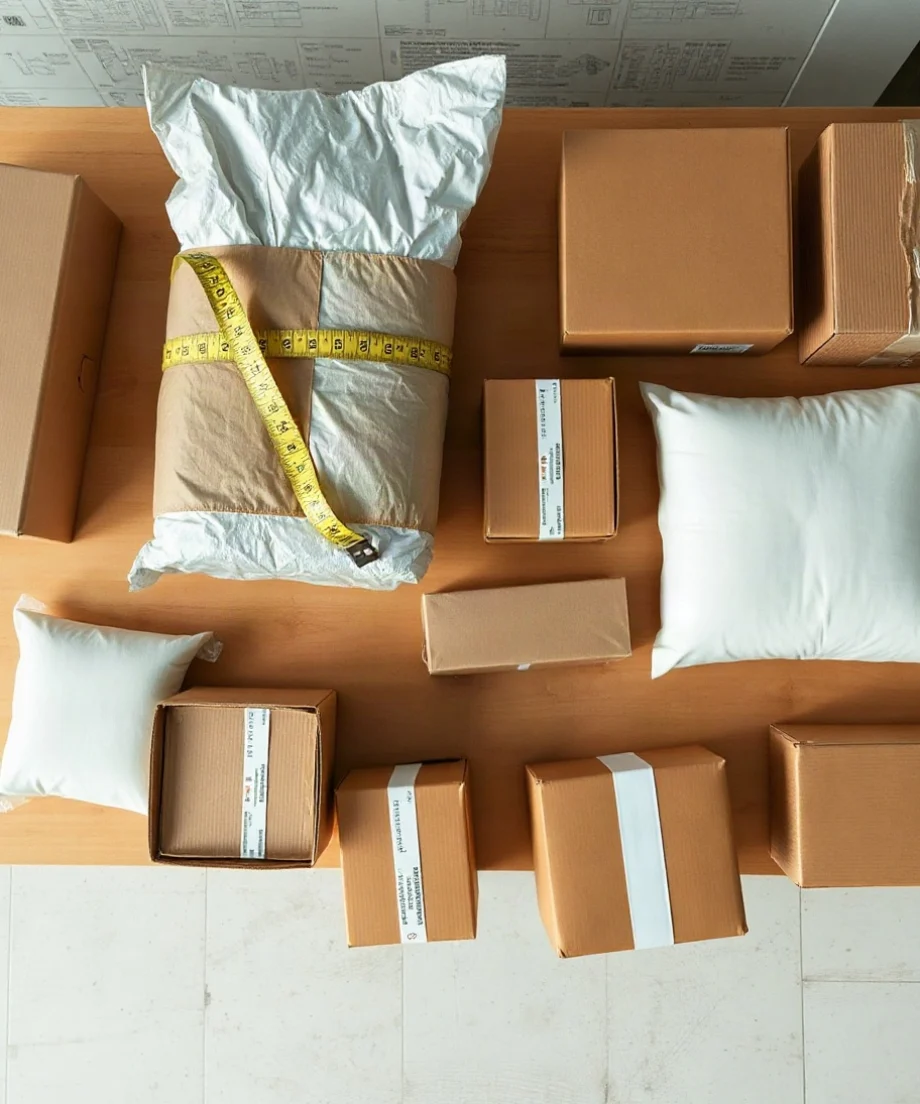
Before looking through your box inventory, measure the item at its largest points. Record its length, width, and height in the same unit, usually inches for U.S. shipping. Include handles, knobs, corners, removable parts that will be packed with the product, and any retail packaging that will remain around it.
For irregularly shaped items, measure the smallest rectangular space that can contain the item safely. This creates a practical length, width, and height for planning. If the item is flexible, do not compress it more than the product or manufacturer allows. If it is fragile, measure it in the position and orientation in which it will be shipped.
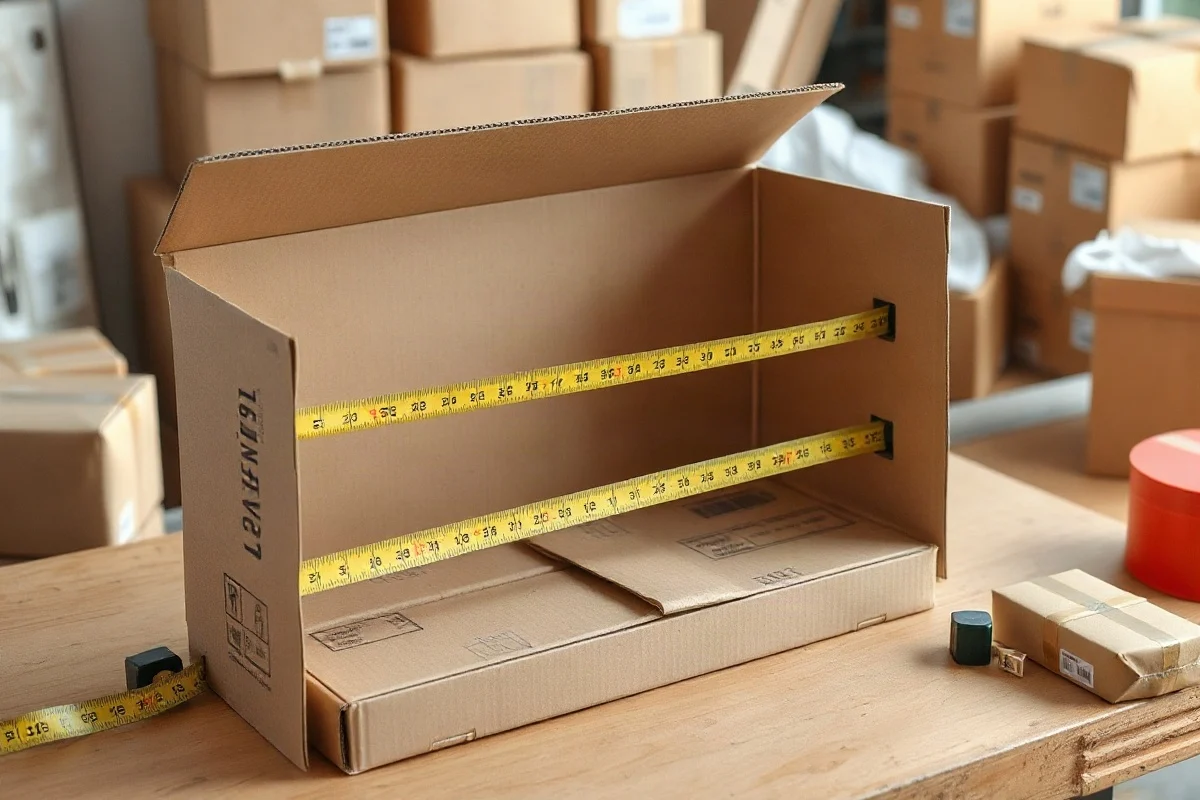
Box dimensions can be confusing because manufacturers usually list the inside usable dimensions, while some measurements may be taken from the outside. For a clearer explanation of the three dimensions, see box length, width, and height. When a fit is close, confirm whether the listed measurements are inside or outside dimensions before ordering boxes.
Add the space required for protection
After measuring the item, decide how it will be protected. The necessary clearance depends on the product, its fragility, the type of cushioning, and the handling conditions you expect. A hard, durable item may need only a modest protective layer. Glass, ceramics, electronics, and items with delicate finishes usually need more careful spacing and immobilization.

Think of the padding as a separate layer around the product. If you plan to use approximately 2 inches of cushioning on each side, add 4 inches to each corresponding item dimension:
- Required inside length = item length + 2 × protective clearance
- Required inside width = item width + 2 × protective clearance
- Required inside height = item height + 2 × protective clearance
These are planning formulas, not universal packaging rules. The amount of clearance should match the cushioning system you are actually using. A thin sheet of paper does not provide the same protection as molded foam, and loose fill may require a different packing method than a fitted insert.
Account for the way the material compresses
Some packaging materials become thinner when the item is placed inside the box or when the box is closed. Others need room to recover their shape. Do not estimate based only on the material’s appearance before packing. Place a sample item in the proposed cushioning, close the box, and check whether the package remains protected without putting pressure on the product.
Protective material should not prevent the flaps from meeting naturally. Forcing the flaps together can weaken the seams, distort the box, or place pressure on the contents. If the package closes only when you push down hard, use a larger box or a different packing arrangement.
Choose a box based on usable inside dimensions
Compare your required dimensions with the usable inside dimensions of the boxes you have. The item should fit without being forced, while the cushioning should remain evenly distributed. A box that matches two dimensions but is too short in the third is not a suitable box, even if the total volume appears large enough.
Pay attention to orientation. A product may fit when turned one way but not another, and some products should not be placed on a particular side. For example, a liquid container may need to remain upright, while a framed item may need edge protection and a flat orientation. Choose the orientation first, then compare the dimensions in that arrangement.
If you are buying boxes for repeated shipments, create a small range of sizes instead of relying on one oversized box. A few well-chosen box sizes can reduce empty space across many orders while keeping storage manageable. Review your actual products and select boxes around common item groups rather than buying every available size.
Use a simple fit test before sealing
A quick physical test can reveal wasted space more accurately than a catalog description:
- Place the item in its intended protective wrap or insert.
- Set it inside the box in the planned shipping orientation.
- Check the clearance on every side, including the top and bottom.
- Gently move the box in several directions before sealing it.
- Open the box and inspect whether the item shifted or the cushioning collapsed.
- Close the flaps normally and check for bulging, excessive pressure, or large unfilled gaps.
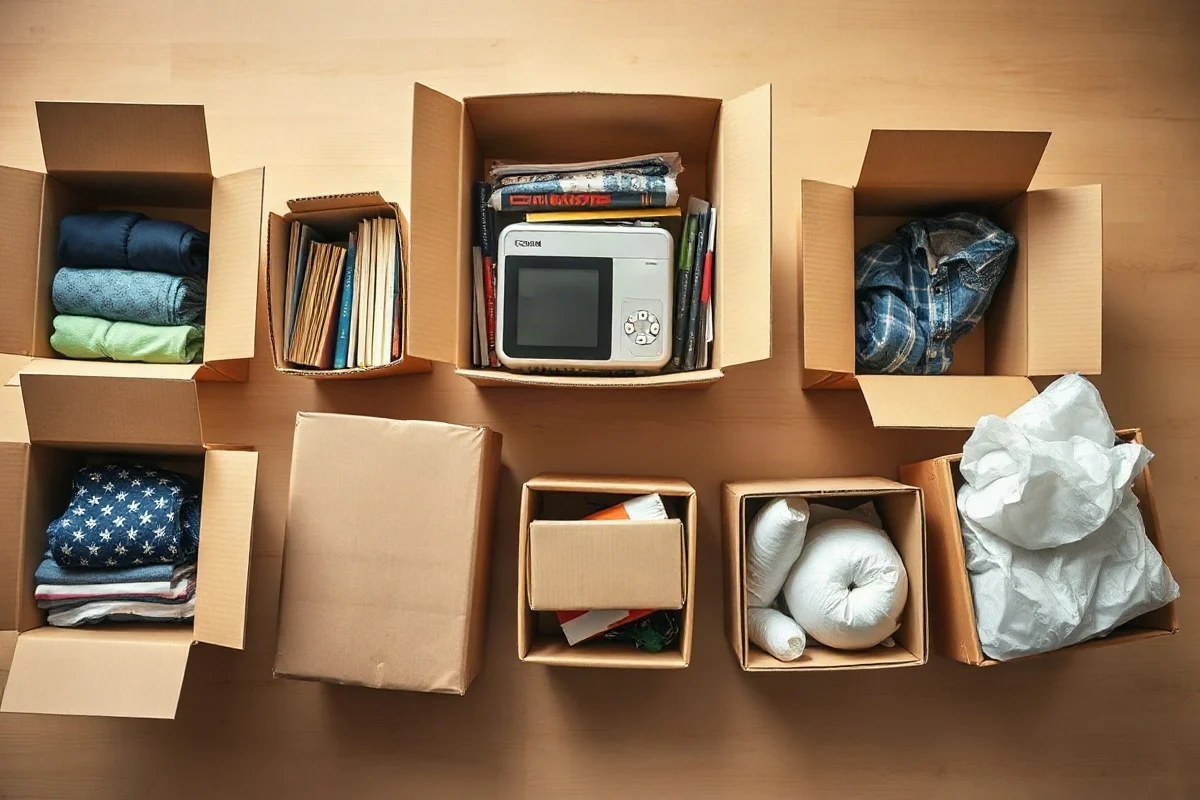
Some movement may be acceptable for durable products, but fragile products should be held securely enough that they cannot strike the box walls or one another. If the contents move, add an appropriate blocking or cushioning method. If you need a large amount of loose material to stop the movement, a smaller or better-shaped box may be the more efficient solution.
Reduce empty space without underpacking
There are several ways to improve the fit without sacrificing protection:
- Use fitted inserts: Foam, molded pulp, corrugated partitions, and custom die-cut inserts can hold products in a stable position.
- Bundle compatible items: When several small products ship together, group them carefully so they do not scatter throughout a large box.
- Use a product-sized inner package: A smaller inner carton can protect the product while the outer box provides additional structure.
- Fill voids deliberately: Use enough material to prevent movement, but avoid filling an oversized box simply because it is available.
- Review the box style: A long, narrow product may fit better in a long box than in a large cube with unused space around it.
Do not cut down a box if doing so removes necessary strength or leaves an irregular closure. A properly sized new carton may provide better protection than a heavily modified box with weak corners or damaged flaps.
Consider dimensional weight before finalizing the package
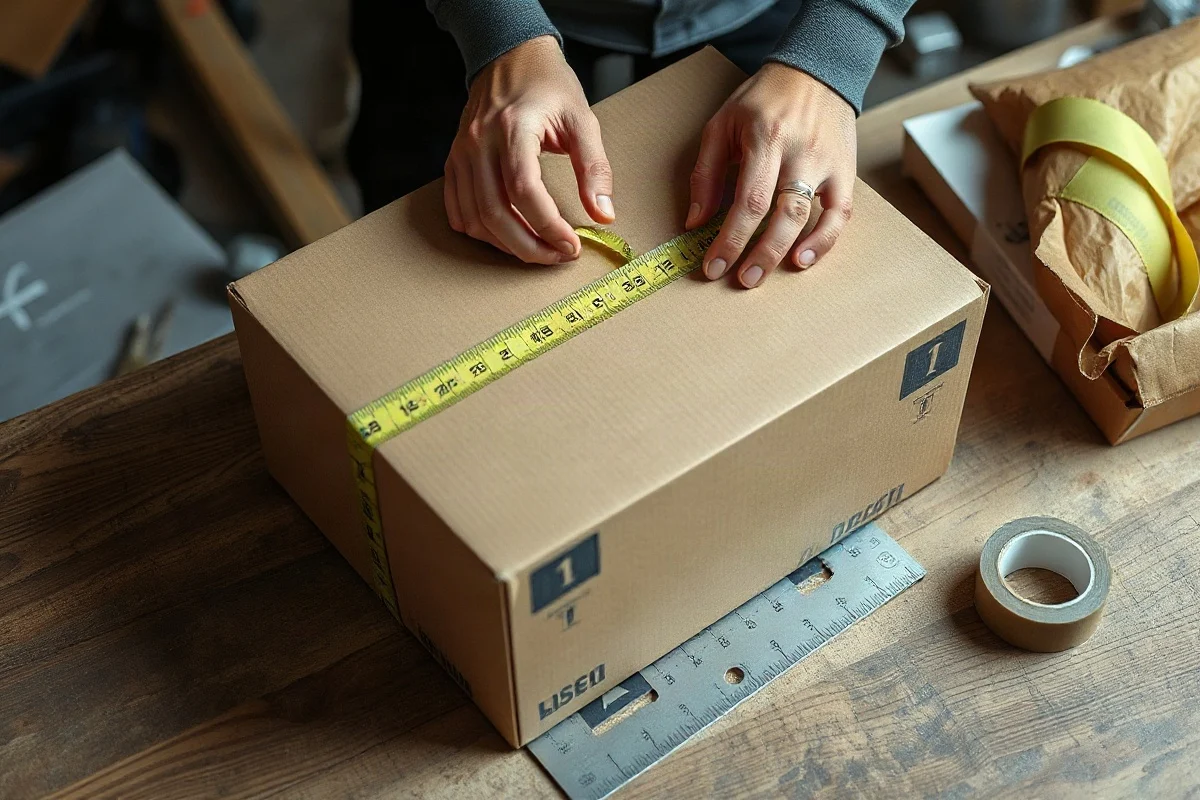
Once the item is packed, measure the finished package—not just the empty carton. Record the outside length, width, and height at the widest points. Small differences can matter when a carrier uses the package dimensions to determine billable weight, especially for light shipments in large boxes.
A general dimensional-weight concept is:
Dimensional weight = package volume ÷ applicable dimensional divisor
Package volume is commonly calculated as length × width × height, but the applicable divisor and rounding rules are not universal. They may differ by carrier, service, package type, destination, and account terms. Use the current official rules for the service you plan to purchase rather than applying a divisor from an old example. You can also use the dimensional weight calculator as a planning aid, then confirm the result with the carrier’s current terms.
Do not assume that making a box one inch smaller will always change the charge. The result depends on the carrier’s measurement and rounding practices, the package’s actual weight, and the applicable pricing rules. The practical goal is to avoid unnecessary volume while maintaining a safe package.
Check package limits separately
Box selection is only one part of shipping preparation. The finished package may be subject to size, weight, shape, packaging, or surcharge rules that vary by carrier and service level. Oversized, unusually shaped, or heavy packages may receive different treatment from standard parcels.
Before shipping an unusual package, check the current official requirements for your chosen service. The relevant rules may also depend on the destination and whether the shipment is domestic or international. Our shipping rules guide can help organize the questions to check, but it should not replace the carrier’s current official terms.
Example: choosing between two boxes
Suppose a product measures 10 × 6 × 4 inches and needs about 1 inch of protective clearance on every side. Your target inside dimensions would be approximately 12 × 8 × 6 inches. A box with inside dimensions close to those measurements is likely to use space more efficiently than a 16 × 12 × 10-inch box, provided the smaller box accommodates the actual cushioning and the product’s orientation.
However, the target is not automatically the correct final package. If the item is fragile and the selected cushioning needs more room, increase the clearance. If the product has an irregular shape, a rectangular measurement may require additional blocking. Pack a sample, test for movement, and measure the closed package before making the smaller box your standard choice.
Build a repeatable box-selection process
For businesses and frequent shippers, consistency is more useful than guesswork. Keep a record of the product’s packed dimensions, the box used, the protective materials, and any shipping problems. If a product arrives damaged, do not simply switch to a larger box; determine whether the issue came from insufficient cushioning, movement, weak carton construction, or poor orientation.
When evaluating a new box, compare both protection and total shipping efficiency. A slightly larger carton may be worthwhile if it reduces damage, speeds packing, or works for several product combinations. A smaller carton is not an improvement if it causes crushed corners, pressure on the item, or repeated repacking.
The most reliable approach is simple: measure the product, add the protection it truly needs, select the smallest suitable inside dimensions, test the packed box, and verify the finished package against current carrier requirements. That process limits wasted space while keeping the shipment safe from the first packing station to its destination.
Comments
0No comments yet. Be the first to share a helpful note or question.
Leave a Comment
Your email address will not be published. Comments are reviewed before appearing on the site.