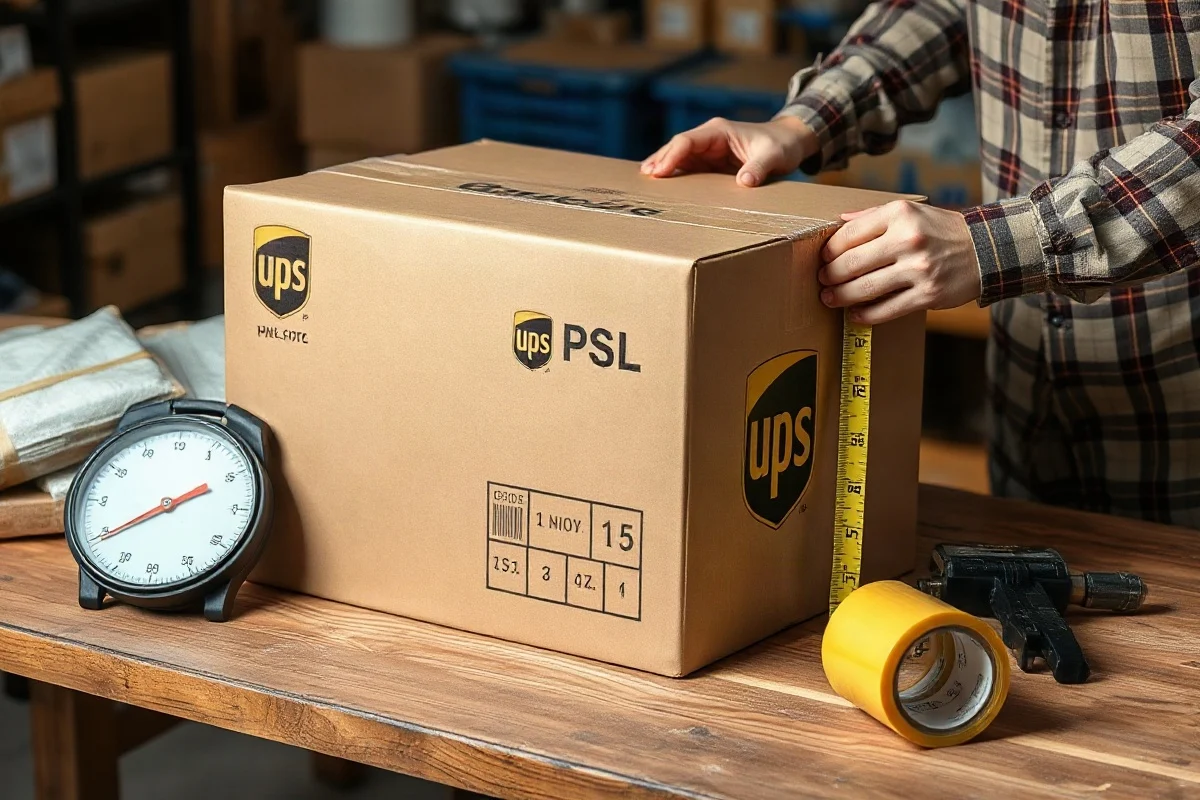
The right box for a UPS shipment is the smallest strong box that fits your item, its protective padding, and enough space for safe cushioning without crushing or bulging. Measure the packed box from the outside, weigh it after sealing, and compare both the package dimensions and weight with the current UPS requirements for your service and destination. A well-fitted box can help protect the contents and may reduce shipping costs caused by unnecessary size.
Start with the item, not the box
Choosing a box begins with the product’s finished shipping shape. Do not select a box based only on the item’s catalog dimensions. Include removable parts, handles, retail packaging, lids, and any protection that must remain with the shipment.
Measure the item’s length, width, and height at the points that require the most space. If the product is irregularly shaped, measure the smallest rectangular space that can contain it without forcing, bending, or compressing it. Then decide how much protection the item needs. A fragile glass product, for example, generally requires more clearance and cushioning than a durable plastic object of the same size.
For a quick starting point, add the planned cushioning clearance to both sides of each dimension. If an item measures 12 by 8 by 4 inches and you want about 2 inches of protective space on each side of every dimension, a box with inside dimensions near 16 by 12 by 8 inches may be appropriate. This is only a starting estimate: the actual box must also accommodate the shape of the padding and close securely without pressure on the contents.
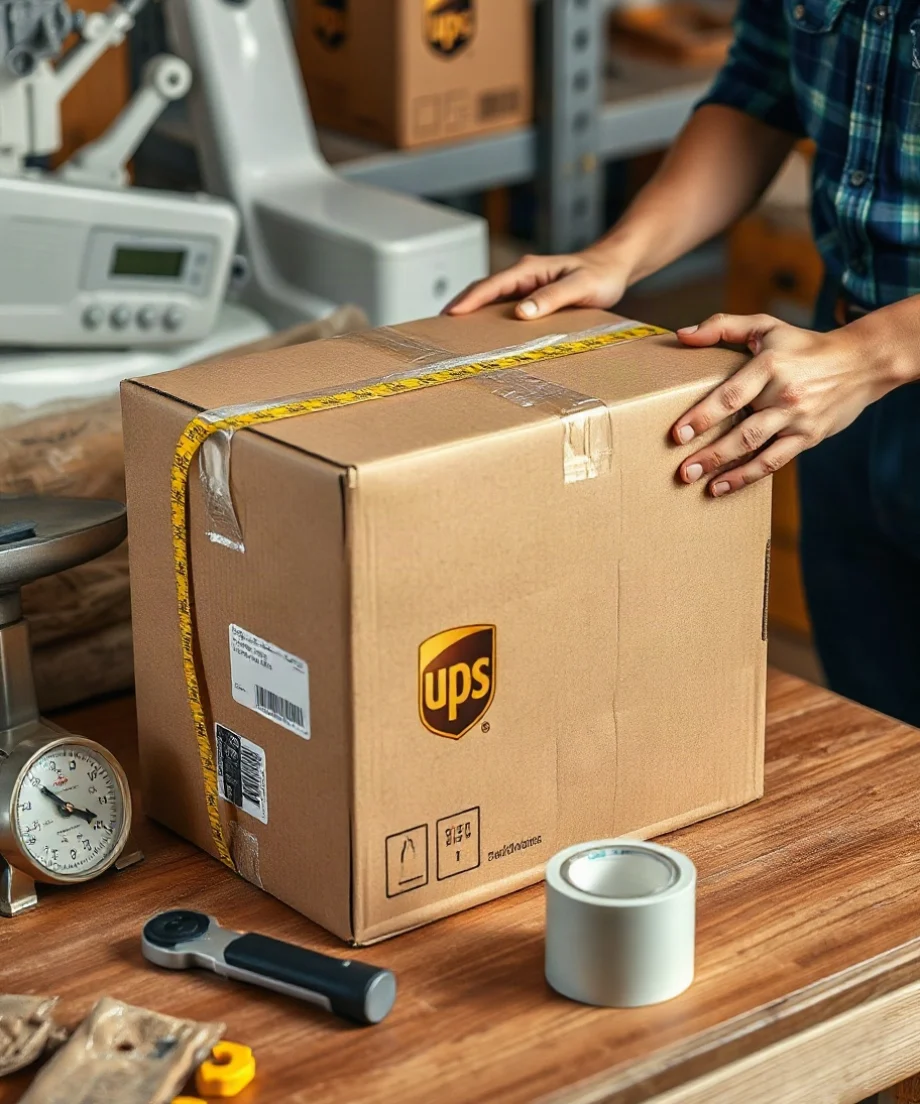
Our box size calculator can help estimate an interior box size from product dimensions and a selected clearance. Always compare the calculated result with the box manufacturer’s usable inside dimensions.
Understand inside dimensions and outside dimensions
Boxes are commonly described using inside dimensions, but carriers assess the package as it is presented for shipment. The outside dimensions can be slightly larger because of the cardboard walls, seams, flaps, tape, and any bulges in the finished package.
Use the inside dimensions when deciding whether your product and padding will fit. Use the outside dimensions when measuring the completed package for a shipping label, rate quote, or dimensional-weight calculation. If a box is flexible or overfilled, measure the largest points rather than relying on the manufacturer’s printed size.
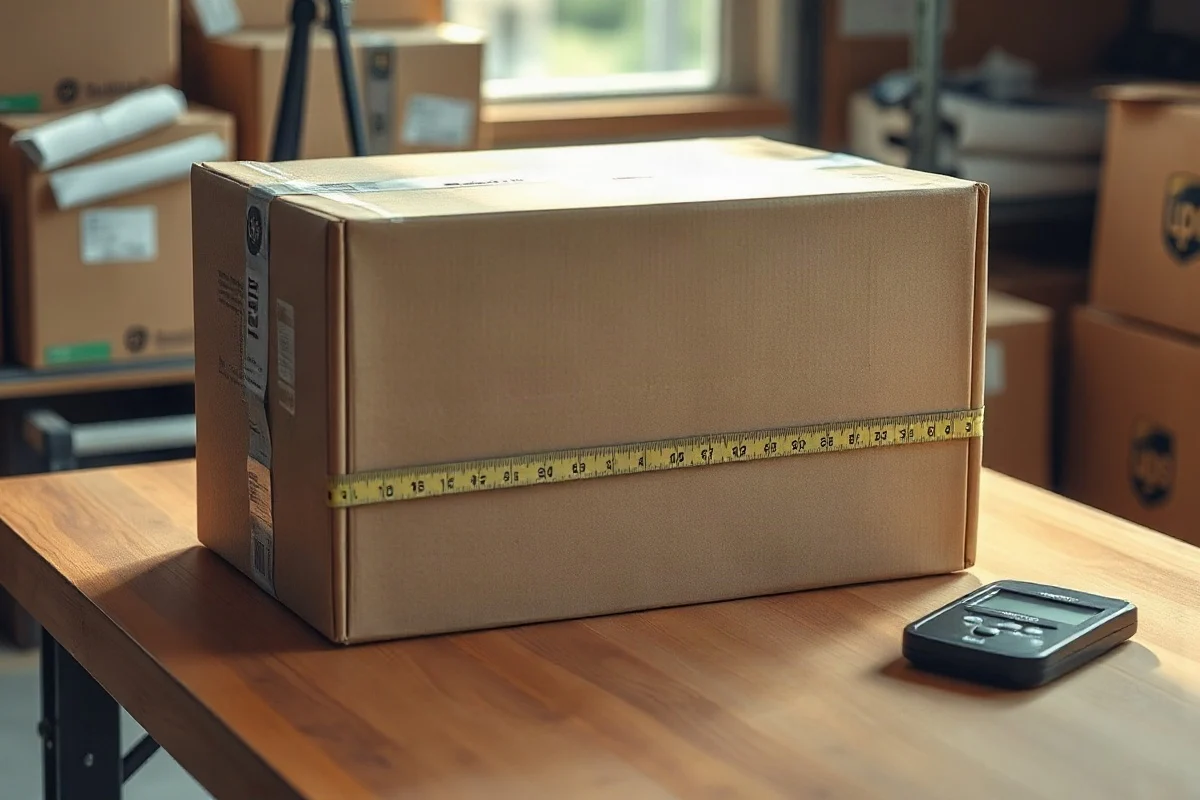
How to measure a finished box
- Length: Measure the longest side of the package.
- Width: Measure the shorter side of the top or bottom face.
- Height: Measure the distance from the bottom to the top when the box is in its normal shipping orientation.
Measure to the nearest practical increment required by the shipping tool or carrier instructions. Do not ignore protruding tape, a swollen side, or a flap that changes the package’s maximum dimensions. When a package is close to a size threshold, measure carefully and use the current UPS guidance rather than assuming that a small difference will not matter.
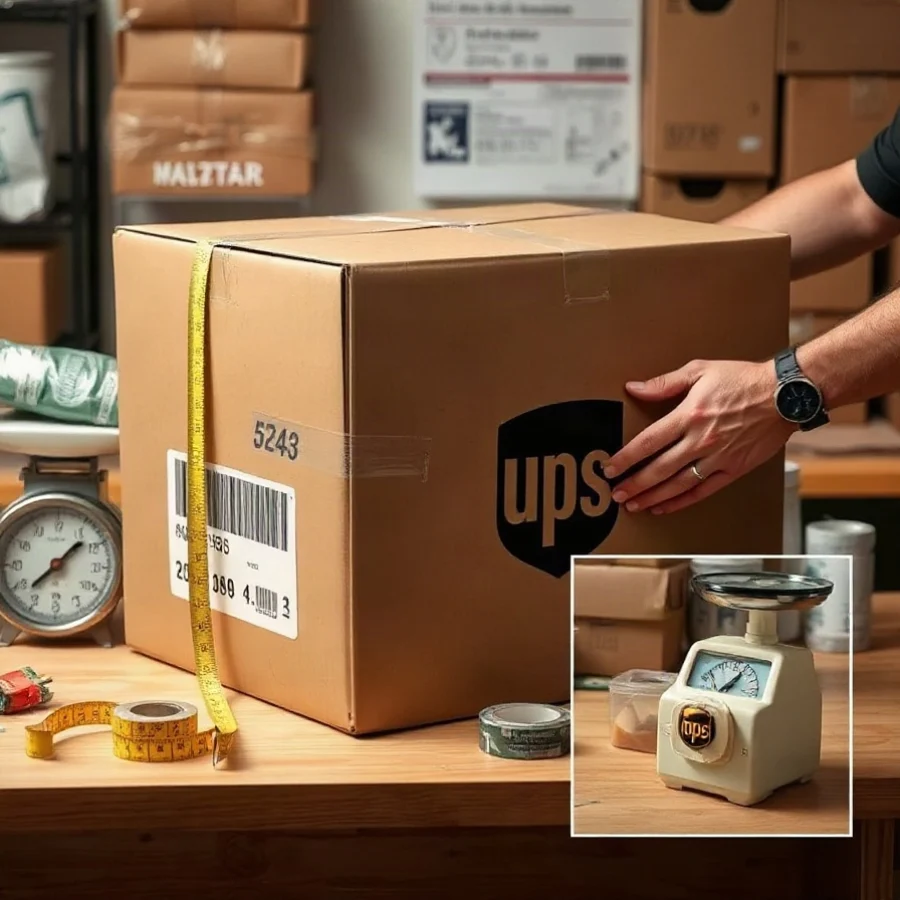
Choose a box that provides protection without excess space
Extra space is not automatically safer. An oversized box allows the item to move, increases the amount of cushioning needed, and may increase the package’s billable size. A box that is too tight can place pressure on corners, seams, and delicate surfaces.
A practical fit usually leaves enough room for cushioning on every vulnerable side. The product should not touch the box walls when the package is closed, and it should remain centered when the box is gently moved. If the item can slide from one end to the other, add properly sized cushioning or select a smaller box.
For multiple items, prevent contact between the products as well as contact with the box. Dividers, molded inserts, partitions, or individually wrapped pieces may be more effective than simply adding loose packing material. Heavy items should not rest directly on fragile items, and the center of gravity should remain low enough that the package is stable when handled.
Match box construction to the shipment
The box should be strong enough for the product’s weight, the protection method, and the expected handling environment. A light single-wall carton may work for a sturdy, lightweight item, while a heavier product or a shipment with multiple pieces may need stronger construction. Reused boxes can be acceptable when they are clean, dry, rigid, and free from major dents, tears, punctures, or crushed edges.
Do not use a box that has lost its shape or whose flaps no longer meet correctly. Old shipping labels and barcodes should be removed or fully covered so automated equipment and handlers are less likely to read outdated information. If a retail box is attractive but weak, place it inside a stronger outer shipping carton rather than using it as the only protective layer.
For heavy products, inspect the bottom panel and all seams before packing. Reinforce the bottom with pressure-sensitive shipping tape, applying strips across the center seam and extending them up the sides when appropriate. Avoid relying on household tape, masking tape, or decorative gift wrap as the primary closure.
Pack the contents so they cannot shift
Once the box is selected, build protection from the outside inward:
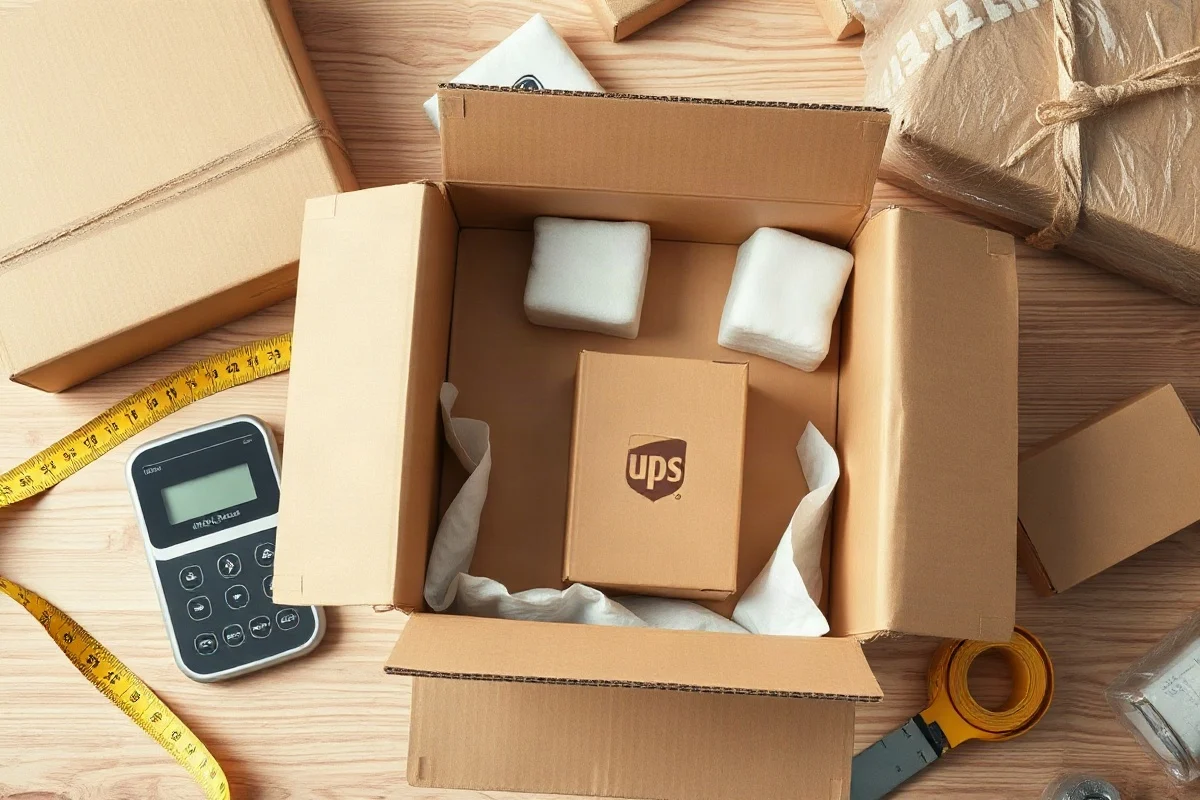
- Prepare the bottom: Place a cushioning layer inside the box before adding the product.
- Protect the item: Wrap or separate the product according to its material and vulnerability. Cover sharp edges and protect surfaces that can scratch.
- Center the contents: Keep the item away from all six interior sides of the carton when the shipment needs impact protection.
- Fill empty areas: Use enough cushioning to prevent movement, but do not overfill the box until the panels bulge.
- Test the fit: Close the flaps without forcing them and gently move the box. If the contents shift, reopen it and improve the internal packing.
- Seal the carton: Apply durable shipping tape to every required seam and check that no flap can lift.
Loose-fill material can work for some products, but it may settle during handling and leave empty space. For heavy, fragile, or precisely positioned items, dense foam, molded inserts, corrugated partitions, or appropriately sized pads may provide more consistent support.
Check dimensional weight before finalizing the box
UPS shipping charges may be affected by the package’s actual weight, dimensional weight, or another applicable rating rule. The exact calculation can vary by service, destination, package type, account terms, and current carrier policy, so do not rely on a universal divisor or a rate found in an old shipping guide.
In general, dimensional weight represents the space a package occupies in a carrier’s network. A large, light box can therefore be rated differently from a small, dense box with the same actual weight. The calculation normally begins with the package’s measured length, width, and height, but the current UPS method may specify how measurements are rounded and which divisor applies.
Use the dimensional weight calculator for an estimate, then confirm the result against the current UPS terms for the service you plan to use. If the estimated dimensional weight is much higher than the actual weight, first ask whether a smaller box, thinner protection, or a more efficient arrangement can preserve the required safety.
Example of why box size matters
Imagine a lightweight product that weighs 3 pounds but requires a box measuring 20 by 16 by 10 inches after packing. Its actual weight is low, yet the package occupies substantial space. If the same product can be safely packed in a 16 by 12 by 8-inch box, the smaller carton may reduce the dimensional measurement as well as the amount of packing material. The final charge still depends on the applicable UPS service and current rating rules.
Verify UPS size and weight requirements
UPS requirements can differ by service level, destination, package category, account arrangement, and date. Some shipments may be subject to additional handling rules or charges when they exceed particular size, weight, or shape conditions. Because these thresholds and fees can change, check the current official UPS information before buying packaging in bulk or accepting an unusually large shipment.
Pay special attention when the package is very heavy, unusually long, nonrectangular, cylindrical, banded, or likely to be handled as an irregular package. A box that works for a standard domestic parcel may not follow the same rules for an international shipment or a different UPS service.
For more related guidance, see our UPS package guide and the article on how to measure a package for UPS. Use those resources as planning references, but rely on the current official UPS source for binding requirements and charges.
Complete a final pre-shipment check
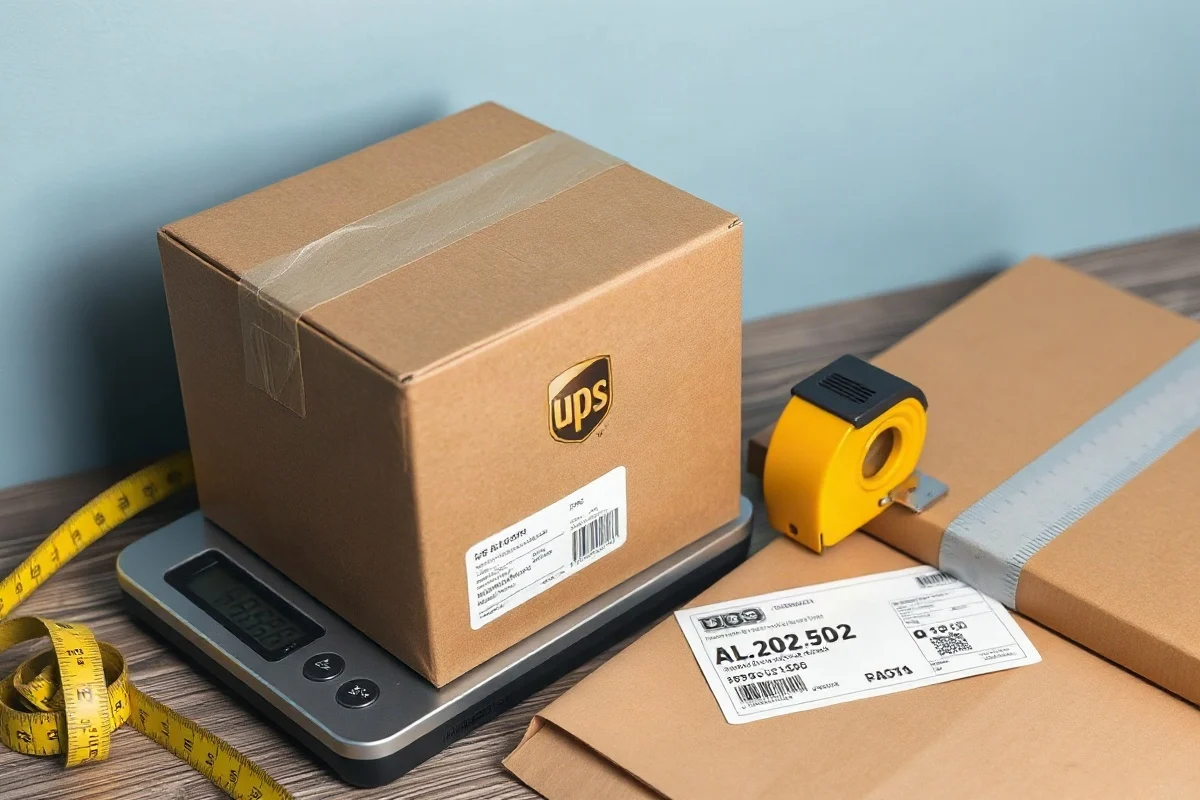
Before creating the label, place the sealed package on a flat surface and record its outside length, width, and height. Weigh it in its final condition, including the box, padding, tape, paperwork, and label. Make sure the measurements match the information entered in the shipping system.
- Confirm that the box has no crushed corners, open seams, or bulging panels.
- Check that the contents do not move when the package is gently handled.
- Make sure the shipping label is flat, readable, and not placed across an edge or seam.
- Remove or cover old labels and barcodes.
- Confirm the destination address, return address, service, and package count.
- Review current UPS requirements if the package is oversized, heavy, irregular, or international.
The best box for a UPS shipment is not necessarily the smallest box available. It is the smallest suitable carton that protects the contents, closes securely, and accurately reflects the package’s final dimensions and weight. Careful measuring and stable internal packing give you a more dependable shipment and make it easier to identify potential dimensional-weight issues before the package enters the carrier network.
Comments
0No comments yet. Be the first to share a helpful note or question.
Leave a Comment
Your email address will not be published. Comments are reviewed before appearing on the site.