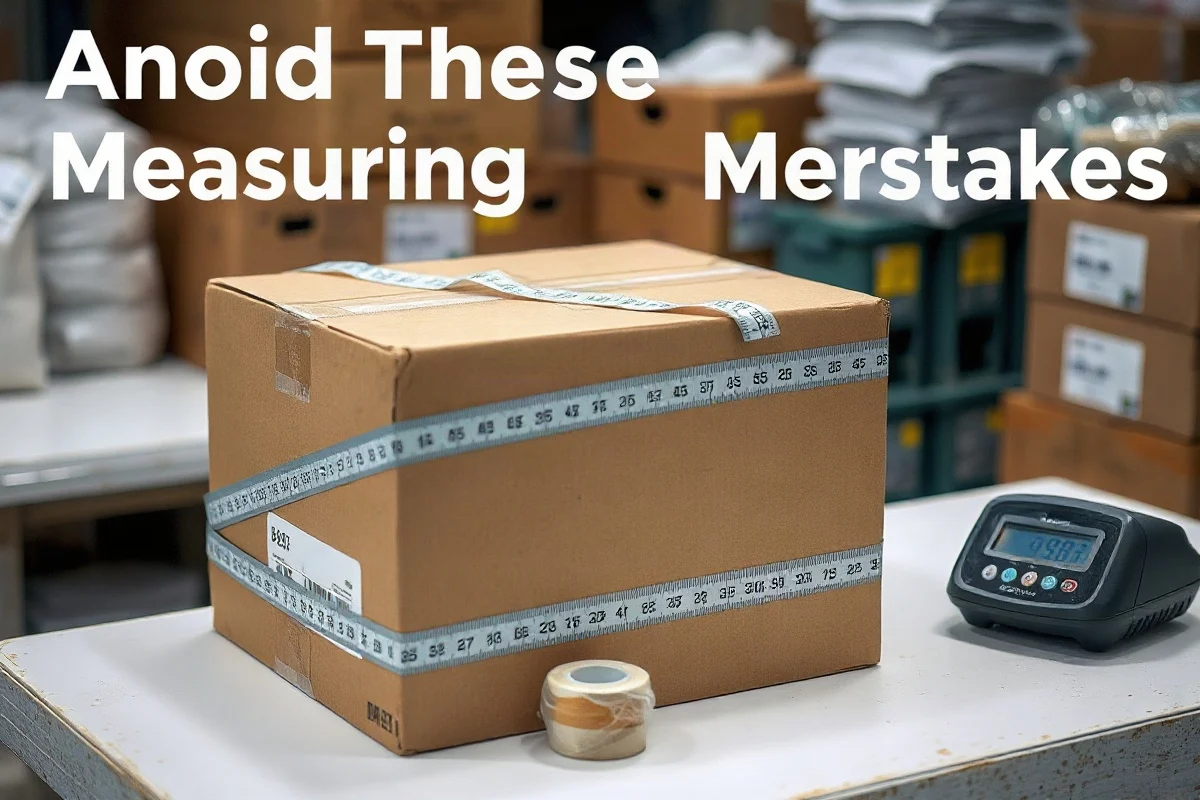
The most common package measuring mistakes are measuring the product instead of the finished parcel, using inside dimensions, rounding too early, ignoring bulges, and entering dimensions in the wrong order or unit. To measure accurately, prepare the package exactly as it will ship, measure the outside length, width, and height at their largest points, record the results in the carrier's required unit, and verify the final weight and dimensions before purchasing postage.
Accurate measurements matter because shipping systems may use the package's actual weight, dimensional weight, or whichever produces the chargeable weight under the applicable service rules. A difference of even an inch can affect a quote, especially when a box is large but relatively light. For DHL shipments, service, destination, package type, and current terms can affect how dimensions and charges are handled. Always check the current DHL requirements for the specific service you plan to use.
Measure the Finished Package, Not Just the Product
One of the easiest mistakes is measuring an item before it has been packed and then using those product dimensions as the shipping dimensions. The product may fit a particular box, but the shipping company evaluates the completed parcel. That means the outer carton, protective material, tape, labels, and any protruding parts all matter.
For example, a product that measures 12 by 8 by 4 inches may require a 14 by 10 by 6-inch box after adding padding. The shipping dimensions are based on the outside of that finished box, not the original product measurements. If you enter the smaller product dimensions into a shipping calculator, the estimate may be lower than the eventual charge.
Pack the item first, close the box, and then measure it. If you regularly ship the same product, create a packaging specification that includes the completed box size and packed weight. Recheck that specification whenever you change the carton, insert, padding, or sealing method.
Use the Outside Dimensions
Box manufacturers often describe cartons using inside dimensions, product-fit dimensions, or nominal dimensions. These measurements are useful for selecting a box, but they may not match the space occupied by the sealed parcel. Shipping measurements should generally reflect the package's exterior dimensions.
Measure from the outside edge of the box rather than placing the ruler inside the carton. Include the thickness of the cardboard and account for the closed flaps. A small carton may have noticeably different inside and outside measurements, particularly when it uses double-wall corrugated board.
If the box is soft, flexible, or slightly compressed, do not force it into a smaller measurement. Measure the parcel in the condition in which it will be handed to the carrier. A package that expands after it is packed can be measured or processed differently from the flat carton you selected before filling it.
Identify Length, Width, and Height Consistently
Many shipping forms ask for length, width, and height in that order. A practical method is to identify the longest side as the length, the next-longest side as the width, and the remaining side as the height. The exact orientation may vary by carrier or calculator, but consistent labeling helps prevent data-entry errors.
Write the dimensions beside the box before entering them online. For a rectangular carton, you might record:
- Length: 18 inches
- Width: 12 inches
- Height: 8 inches
Do not assume that swapping dimensions always changes a dimensional-weight calculation. In a simple length-by-width-by-height formula, multiplication gives the same volume regardless of order. However, carriers may use dimensions for other purposes, including size thresholds, handling rules, or surcharge assessments. Enter the measurements in the order requested by the current shipping system.
Measure the Largest Points
A box does not need to be perfectly rectangular for measuring to become important. Bulging sides, uneven flaps, rounded corners, handles, straps, and loose stretch wrap can increase the parcel's effective size. Measure the largest usable exterior dimensions, not the smallest dimensions that seem to describe most of the box.
Place a straightedge or measuring tape across the widest point of each side. For a soft mailer, press it only enough to remove obvious slack; do not compress the contents. For a box with a raised seam or protruding tape, confirm whether the carrier or shipping software expects the overall outside size. When a package has an unusual shape, contact the carrier or shipping provider before relying on an automated estimate.
Pay particular attention to:
- Overfilled cartons whose side panels bow outward
- Flaps that do not close flat
- Protective corners or molded inserts that extend beyond the carton
- Handles, wheels, or other attached parts
- Stretch wrap or banding that creates an uneven profile
- Irregular parcels that cannot be represented accurately by three simple measurements
Do Not Round Down
Rounding down is a frequent source of incorrect shipping information. If a parcel measures 15.6 inches, entering 15 inches understates its size. Even if a ruler shows only whole-inch marks, use a tape measure with fractional markings or record the next appropriate increment required by the carrier or shipping platform.
Do not round each dimension down before calculating volume. If a package measures 15.6 by 10.4 by 7.2 inches, use those measurements or the applicable rounded-up values required by the system. The correct rounding method can vary, so follow the instructions shown in the current carrier or postage platform. When in doubt, rounding conservatively is safer than reporting a smaller parcel than the one being shipped.
Check Inches Versus Centimeters
Unit mistakes can produce dramatically inaccurate quotes. A box measured in centimeters may be entered as inches, or a measurement in inches may be converted incorrectly. Before submitting dimensions, confirm the unit displayed beside every field.
To convert inches to centimeters, multiply by 2.54. To convert centimeters to inches, divide by 2.54. For example, a 20-inch dimension is 50.8 centimeters, while a 50-centimeter dimension is about 19.69 inches. Keep the original measurements with the package record so you can check the conversion instead of relying on memory.
International shipments create additional opportunities for unit errors because product specifications, packing materials, and carrier forms may use different measurement systems. Review every dimension after conversion and make sure the weight unit is correct as well.
Include Packaging Changes After Sealing
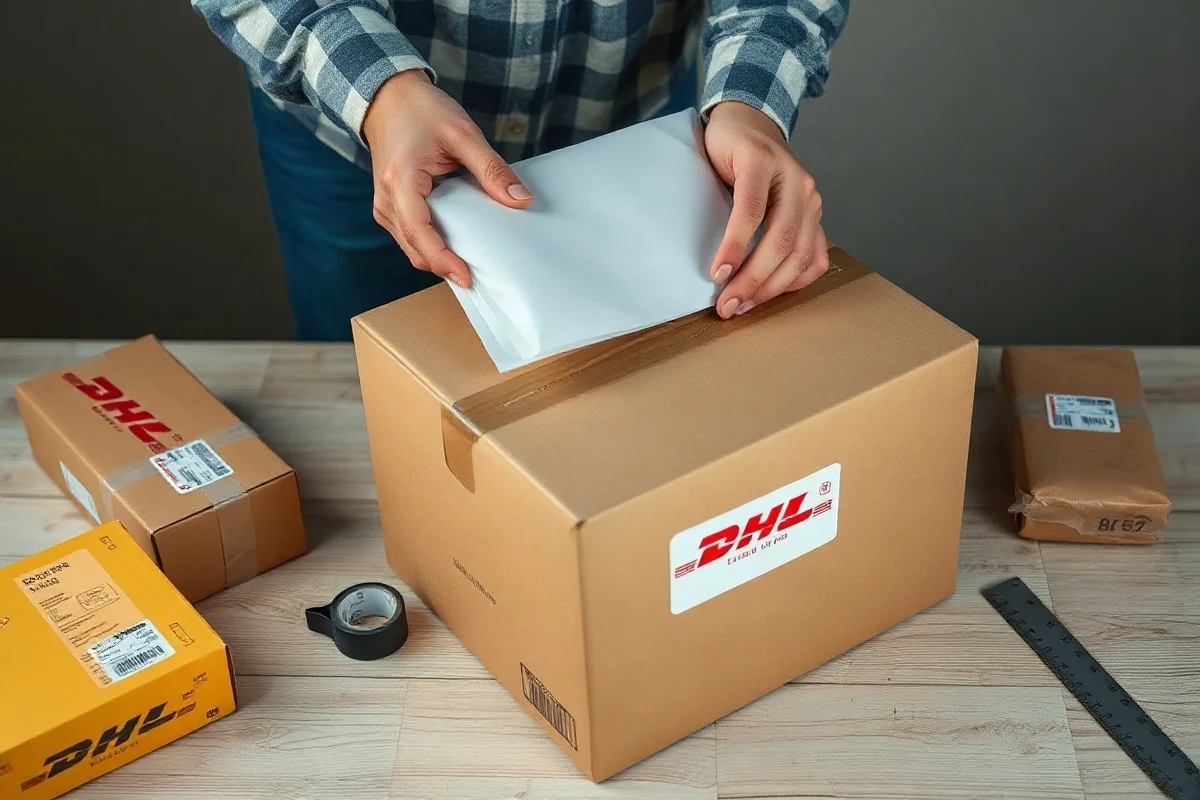
Measuring an open box can produce a different result from measuring the sealed parcel. Tape may pull a flap upward, a paper void fill may push against the sides, or a product may shift and create a bulge. Finish packing and sealing before taking the final measurements.
If you add an outer protective carton, pallet, sleeve, or overpack, measure the complete shipping unit. The dimensions of an inner retail box do not replace the dimensions of the outer package used by the carrier.
Weigh the Package After Packing
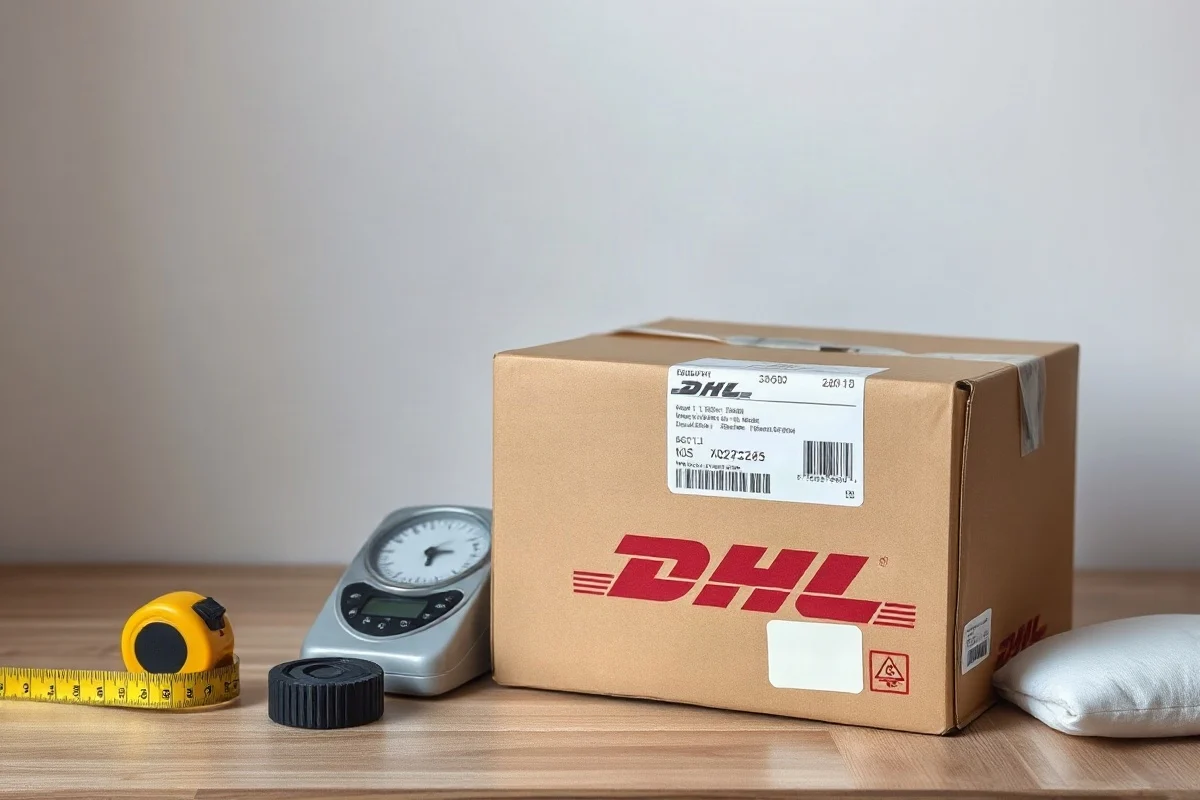
Dimensions and weight should be recorded at the same stage: after the item is fully packed and sealed. The shipping label, documentation pouch, tape, cushioning, and outer packaging add weight. A product listing or warehouse record may show the product's net weight, but that is not necessarily the billable shipment weight.
Use a scale appropriate for the package size and place it on a level surface. If the reading is close to a weight threshold, do not guess or subtract the packaging. Record the displayed value according to the current carrier or platform instructions. Keep the measured weight and dimensions together in your shipment record to make later audits easier.
Understand Dimensional Weight Without Guessing the Divisor
Dimensional weight estimates the space a package occupies rather than relying only on its physical weight. A common structure is:
Dimensional weight = length × width × height ÷ dimensional divisor
However, the divisor is not universal. It can vary by carrier, service, destination, package type, and current pricing rules. Some shipping platforms may also apply their own rounding instructions. Do not copy a divisor from an old label, a different carrier, or an unrelated calculator and assume it applies to your DHL shipment.
For a quick independent check, you can use the dimensional weight calculator, then compare the result with the current DHL quote or account terms. Treat the calculator as an estimate unless its settings match the exact service and rules being used.
Example of the Measurement Process
Suppose a sealed carton measures 18.25 by 12.5 by 8.25 inches and weighs 9 pounds. First, verify that those are the exterior measurements at the largest points. Next, confirm that the shipping form expects inches and pounds. Then enter the dimensions without rounding them down. Finally, compare the actual weight with the dimensional-weight result produced by the current DHL tool or shipping platform.
This example does not establish a DHL charge or rate. The applicable result depends on the service, destination, account terms, and current rules. It simply demonstrates why the final package measurements must be more precise than a rough estimate made before packing.
Use a Repeatable Measuring Checklist
A short checklist can prevent most data-entry problems:
- Pack the product using the materials that will actually ship.
- Close and seal the package completely.
- Measure the exterior length, width, and height at the largest points.
- Record fractions or decimals instead of rounding down.
- Confirm the unit for dimensions and weight.
- Weigh the sealed parcel, including all packaging and paperwork.
- Enter the values in the order requested by the carrier or platform.
- Review the quote before buying the label.
- Save the final measurements for repeat shipments.
A box-sizing tool such as the box size calculator can help you compare product dimensions with possible cartons before packing. For carrier-specific preparation, see the guide to measuring a package for DHL and review DHL's current official requirements before shipping.
When to Recheck DHL Requirements
Carrier rules can change, and DHL services may apply different requirements depending on the destination, service level, shipment type, and account arrangement. Verify current size limits, weight limits, dimensional-weight calculations, rounding rules, and possible additional charges directly with DHL before sending an unusual, oversized, irregular, or international package.
Also recheck the rules when a shipment is close to a stated threshold. A package that is technically under one limit before sealing may exceed it after adding an outer box or protective material. If the shipment is valuable or time-sensitive, request clarification before purchasing the label rather than relying on an old quote.
For more carrier-focused guidance, browse the DHL Package Guide. The goal is simple: measure the parcel that will actually enter the shipping network, report its dimensions and weight honestly, and confirm the current rules for the service you selected.
Comments
0No comments yet. Be the first to share a helpful note or question.
Leave a Comment
Your email address will not be published. Comments are reviewed before appearing on the site.