
The most reliable way to reduce dimensional weight charges is to make the finished package smaller without compromising protection. Use a box that fits the product closely, minimize empty space, measure the sealed package accurately, and compare the package’s dimensional weight with its actual weight before buying a label. Because carriers can use different formulas, divisors, rounding rules, service conditions, and surcharges, verify the current requirements for the specific service you plan to use.
What dimensional weight charges mean
Dimensional weight, sometimes called volumetric weight, estimates how much space a package occupies in a delivery vehicle or aircraft. A large, lightweight carton may cost more to ship than a small, heavy carton because the carrier is charging for transportation capacity as well as physical weight.
In many shipping systems, the carrier calculates dimensional weight from the package’s outside length, width, and height. The resulting dimensional weight is then compared with the package’s actual scale weight. The billable weight may be the greater of the two, although the exact process can vary by carrier, service level, destination, package type, and account terms.
Do not assume that the dimensions printed on a product box are the dimensions used for billing. Carriers generally need the outside dimensions of the completed shipping package, including the carton, protective materials, tape, labels, and any protruding or irregular sections.

Measure the finished package correctly
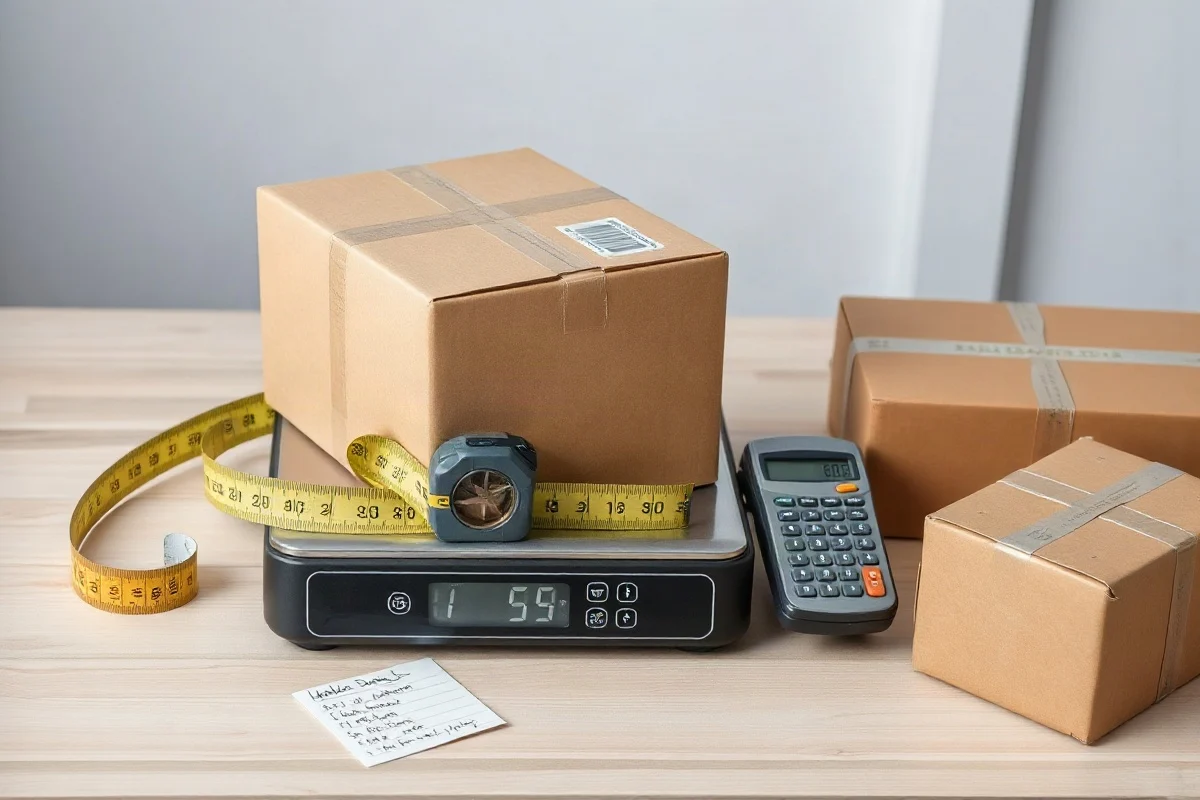
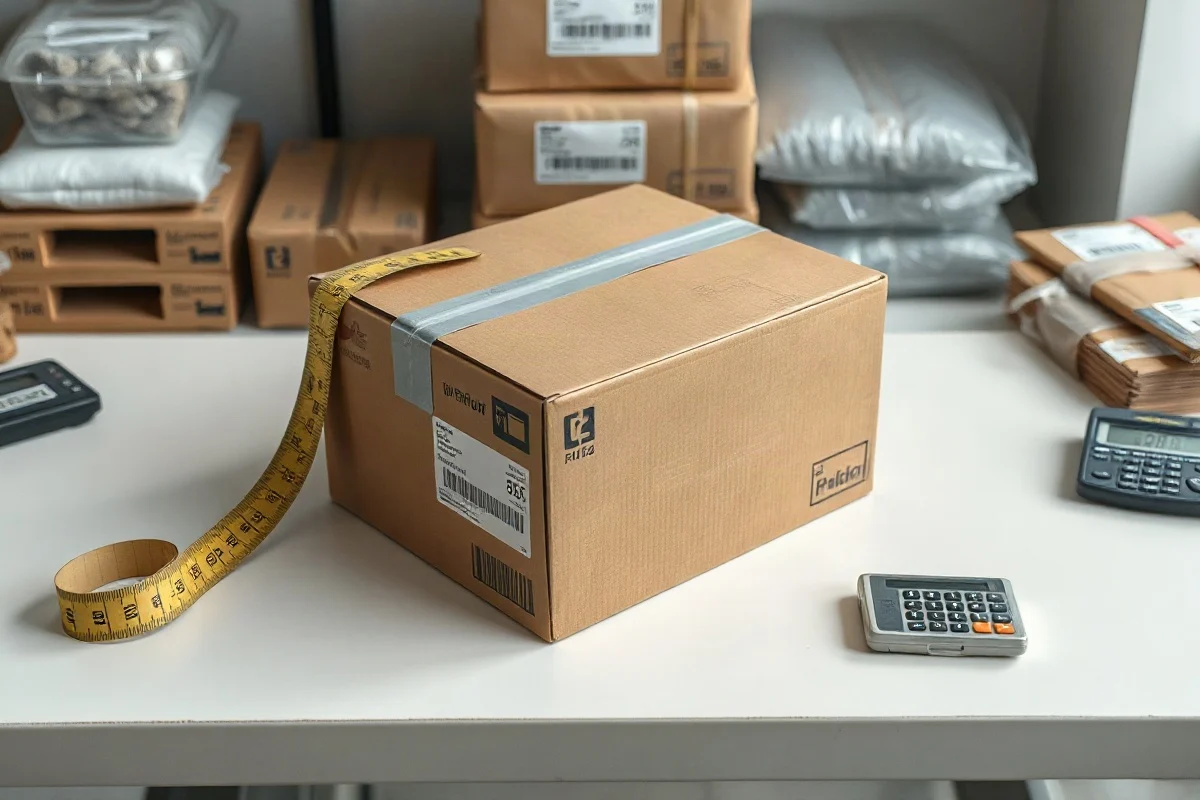
Accurate measurements are the first step in avoiding unnecessary dimensional weight charges. Before measuring, pack the item completely and seal the box as it will be presented to the carrier. Place the package on a flat surface and use a rigid tape measure or ruler.
Measure length, width, and height
For a typical rectangular box, identify the three outside dimensions:
- Length: usually the longest side of the package.
- Width: the side perpendicular to the length and generally wider than the height.
- Height: the remaining vertical dimension when the package is positioned for measurement.
Measure to the outermost points, not to the inside walls of the box. Include bulging panels, overfilled cartons, protective corners, and other features that increase the package’s actual footprint. If a side falls between whole-inch marks, follow the carrier’s current rounding instructions rather than rounding casually. Some shipping systems may round dimensions or calculated weight in ways that affect the final billable amount.
For irregular packages, measure the smallest rectangular length, width, and height that could contain the entire package. A soft mailer may expand after filling, and a box with an uneven top may have a larger effective dimension than its original flat measurements suggest.

You can use the Dimensional Weight Calculator to check the calculation after recording the final outside measurements.
Use the dimensional weight formula carefully
The basic formula is:
Dimensional weight = length × width × height ÷ dimensional-weight divisor
The dimensions must be in the unit required by the carrier or shipping platform. For measurements in inches, the divisor is typically expressed in cubic inches per weight unit. For metric measurements, a different formula or conversion may apply. Never substitute a divisor from one carrier or service for another without checking the applicable current rate or service documentation.
For example, suppose a sealed carton measures 18 × 14 × 10 inches. Its volume is:
18 × 14 × 10 = 2,520 cubic inches
To determine the dimensional weight, divide 2,520 by the divisor specified for the shipment. The result may need to be rounded according to the carrier’s rules. Compare that result with the package’s actual scale weight. If the dimensional figure is higher, reducing the carton’s volume may lower the billable weight.
For a current calculation, enter the dimensions, actual weight, origin, destination, and service details into the carrier’s official tools or your shipping platform. A general overview of related measurements is also available in the dimensional weight guide.
Choose a box that fits the product
The easiest packaging change is often selecting a smaller box. Start with the product’s required interior clearance, then add only enough room for protective material and closure. Avoid choosing a large standard carton simply because it is available or inexpensive to store.
A practical box-sizing process looks like this:
- Measure the product at its longest, widest, and highest points.
- Determine whether it needs cushioning on one side, two sides, or all sides.
- Add the minimum protective clearance needed to prevent movement and contact damage.
- Compare the resulting interior space with available carton sizes.
- Choose the smallest box that allows the product to be packed safely and sealed without forcing the panels.
Do not reduce dimensions so aggressively that the product touches the walls or the box cannot close properly. A damaged item, failed seal, or crushed carton can cost more than the original dimensional-weight charge. The goal is not the smallest possible box; it is the smallest safe package.
The Box Size Calculator can help estimate a suitable carton from product measurements and clearance needs.
Reduce empty space without removing protection
Empty space increases carton volume, but removing all cushioning is not a safe solution. Instead, match the protective material to the product’s fragility, shape, and shipping conditions.
Use thinner or more efficient cushioning
Replace oversized cushioning with a material that provides the required protection in less space. For some products, paper cushioning, air pillows, foam, molded inserts, corrugated pads, or custom die-cut components may reduce volume. The best choice depends on the item’s weight, breakability, surface finish, and ability to withstand vibration and impact.
Test the revised package before using it at scale. Check whether the product shifts when the carton is gently moved, whether corners remain protected, and whether the container closes without bulging. A packaging change should be judged by damage performance as well as shipping cost.
Stop products from shifting
When an item moves inside a box, packers often add extra filler. A closer-fitting carton or a properly sized insert can prevent that repeated adjustment. For multiple items, arrange them so they nest efficiently and use dividers when contact between products could cause damage.
Consider a custom carton or mailer
Standard boxes are convenient, but their dimensions may create unnecessary volume. If you ship the same product regularly, a custom carton, bookfold mailer, roll-end carton, or fitted corrugated insert may reduce the finished package size.
Custom packaging is most useful when the product is consistently shaped and shipped in meaningful quantities. Before ordering, compare more than the carton price. Include tooling, storage, minimum order quantities, packing labor, material waste, and the potential reduction in shipping charges. A smaller package may also require less void fill and occupy less warehouse space.
For occasional shipments, resizing a standard carton or keeping several smaller carton options may be more practical than commissioning a custom design. Review available box sizes and compare their actual outside measurements when packed, not just their nominal labels.
Use packaging that matches the product shape
Some products generate dimensional weight because they are packed in rectangular cartons with large unused corners. A correctly sized mailer, tube, flat carton, or product-specific package may use space more efficiently. However, an unusual shape can create other handling concerns, including difficulty stacking, greater puncture risk, or possible nonstandard-package charges.
Before changing the package shape, check the current rules for the intended carrier and service. A package that is compact in volume may still be subject to special handling, size, shape, or surcharge rules. The cheapest package by dimensional weight is not always the cheapest package to send.
Compare actual weight and dimensional weight before shipping
Weigh the fully packed package on a reliable scale. Do not estimate the shipping weight from the product’s listed weight alone. Include the carton, inserts, cushioning, tape, documentation, and any accessories placed inside the package.
Then calculate or retrieve the dimensional weight using the applicable carrier and service rules. If actual weight is already higher than dimensional weight, shrinking the box may not change the billable weight unless it also reduces a size-based surcharge or moves the package into a different pricing category. If dimensional weight is higher, a smaller package may produce a more meaningful reduction.
Keep a record of the product, packaging type, outside dimensions, scale weight, carrier service, and billed result. This information helps identify which packaging changes actually reduce total shipping cost instead of merely changing one part of the calculation.
Check carrier and marketplace requirements
Dimensional-weight practices are not universal. The applicable divisor, measurement rounding, minimum billable weight, oversize treatment, surcharge structure, and package restrictions can vary. Rules may also differ between domestic and international shipments and between retail labels, negotiated accounts, and marketplace fulfillment programs.
Before relying on a packaging change, review the current official documentation for the carrier, service level, destination, and account type. If a marketplace or fulfillment program is involved, check its current packaging and fee requirements separately. Published rules and calculators can change, so an older example should not be treated as a current guarantee.
Practical ways to lower dimensional weight charges
- Measure the sealed package, not only the product or empty carton.
- Use outside dimensions and follow the applicable rounding instructions.
- Choose a carton that provides safe protection with minimal clearance.
- Use inserts or efficient cushioning to prevent movement without overfilling.
- Test a mailer, tube, flat carton, or custom package when the product shape allows it.
- Weigh the complete package and compare actual weight with dimensional weight.
- Review carrier-specific divisor, rounding, surcharge, and size rules before purchasing a label.
- Track damage rates and total fulfillment cost after changing packaging.
Reducing dimensional weight is a packaging design problem as much as a shipping calculation problem. The strongest results usually come from a repeatable process: measure the product, select the smallest safe package, verify the finished dimensions, calculate using the current applicable rules, and confirm the result with the carrier or shipping platform. That approach helps control shipping costs without sacrificing product protection or delivery reliability.
Comments
0No comments yet. Be the first to share a helpful note or question.
Leave a Comment
Your email address will not be published. Comments are reviewed before appearing on the site.