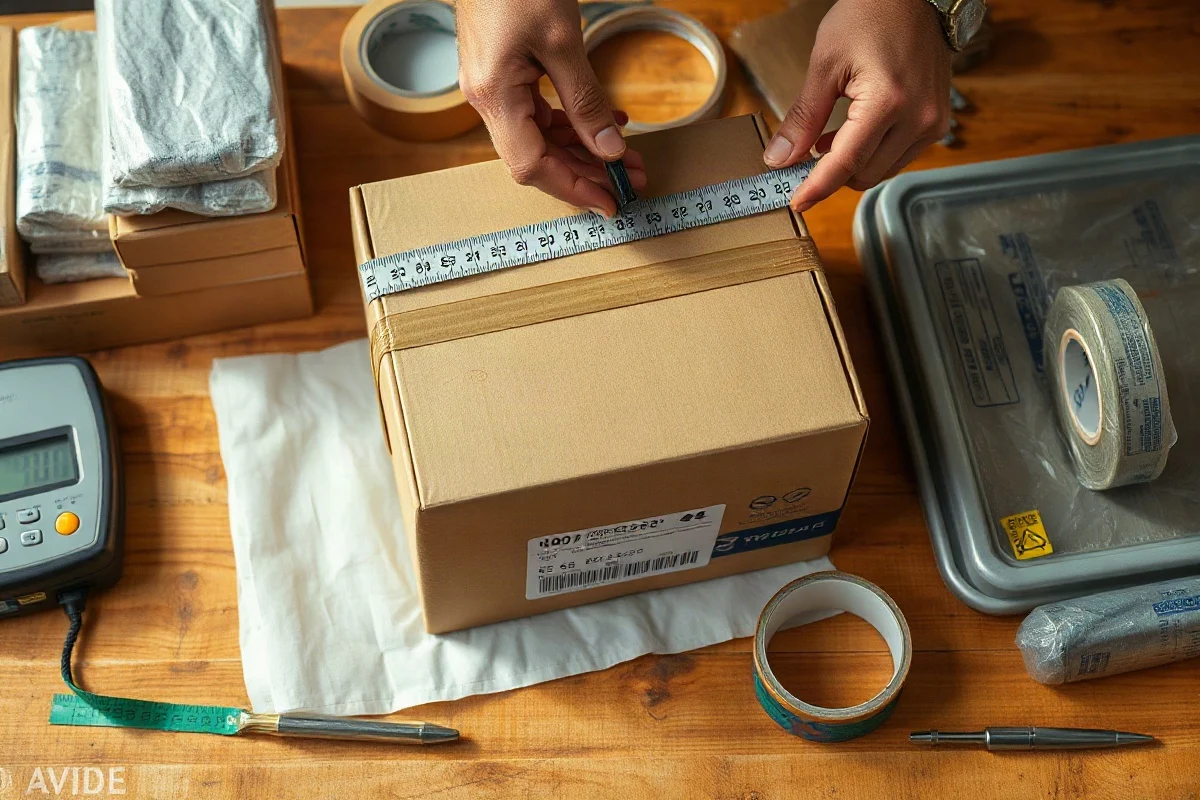
To measure a box for shipping, use the package’s outside dimensions after it is packed and sealed. Measure the longest side as the length, the shorter side across the front as the width, and the remaining side as the height. Record the measurements in the unit required by your carrier or shipping calculator, usually inches in the United States. Measure to the nearest inch unless the carrier or service specifically accepts more precise dimensions.
Why Accurate Box Measurements Matter
Box dimensions can affect the shipping price, eligibility for a service, and whether a package is accepted without an adjustment. A package may be charged according to its actual weight, dimensional weight, or another pricing rule, depending on the carrier, service level, destination, and package type.
Even a small difference can matter when a box crosses a carrier’s measurement threshold. For that reason, measure the completed package rather than relying only on the manufacturer’s description of an empty carton. Box labels may describe interior dimensions, nominal dimensions, or an approximate size, while carriers generally need the outside dimensions of the prepared shipment.
Before shipping, check the current requirements for your selected service. Carrier limits, dimensional-weight formulas, rounding practices, surcharges, and oversize rules can change and may vary among USPS, UPS, FedEx, DHL, and other services.
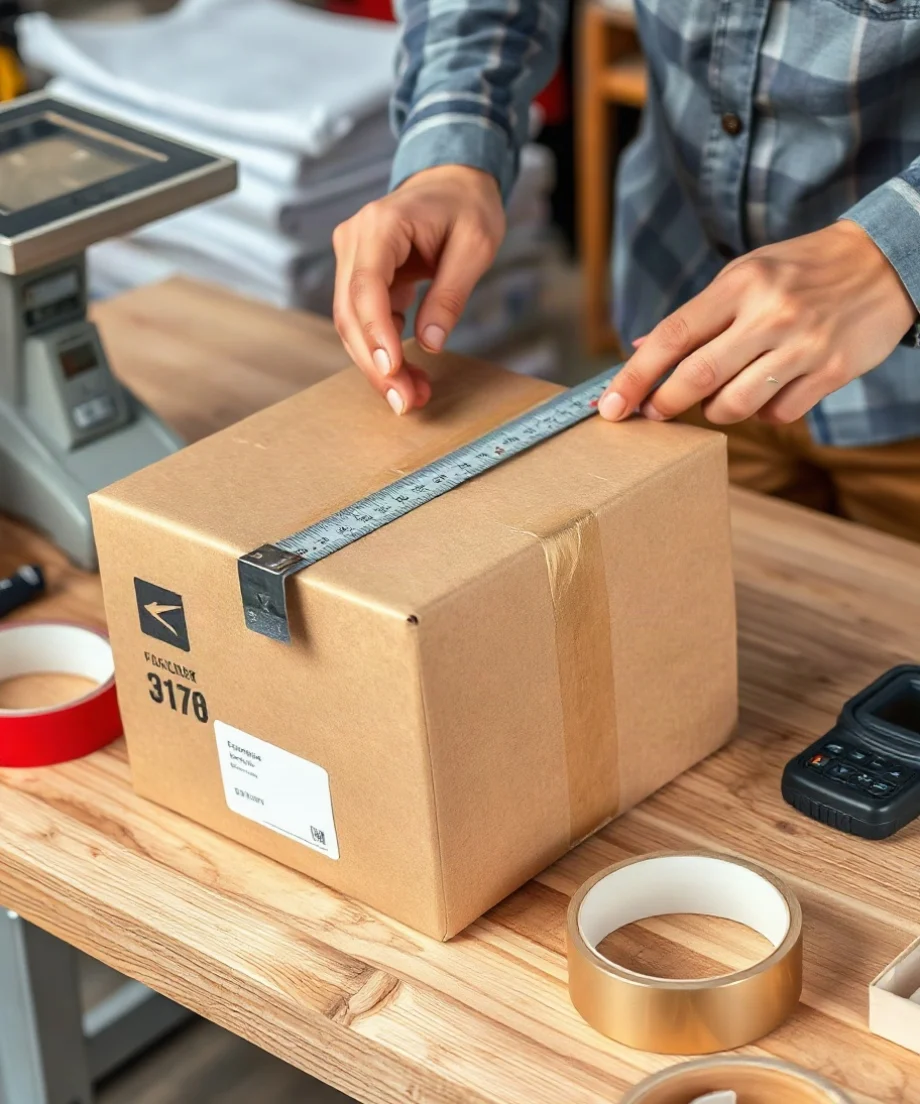
What the Three Box Dimensions Mean
Most shipping forms ask for three measurements:
- Length: the longest side of the package.
- Width: the shorter side of the package’s top or front face.
- Height: the side that runs from the bottom of the package to the top when the box is in its normal shipping position.
For a rectangular box, the order is commonly written as length × width × height. For example, a carton measuring 18 inches long, 12 inches wide, and 10 inches high should be entered as 18 × 12 × 10 inches.
The order can be less important for some calculators because they multiply all three numbers, but it still matters for carrier forms, packing instructions, storage systems, and services that define length as the longest side. Do not guess which side is which when a shipment may be subject to a maximum length or a length-plus-girth rule.
How to Measure a Box Step by Step
1. Pack and seal the shipment first
Put the product, cushioning, inserts, and paperwork inside the box. Close all flaps and seal the carton with the tape you intend to use. Tape can add a small amount to the outside dimensions, and bulging sides or raised seams may affect the final measurement.
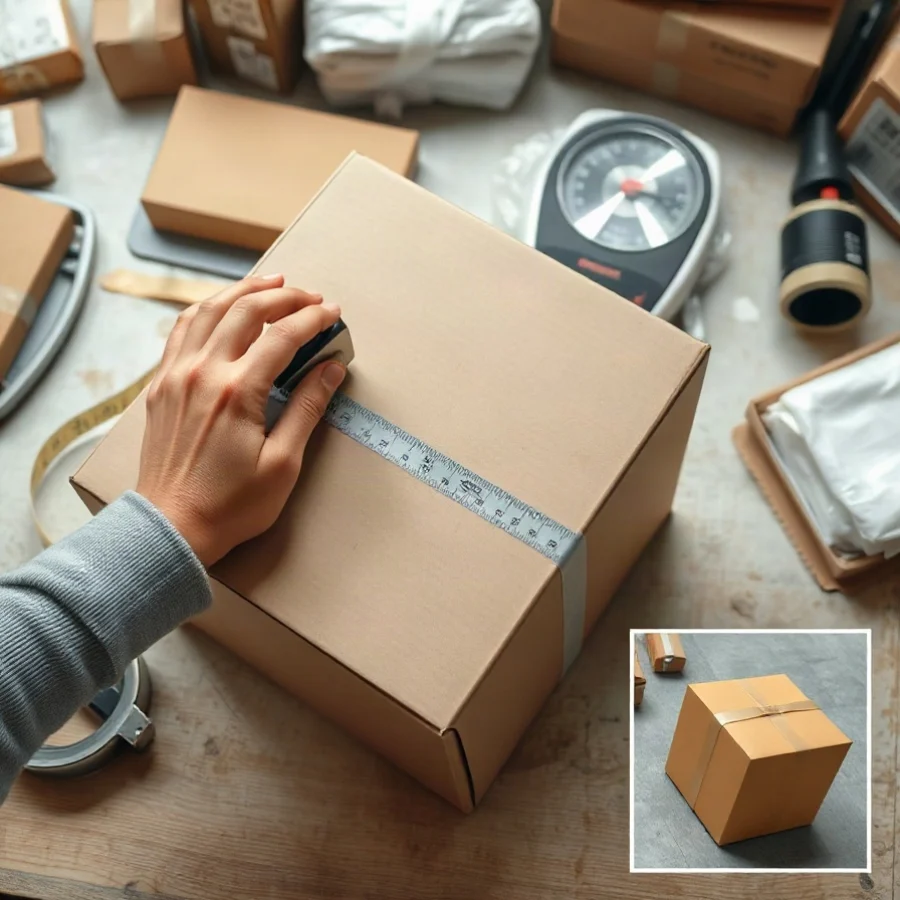
If you measure an empty box and then add thick padding, the finished package may be larger than expected. Packing first also reveals whether the contents press against the walls or cause the box to bow outward.
2. Place the package on a level surface
Set the box on a flat table or floor in the position in which it will normally travel. Keep the sides as square as possible. If the box is soft-sided, flexible, or overfilled, gently adjust it without crushing the contents. A warped package is harder to measure consistently and may not fit within a carrier’s automated equipment.
3. Measure the longest side
Use a tape measure, ruler, or box-measuring tool to measure the longest straight edge. Measure from the outside of one end to the outside of the opposite end. This is the length.
Do not measure only the inside space available for the product. Include the cardboard walls, seams, and any material that makes the package extend beyond the inner cavity.
4. Measure the width
Measure the shorter edge across the same face of the box. Keep the tool straight and parallel to the edge. This is the width. If the carton is not perfectly square, measure the widest practical point that represents the package’s outside size.
5. Measure the height
Measure the remaining side from the bottom outside surface to the top outside surface. This is the height. Include the closed flaps, tape, handles, protrusions, and other features that increase the package’s overall height.
6. Round according to the applicable instructions
Write down the exact measurements first, then apply the rounding method required by the carrier, service, or calculator. If no specific instruction is available, do not assume that rounding down is acceptable. Rounding down can understate the package size and lead to a later correction.
A practical approach is to use the next whole inch whenever the package measurement falls between whole inches, but this is not a universal rule. Verify the current instructions before buying postage or creating a shipping label.
How to Measure Common Box Shapes
Rectangular boxes
Rectangular cartons are the simplest. Identify the longest edge for length, the next edge for width, and the remaining edge for height. Measure the outside of the sealed carton, not the dimensions printed on an unused box unless those dimensions have been confirmed as outside measurements.
Square boxes
A cube may have the same number for all three dimensions, such as 12 × 12 × 12 inches. Even so, record all three measurements. Shipping forms generally require three entries, and a slightly uneven or bulging cube may not have identical outside dimensions after packing.
Irregular or soft packages
For cylindrical, oval, flexible, or irregular packages, measure the package’s maximum outside length, width, and height. Use the smallest rectangular box that would fully contain the package when determining its effective dimensions. Avoid compressing a soft package during measurement if it will expand again in transit.
Items with handles, wheels, tubes, exposed corners, or other projections should be measured including those features. If the carrier provides special instructions for nonrectangular packages, follow those instructions rather than treating the item as a standard carton.
Calculating Cubic Volume
Once you have the three measurements, calculate the package’s cubic volume with this formula:
Length × width × height = cubic volume
For a box measuring 18 × 12 × 10 inches:
18 × 12 × 10 = 2,160 cubic inches
This number describes the package’s volume. It is not the shipping price and it is not automatically the dimensional weight. Carriers use their own applicable formulas and rules, which may differ by service, destination, package category, and account or contract terms.
For additional guidance on volume-based pricing, see the dimensional weight resources on Package Size Guide.
Understanding Dimensional Weight
Dimensional weight is a pricing method that estimates how much space a package occupies rather than relying only on the scale weight. A carrier typically divides the package volume by a service-specific dimensional factor and then applies its rounding rules. The exact divisor and calculation can vary, so do not use a generic formula as a final quote without checking the current carrier requirements.
For an accurate estimate, measure the sealed package, record the outside length, width, and height, and enter those values into the carrier’s current calculator. Compare the result with the actual scale weight when the service uses the greater of actual weight and dimensional weight. Some shipments may also be subject to minimum billable weights, oversize handling, or other adjustments.
Always verify the applicable divisor, rounding method, and surcharge rules at the time of shipment. A calculator or guide that was accurate for one service may not apply to another.
Length Plus Girth Measurements
Some carrier services evaluate a package using length plus girth in addition to, or instead of, three-dimensional limits. Girth is commonly calculated as:
2 × width + 2 × height
Then:
Length + girth = length + 2 × width + 2 × height
For a rectangular package measuring 18 × 12 × 10 inches, the girth would be 44 inches, and the length plus girth would be 62 inches. This example shows the method only; it does not establish an acceptance limit or fee for any carrier. Current limits and definitions can differ, so check the official rules for the selected service before shipping.
Common Measurement Mistakes to Avoid
- Measuring the product instead of the package: Shipping dimensions describe the completed outer package, including protective materials.
- Using interior dimensions: Interior space does not represent the outside size used for many shipping calculations.
- Ignoring bulges: Overfilled cartons, padded mailers, and flexible bags may become larger after they are packed.
- Leaving out protruding parts: Handles, straps, labels, wheels, and other attached features can affect the overall dimensions.
- Measuring before sealing: Closed flaps and tape can increase the final outside measurement.
- Rounding down automatically: Understating a dimension can result in postage adjustments or an incorrect eligibility decision.
- Entering dimensions in the wrong order: Use length, width, and height as requested by the shipping form.
- Assuming every service uses the same rule: Carrier and marketplace requirements can vary and may change over time.
Tips for More Reliable Measurements
Use a rigid ruler or tape measure with clearly marked units. Measure each side twice if the package is close to a size threshold. If the carton is flexible, measure at its widest stable point without pressing it flat. Keep a record of the final dimensions and actual weight for repeat shipments, but recheck the package whenever the box, cushioning, product configuration, or tape pattern changes.
For business shipping, create a simple packing reference that lists the finished dimensions for each product and box combination. Treat those values as working measurements rather than permanent guarantees. Different packing employees may close cartons differently, and a heavier or more protective packing method can change the final size.
Before purchasing postage, enter the measured dimensions and weight into the current carrier or marketplace shipping tool. If the result conflicts with a published guide, contact the carrier or consult its official rules. You can also review related package dimension and shipping calculator resources for practical comparisons.
A Simple Final Check
Before the package leaves your hands, confirm four details: the box is fully sealed, the measurements are outside dimensions, the three numbers are recorded in the correct order and unit, and the current service rules have been checked. If the shipment is near a maximum size, dimensional-weight threshold, or oversize category, measure especially carefully and allow for the carrier’s stated rounding method.
Correct measurement is a small step that helps prevent unexpected adjustments, rejected packages, and inaccurate shipping quotes. Measure the finished package, document the result, and verify any changing carrier or marketplace requirements before you buy the label.
Comments
0No comments yet. Be the first to share a helpful note or question.
Leave a Comment
Your email address will not be published. Comments are reviewed before appearing on the site.