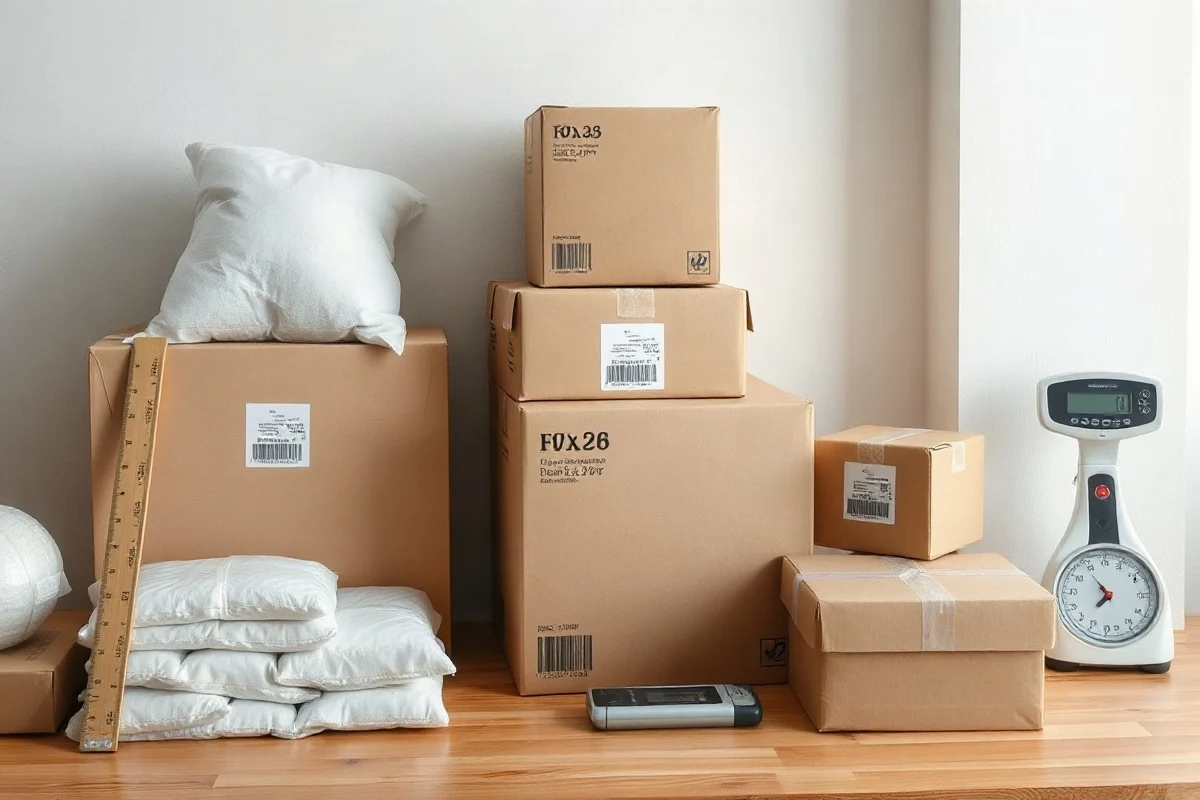
Choose a box that is just large enough to hold your product, protective materials, and any required inserts without forcing the contents or leaving excessive empty space. Start with the product’s longest, widest, and tallest measurements, then add room for cushioning on every side. Before ordering boxes in bulk, test the package, measure its finished outside dimensions, weigh it, and check the current requirements and pricing for your intended carrier or marketplace.
Why the Right Box Size Matters
Box selection affects more than appearance. A box that is too small can compress the product, damage corners, prevent the flaps from closing properly, or leave no room for protective material. A box that is too large may require more filler, take up more storage space, and increase shipping costs if the carrier uses dimensional weight.
The best package is not necessarily the smallest possible carton. It is the smallest practical package that protects the product through handling, remains easy to pack, closes securely, and meets the requirements of the shipping service or sales channel. Packaging decisions should balance product protection, material cost, labor, warehouse space, and transportation cost.
Measure the Product Before Choosing a Box
Measure the product in the same condition in which it will be packed. If it has a removable part, hinged lid, handle, or irregular shape, account for the part that creates the largest overall dimensions. Record the measurements in a consistent order: length, width, and height.

For rectangular products
Measure the product’s outside dimensions with a ruler or tape measure. Measure the longest side as length, the next-longest side as width, and the remaining side as height. Round up rather than down when a measurement falls between marks. A product measuring 10.1 inches should not be treated as a 10-inch item when selecting packaging.
For soft, flexible, or irregular products
Place the product in the shape it will have inside the package, but do not compress it more than the product or packing instructions allow. Measure the maximum length, width, and height. For clothing, fabric goods, and other compressible items, consider whether the item will be folded, placed in a bag, or protected by tissue or foam before it enters the box.
For round products, measure the maximum diameter and the length or height. For products with protruding parts, use the maximum outside measurement rather than the main body measurement. If the product can rotate inside the box, the box still needs enough clearance for its widest orientation.
Add Space for Protection
After measuring the product, determine how much space is needed for protection. The amount depends on the product’s fragility, weight, shape, value, shipping distance, and the type of cushioning used. There is no universal clearance that works for every item.

Think in terms of clearance on each side of the product, not just extra space added to one dimension. If you need one inch of cushioning between the product and the box wall on both sides of a dimension, add two inches to that dimension. For example, a product measuring 10 by 6 by 4 inches may need a larger interior space if it is wrapped in several layers of protective material.
Use enough material to prevent the product from contacting the box walls, corners, and seams. The product should not shift freely when the sealed package is gently moved, but it should also not be compressed so tightly that the box bulges or the product is damaged.
Common protective materials
- Paper cushioning: Useful for blocking movement and filling moderate voids when packed firmly enough to remain in place.
- Bubble cushioning: Helpful for surface protection and lightweight products, with the bubble size selected according to the item’s needs.
- Foam sheets or pads: Useful for separating surfaces, protecting finishes, and wrapping products with delicate edges.
- Foam inserts or molded inserts: Helpful when a product needs a repeatable fit or extra protection around specific areas.
- Corrugated partitions: Useful for separating multiple items and reducing contact between products.
Do not assume that filling every empty area automatically creates a safe package. Cushioning must stay in position and protect the product from the types of movement and impact it may experience. A simple trial pack can reveal whether material collapses, shifts, or leaves exposed corners.
Calculate the Minimum Interior Box Size
Use the product dimensions plus the required protection on both sides of each dimension. The basic planning formula is:
Required interior length = product length + left-side clearance + right-side clearance
Required interior width = product width + front-side clearance + back-side clearance
Required interior height = product height + bottom clearance + top clearance
For example, suppose a product measures 12 by 8 by 3 inches and needs approximately 1 inch of protective space around every side. The planned interior space would be about 14 by 10 by 5 inches. That is a starting point, not an automatic box order. The actual packaging material may require more or less room, and the product may fit better in a different orientation.
Compare your calculated space with the manufacturer’s box specifications. Box dimensions are commonly listed as length by width by depth or height, but naming conventions can vary. Confirm whether the listed measurements are interior or exterior dimensions. Interior dimensions are the critical measurements for checking fit, while exterior dimensions are important for shipping calculations and storage planning.
Understand Box Dimensions and Finished Package Size
A box’s listed size is not always the same as the final package size. Corrugated material has thickness, and the box may bulge slightly when filled. Tape, labels, corner protection, and protruding parts can also affect the finished outside measurement.
For shipping, measure the sealed package after packing it. Measure the longest outside dimension, the widest outside dimension, and the shortest outside dimension. Measure across the areas that create the maximum dimensions, and round according to the current instructions of the carrier or shipping software you use.
If you are comparing standard box sizes, review the box sizes guide for common carton formats and planning considerations. Standard sizes may be easier to source, but a custom or better-fitting box can sometimes reduce filler and improve product presentation.
Check Dimensional Weight Before Finalizing the Box
Some shipping services price packages using dimensional weight when the package takes up more space than its actual weight would suggest. The general calculation uses the package’s length, width, and height divided by a carrier- or service-specific dimensional factor:
Dimensional weight = length × width × height ÷ applicable dimensional factor
The dimensional factor, rounding method, minimum billable weight, and rules for applying dimensional weight can vary by carrier, service, package type, destination, and account terms. Because these details may change, do not rely on an old chart or assume that one carrier’s formula applies to another. Confirm the current calculation with the official carrier source or your shipping platform.
Use the finished outside dimensions, not just the product dimensions, when evaluating dimensional weight. A small reduction in box height or length can matter when it moves the package into a different billing range. You can compare the actual scale weight with the applicable dimensional weight using a current dimensional weight reference, then verify the result against the service you plan to use.
Consider Carrier and Marketplace Requirements
A package may need to meet requirements beyond basic fit. A carrier or marketplace may specify limits or special handling rules for package dimensions, weight, shape, labeling, overhang, batteries, liquids, fragile goods, or multi-item shipments. These requirements can vary by destination, service level, product category, and date.
Before choosing a production box, check the current official rules for the exact service and sales channel. This is especially important for fulfillment programs, international shipments, oversized packages, and products subject to restricted-material regulations. Do not treat a general box recommendation as proof that a package qualifies for every carrier or marketplace program.
For marketplace fulfillment, confirm whether the measurement is based on the product, the retail package, the shipping carton, or the package after preparation. If you sell through Amazon or another marketplace, review the current official packaging and fulfillment instructions before committing to a box design. Our product packaging resources can help organize the planning process, but official requirements should control the final decision.
Pack a Test Box Before Buying in Bulk
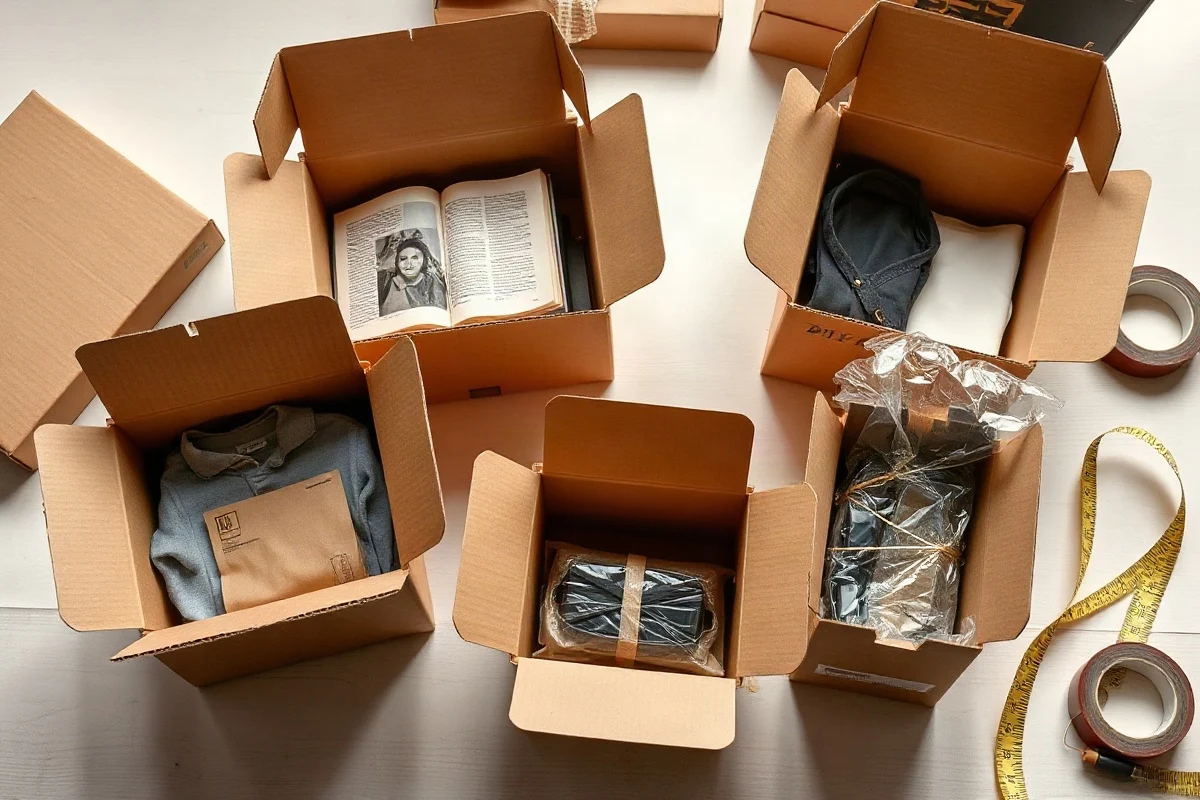
A physical test pack is one of the most useful steps in box selection. Use the actual product, protective materials, inserts, tape, and labels whenever possible. Pack the item as an employee or fulfillment partner would pack it, rather than arranging it perfectly for a one-time demonstration.
- Assemble the candidate box and check its usable interior space.
- Place cushioning or inserts on the bottom.
- Position the product so fragile areas are not pressed against the walls.
- Add protection to the sides and top, keeping the product centered when appropriate.
- Close the flaps without forcing, bowing, or crushing the carton.
- Seal the box using a method suitable for its weight and handling conditions.
- Measure the finished exterior dimensions and weigh the sealed package.
- Inspect the package for movement, exposed edges, loose filler, and weak seams.
Gently move the sealed package in different directions. If the product slides, rattles, or contacts the walls, improve the internal protection. If the carton bulges or the flaps pull apart, use a larger box or reduce the amount of material inside. For valuable or fragile goods, consider a documented packaging test appropriate to the product and shipping environment instead of relying only on a shake test.
Choose Between Standard and Custom Boxes
Standard boxes are usually simpler to source and replace. They may also be a good choice when your products vary in size or your order volume is modest. However, a standard carton can create unnecessary empty space if the available sizes do not match your products.
Custom boxes can improve fit, branding, and packing consistency, but they may require higher minimum order quantities, longer lead times, artwork preparation, and more storage space. Compare the total cost rather than only the per-box price. Include filler, labor, storage, damage risk, shipping charges, and the cost of replacing packaging when you evaluate the options.
Create a Repeatable Box-Selection Process
For a product line, record each product’s packed dimensions, protective materials, recommended box, finished package dimensions, weight, and packing instructions. Keep product and package measurements separate so employees do not confuse the item size with the shipping size.
Review the record when the product, insert, supplier, box material, or shipping service changes. Recheck the package if a new box vendor uses different interior dimensions, even when the nominal box size appears identical. A consistent process reduces packing errors and makes it easier to compare shipping options using a shipping calculator.
The right box is the smallest practical option that protects the product and works with your fulfillment process. Measure the item carefully, allow for real protective materials, confirm interior and exterior dimensions, test the finished package, and verify current carrier or marketplace rules before placing a large order. This approach helps you avoid crushed products, excessive filler, preventable dimensional-weight charges, and packaging that is difficult to use at scale.

Comments
0No comments yet. Be the first to share a helpful note or question.
Leave a Comment
Your email address will not be published. Comments are reviewed before appearing on the site.