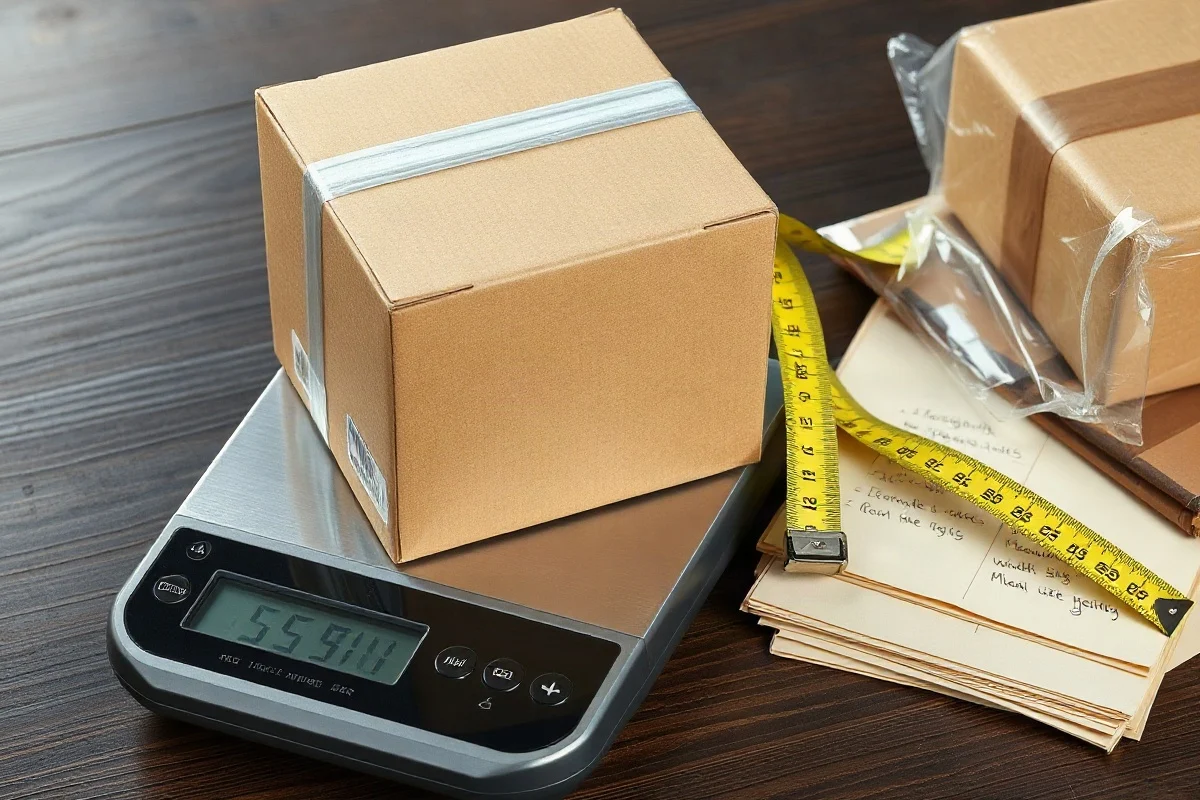
To calculate billable weight, weigh the fully packed package, calculate its dimensional weight using the carrier's current formula, and use the higher value when the carrier applies dimensional-weight pricing. The final charge can also be affected by service level, destination, package type, rounding rules, and other carrier-specific requirements, so confirm the result against the current official rate guide or shipping calculator before buying a label.
What billable weight means
Billable weight is the weight a carrier uses to price a shipment. It is not always the same as the number shown on a scale. A light package in a large box takes up more space in a delivery vehicle or aircraft than its actual weight suggests. Dimensional weight, also called volumetric weight, helps carriers price that occupied space.
For many parcel services, the carrier compares:
- Actual weight: the physical weight of the packed shipment.
- Dimensional weight: a calculated weight based on the package's outside dimensions.
The higher applicable weight is commonly used as the billable weight. However, this is not a universal rule for every shipment. Some services have minimum charges, special handling provisions, international conventions, or package categories that change how the calculation works. Always check the current rules for the carrier and service you selected.

Step 1: Weigh the completed package
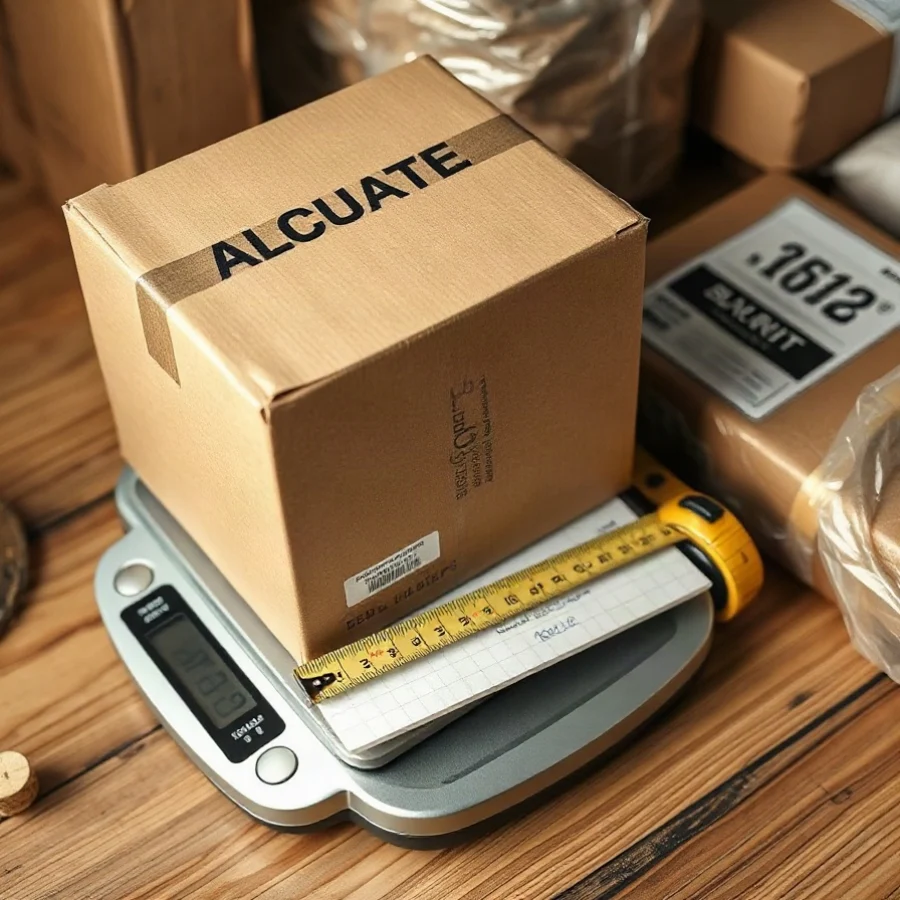
Start with the shipment exactly as it will be tendered to the carrier. Include the box, cushioning, tape, labels, inserts, and the product or products inside. Weighing only the item can produce an inaccurate result because packaging materials contribute to actual weight.
Use a scale that can display the unit required by the carrier's rate system. If the scale is not highly precise, weigh the package more than once and make sure it is centered on the platform. Record the weight before rounding it according to the carrier's instructions.
Measure the outside, not the inside
Dimensional calculations normally use the package's exterior dimensions. Measure the longest side as length, the next-longest side as width, and the remaining side as height. Include bulges, protruding flaps, irregular sides, and any part of the package that increases its overall footprint.
For a standard rectangular carton, measure from edge to edge after the box has been closed and sealed. Do not use the manufacturer's nominal box size if the packed carton expands or if the actual outside dimensions are different. A box listed as a certain size may measure slightly larger once filled, taped, or covered with an outer wrap.
Step 2: Calculate dimensional weight
The basic formula is:
Dimensional weight = (length × width × height) ÷ dimensional divisor
Use the dimensions and unit system required by the carrier. For measurements in inches, the divisor is generally a carrier- and service-specific number expressed in cubic inches per unit of weight. For international shipments, the carrier may publish a formula using centimeters and kilograms or another unit combination.
Do not assume that one divisor applies to every shipment. It can vary by carrier, service, destination, account terms, package type, or current pricing rules. Enter the divisor shown by the carrier's current documentation or shipping tool rather than copying a number from an old label, a third-party chart, or an unrelated service.
A worked example using a stated hypothetical divisor
Suppose a sealed carton measures 18 by 14 by 10 inches and weighs 7 pounds. Its cubic volume is:
18 × 14 × 10 = 2,520 cubic inches
For illustration only, assume the applicable carrier documentation specifies a dimensional divisor of 139 for this shipment. The dimensional-weight calculation is:
2,520 ÷ 139 = 18.13 pounds
If the carrier's rounding rule requires the result to be rounded up to the next whole pound, the dimensional weight would be 19 pounds. The actual weight is 7 pounds, so the billable weight would generally be the higher applicable value: 19 pounds.
This example demonstrates the method, not a universal rate rule. A different carrier or service may use another divisor or rounding method. Replace the hypothetical divisor with the current value shown for your shipment.
Step 3: Apply rounding and compare the weights
After calculating dimensional weight, apply the carrier's current rounding instructions. Some systems round dimensions before multiplying, while others use measured dimensions and round the calculated weight. A small difference in procedure can change the billable-weight bracket, especially when the result is close to a whole-pound boundary.
Then compare the rounded dimensional weight with the actual weight:
- If actual weight is higher, actual weight may be billable.
- If dimensional weight is higher, dimensional weight may be billable.
- If the service has a minimum billable weight or special pricing rule, that requirement may control instead.
For a faster calculation, you can use the Dimensional Weight Calculator, but verify the calculator's inputs and divisor against the carrier's current requirements when accuracy matters.
Why package dimensions have such a large effect
Dimensional weight is based on volume, so every extra inch can affect the result. Increasing one side changes the entire multiplication. Leaving empty space around a product can therefore create a higher billable weight even when the contents remain light.
For example, replacing a snug 16-by-12-by-8-inch carton with a 20-by-14-by-10-inch carton does more than add a few inches to the outside. The first carton has a volume of 1,536 cubic inches, while the second has a volume of 2,800 cubic inches. The larger carton occupies substantially more shipping space before any divisor or rounding rule is applied.
This is why choosing a box by product length alone is not enough. Check the item's height, protective materials, void fill, and the amount of room needed to close the carton without crushing the contents.
How to reduce billable weight without underprotecting the item
Choose the smallest safe box
Select a carton that leaves enough room for required cushioning but avoids unnecessary empty space. A box that is too small can damage the product, while a box that is too large may increase dimensional weight. If you ship the same item repeatedly, test several box sizes and compare the completed package dimensions, actual weight, damage risk, and total shipping cost.
Use efficient protective materials
Protective packaging does not need to be bulky in every situation. Depending on the product, molded inserts, paper cushioning, corrugated pads, or appropriately sized air-filled materials may provide protection with less volume than oversized loose fill. The right choice depends on fragility, movement inside the box, stacking pressure, and the distance the shipment will travel.
Control void space
Fill gaps so the product cannot shift, but do not automatically fill a large carton with extra material. Reducing the carton size is usually more effective than adding enough void fill to stabilize an oversized box. Before changing the packaging, perform a basic drop, compression, or vibration test appropriate for the product and its risk level.
Review multipiece shipments separately
When an order is divided into multiple packages, calculate each package independently unless the carrier's service specifically provides another method. One oversized carton may create a higher dimensional charge than two efficiently packed cartons, but splitting an order can also add handling, packaging, or multiple-label costs. Compare the complete shipment, not just one package's billable weight.
Common mistakes when calculating billable weight
Using product dimensions instead of packed dimensions
The carrier prices the shipment it receives, not the bare item before packaging. Include the outside dimensions of the sealed package and all attached packaging components that affect its size.
Using the wrong divisor
A divisor found in an old spreadsheet may apply to a different service or may no longer be current. Confirm the divisor in the carrier's current documentation, account portal, or rate calculator.
Rounding too early
Rounding each dimension before multiplying can produce a different result from using the carrier's required process. Keep the measured values until the specified stage of the calculation.
Ignoring the final shipping label
Carrier systems may audit package dimensions and weight after acceptance. If the label information is materially different from the measured shipment, the billed amount may be adjusted. Keep packaging specifications current and remeasure when you change the box, insert, tape, or product configuration.
How to verify your result before shipping
Write down the packed length, width, height, actual weight, service level, origin, destination, and the dimensional divisor used. Enter the same information into the carrier's current shipping calculator or account system. If the shipment is international, confirm the measurement units and whether customs, oversize, or special-package rules affect the quote.
For background on measuring cartons and selecting packaging, see the guides on package dimensions and box size calculation. For carrier-specific details, review the current official source for the service you plan to use. Rules, rates, divisors, and rounding practices can change, so an older example should be treated as a method guide rather than a guaranteed quote.
A practical billable-weight checklist
- Pack and seal the shipment before measuring.
- Record the actual weight, including all packaging.
- Measure the outside length, width, and height.
- Confirm the carrier's required units and current dimensional divisor.
- Multiply the three dimensions and divide by that divisor.
- Apply the carrier's current rounding instructions.
- Compare actual and dimensional weight.
- Check for minimums, service-specific rules, and special handling requirements.
- Verify the result in the carrier's current calculator before purchasing the label.
The most reliable calculation uses the real, completed package and the rules for the exact service being purchased. Measuring carefully and reducing unnecessary volume can help prevent unexpected adjustments while keeping the product properly protected.

Comments
0No comments yet. Be the first to share a helpful note or question.
Leave a Comment
Your email address will not be published. Comments are reviewed before appearing on the site.