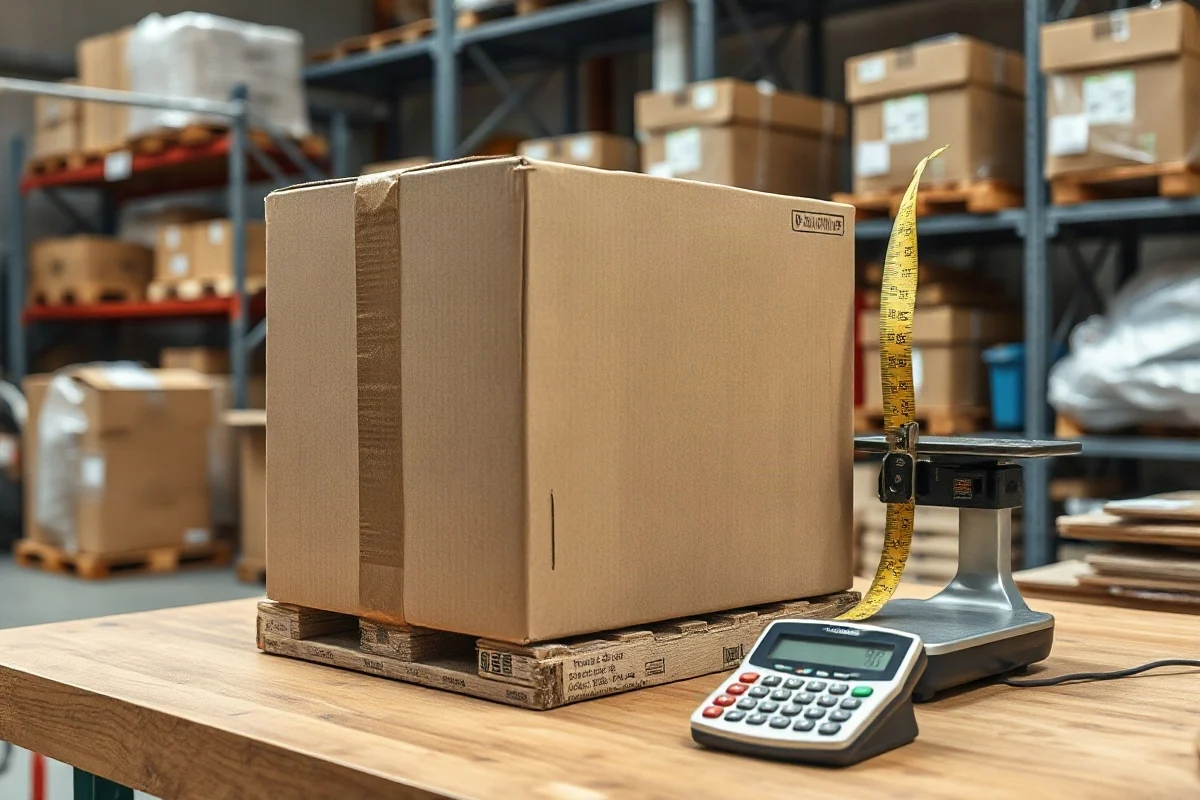
The most common dimensional weight mistakes are measuring the wrong package dimensions, using the wrong units or divisor, rounding too early, and comparing dimensional weight with the wrong actual weight. To calculate it correctly, measure the finished package at its greatest outside dimensions, multiply length by width by height, divide by the carrier or service's current dimensional-weight divisor, and compare the result with the package's actual weight. The billable weight is often based on whichever figure is higher, but the exact rule can vary by carrier, service, package type, destination, and date.
What dimensional weight is designed to measure
Dimensional weight, also called volumetric weight, estimates how much transportation space a package occupies. A lightweight box filled with air may take up as much room in a delivery vehicle or aircraft as a much heavier shipment. Dimensional pricing helps carriers account for that space instead of charging only by the scale weight.
The calculation usually starts with the package's cubic volume:
Length × width × height = cubic volume
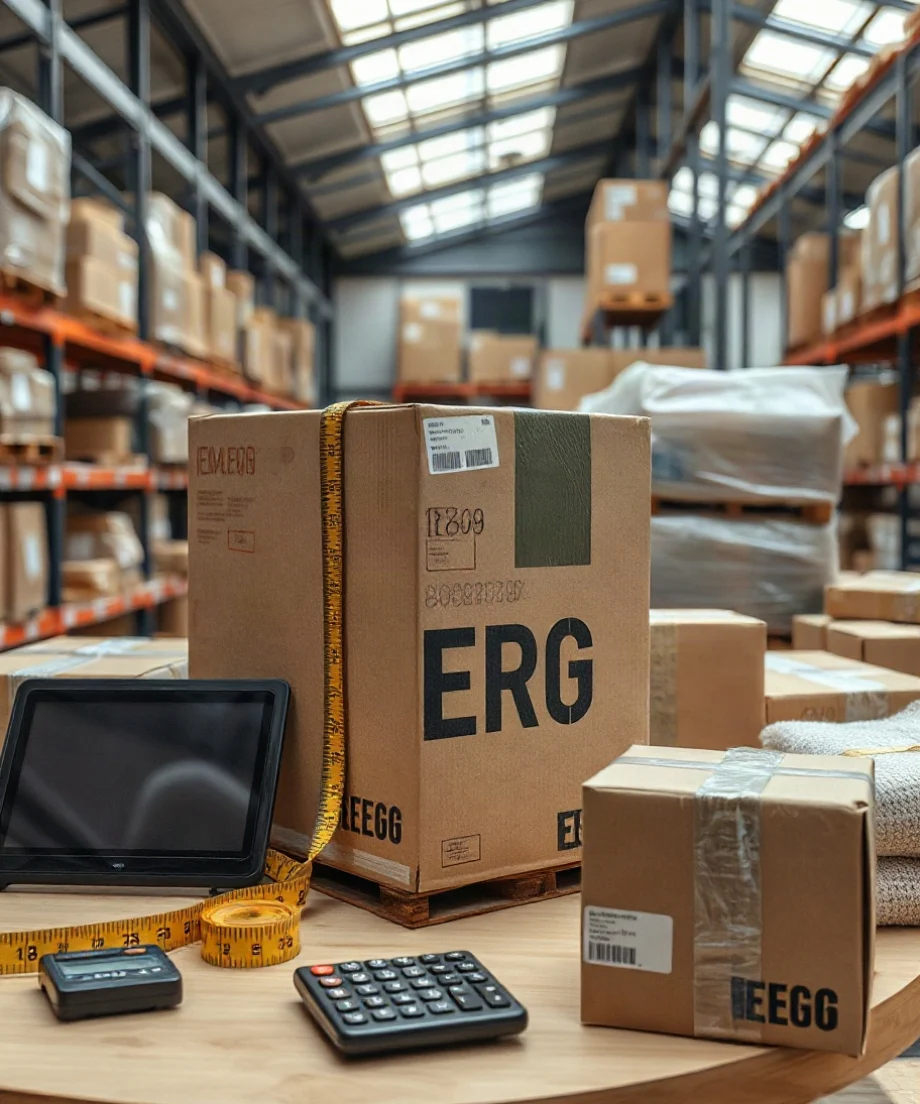
The volume is then divided by a dimensional-weight divisor selected by the carrier or service:
Cubic volume ÷ dimensional divisor = dimensional weight
Because divisors and rounding policies can change, do not assume that a divisor from one carrier, service level, account agreement, or old shipping label applies everywhere. Check the current official rate or service documentation before using a result for a final quote. You can also use the Dimensional Weight Calculator as a planning tool, then confirm the result against the carrier's current rules.
Mistake 1: Measuring the product instead of the finished package
Dimensional weight is based on the package presented to the carrier, not simply the product's listed dimensions. A product that measures 10 by 8 by 4 inches may ship in a box that measures 12 by 10 by 6 inches after protective material, inserts, and closure space are added. Using the product dimensions understates the package volume.
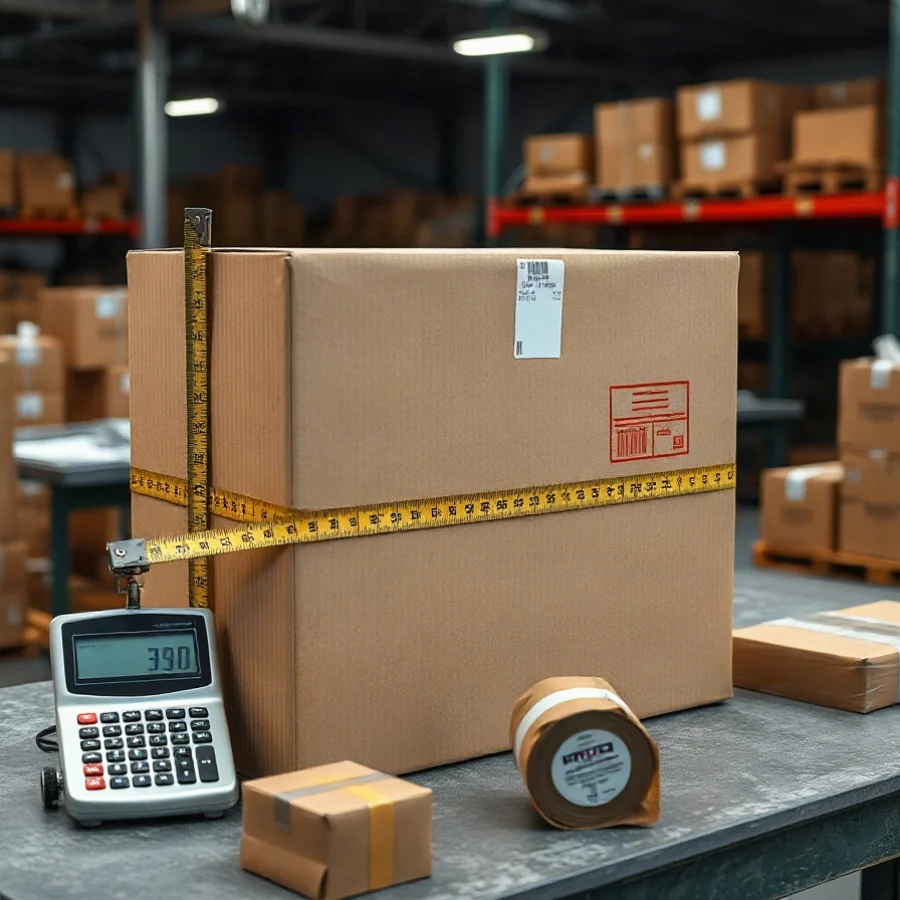
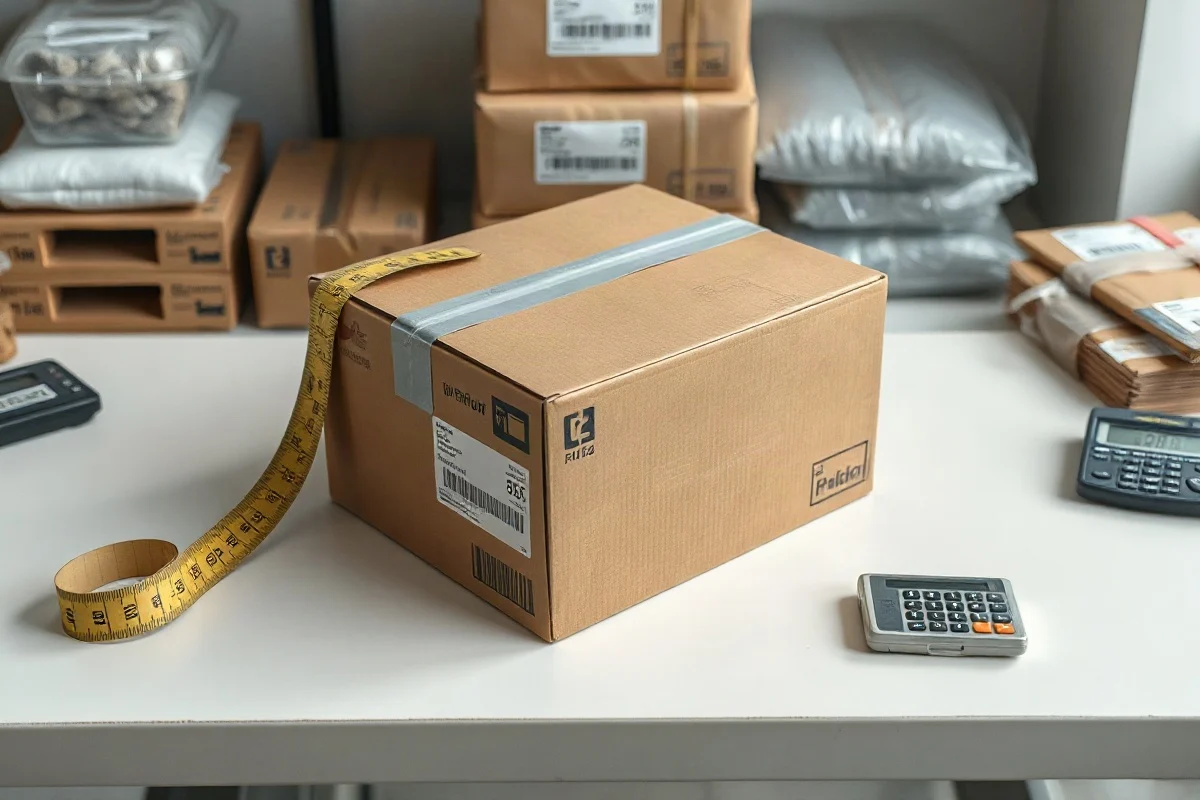
Measure the outside of the sealed package. For a corrugated box, measure from the outermost points, including the thickness of the cardboard. For a poly mailer or soft package, measure the dimensions after the contents are packed and the mailer is closed, not while it is empty and flat. If the package bulges, use the greatest practical outside dimensions rather than pressing it down to create a smaller measurement.
A reliable measurement method
- Pack the item using the materials and void fill you will actually ship.
- Close, tape, or seal the package completely.
- Place it on a flat surface and identify the longest side as the length.
- Measure the width and height at their greatest outside points.
- Record the measurements in the unit required by the carrier or calculator.
For irregular parcels, think in terms of the smallest practical rectangular envelope that fully contains the package. If a carrier applies its own measuring process, its recorded dimensions may differ from a warehouse estimate. Leave enough margin for normal measurement variation instead of designing packaging around a borderline result.
Mistake 2: Using interior box dimensions
Box listings often show nominal, interior, or manufacturer dimensions. Those measurements can be useful for checking whether an item fits, but they may not be the dimensions used for shipping charges. Exterior dimensions are usually the relevant starting point because they represent the space occupied by the sealed parcel.
For example, a box described as 12 by 10 by 8 inches internally may have slightly larger external dimensions. Multiplying the internal measurements can produce a lower volume than the carrier sees. The difference may be small for one shipment, but it becomes more important when a package is near a billable-weight threshold or when a business ships many parcels.
If a box supplier provides both interior and exterior measurements, use the exterior values for a dimensional-weight estimate. If only one set is listed, verify what it represents before relying on it. The Box Size Calculator can help compare packaging options, but the final dimensions should come from the actual packed box.
Mistake 3: Mixing inches with centimeters
A dimensional formula only works when all three dimensions use the same unit. Multiplying inches by centimeters by inches produces a meaningless volume. This mistake often happens when product specifications are metric but carrier documentation or warehouse measurements use inches.
Convert every dimension before multiplying. For a rough conversion, 1 inch equals 2.54 centimeters, and 1 centimeter equals 0.3937 inches. Use the same unit throughout the calculation and retain enough precision until the final rounding step.
Suppose a package measures 40 centimeters by 30 centimeters by 20 centimeters. You can calculate its volume in cubic centimeters, but that result cannot be divided by a divisor intended for cubic inches. Convert the dimensions to inches first if the divisor is expressed for inch-based measurements, or use a compatible metric divisor supplied by the applicable carrier or service.
Mistake 4: Applying the wrong dimensional divisor
The divisor is not a universal constant. It can differ between carriers, domestic and international services, package types, destinations, and negotiated shipping agreements. Some services may also use different rounding or billing practices. Copying a divisor from a previous shipment or an unrelated calculator can therefore produce an incorrect estimate.
Before calculating, identify:
- The carrier and specific service level
- The origin and destination
- The measurement system required
- The package type and any applicable size classification
- The current divisor and rounding instructions
Use the current official carrier documentation or account rate information for the shipment you are pricing. Guides on UPS package rules and FedEx package rules can provide general planning context, but carrier terms may change and the official source controls.
Mistake 5: Rounding each dimension too early
Early rounding can move a package into a different weight bracket. For instance, a measured dimension of 12.4 inches should not automatically become 13 inches before the volume is calculated unless the applicable rule specifically requires that treatment. Rounding all three dimensions upward can create a noticeably larger calculated volume.
Keep the measured values as precise as practical, multiply them first, apply the correct divisor, and then follow the carrier's stated rounding rule. Some carriers may require dimensions to be entered or rounded in a particular way, so do not substitute a general mathematical convention for the current shipping rule.
Mistake 6: Comparing dimensional weight with the wrong actual weight
Actual weight is the weight of the fully packed shipment, including the box, cushioning, labels, tape, and other packaging. Comparing dimensional weight with the product's weight alone can make the shipment appear cheaper than it is.
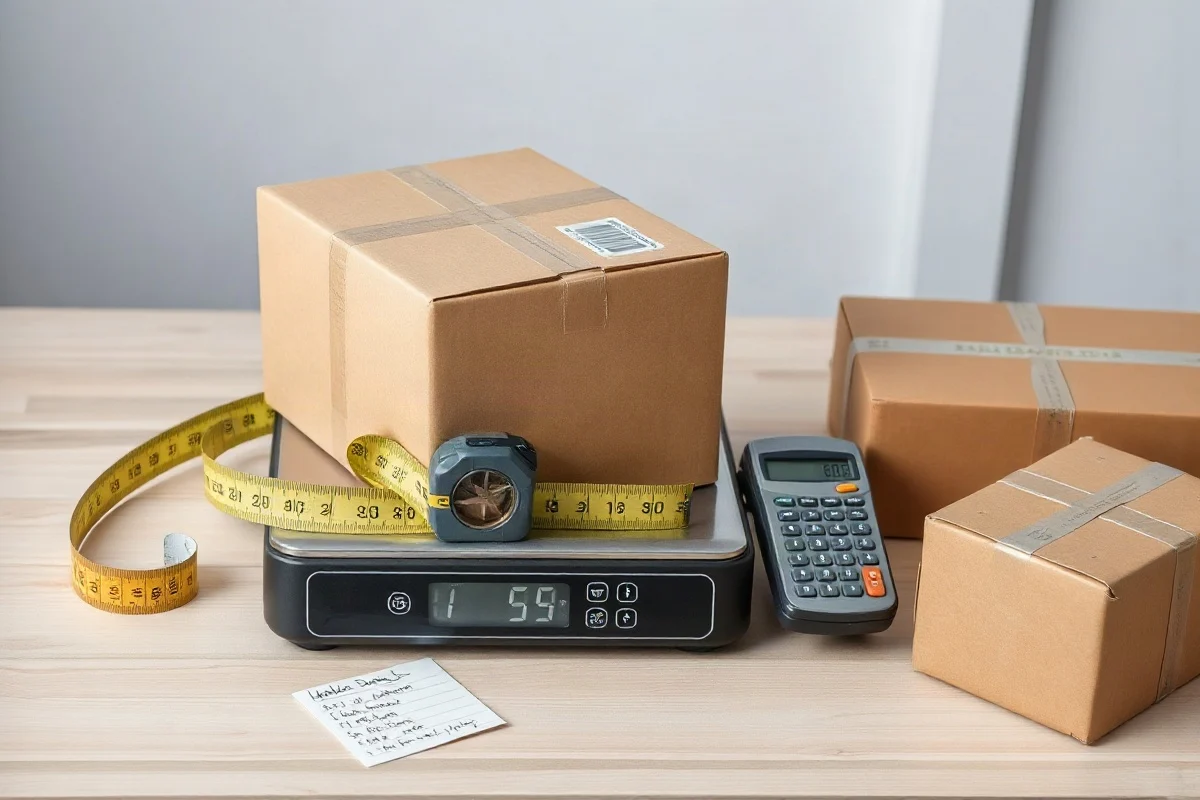
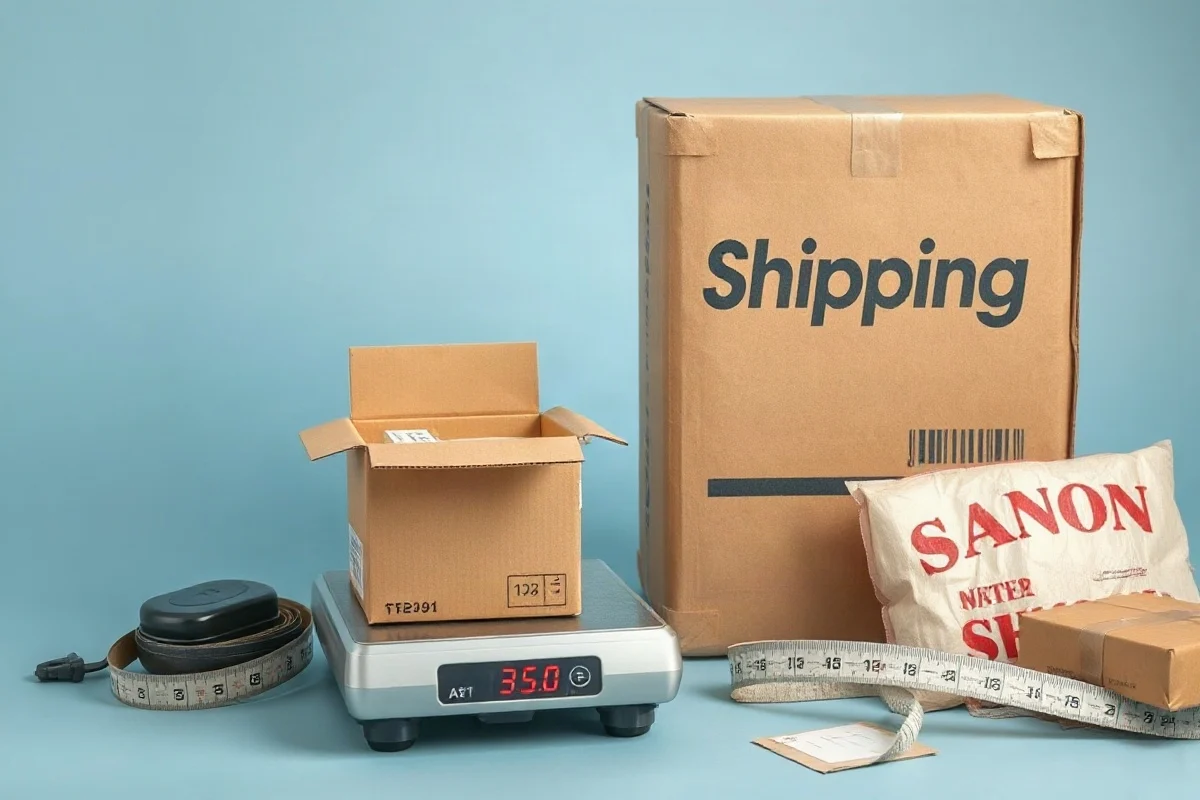
Weigh the sealed package on a calibrated scale. If the shipment contains multiple items, weigh the complete parcel after all items and packing materials are inside. Then compare that actual package weight with the calculated dimensional weight using the applicable carrier's billing and rounding rules.
As a simple illustration, imagine a sealed box with an actual weight of 7 pounds and a calculated dimensional weight of 10 pounds under the relevant service's divisor. If that service bills the greater of the two weights, the shipment would be assessed using the applicable rounded billable weight rather than the 7-pound scale reading. This example explains the comparison only; it does not establish a universal divisor or billing rule.
Mistake 7: Forgetting packaging changes after testing
A prototype package may not match the production package. A thicker insert, a larger carton, extra corner protection, or a different tape pattern can increase the final outside dimensions. Even a small increase on each side can raise cubic volume because the dimensions are multiplied together.
Measure a representative finished package from the actual packing line. If several employees pack the same product, check whether their methods produce different box sizes or bulges. Standardized inserts, pre-sized void fill, and clear closure instructions can reduce variation and make shipping estimates more reliable.
Mistake 8: Ignoring the effect of empty space
Large amounts of void space increase dimensional weight without adding product value. The solution is not always to use the smallest possible box: fragile items still need enough clearance and protection. The goal is a package that protects the contents while avoiding unnecessary length, width, and height.
When reviewing packaging, compare the packed product dimensions with available carton sizes. Reduce unused space where practical, use appropriately sized protective materials, and avoid selecting a box based only on the product's longest measurement. A box that is one inch smaller in several directions may occupy substantially less volume.
Mistake 9: Treating a calculator result as a guaranteed shipping price
A dimensional-weight calculator estimates a weight figure; it does not necessarily determine the complete transportation charge. The final price may also depend on the service level, destination, surcharges, residential or delivery-area conditions, additional handling rules, fuel adjustments, account terms, and other current pricing details.
Use the calculated result to compare packaging choices and identify possible billing issues. For a purchase decision or customer quote, verify the complete shipment details in the carrier's current rating system. If you sell through a marketplace or fulfillment program, check that platform's current packaging and billing requirements separately rather than assuming they match parcel-carrier rules.
How to audit a dimensional-weight calculation
When a shipping charge looks unexpectedly high, repeat the calculation in a fixed order:
- Retrieve the measurements recorded for the sealed parcel.
- Confirm that the measurements are external and use one unit system.
- Recalculate the cubic volume without premature rounding.
- Confirm the current divisor for the exact carrier service.
- Calculate dimensional weight and apply the required rounding rule.
- Compare it with the actual weight of the complete package.
- Review the carrier's recorded dimensions and any applicable surcharges.
If the carrier's dimensions are larger than your warehouse measurements, photograph the package beside a ruler or measuring tape before handoff and review your measurement process. Documentation cannot override a carrier's terms, but it can help identify packing variation or a data-entry error.
Practical ways to reduce dimensional-weight charges
- Choose the smallest carton that safely protects the product.
- Measure the finished package, not an empty carton or bare product.
- Standardize inserts and void-fill amounts.
- Use a scale and measuring tools that are checked regularly.
- Keep dimensions in a consistent unit system.
- Maintain separate packaging profiles for each product and service.
- Review the carrier's current divisor, rounding, and size rules before quoting.
- Recheck packaging whenever the product, carton, or fulfillment method changes.
Accurate dimensional-weight planning is mainly a measurement and process-control problem. Start with the sealed package, use compatible units and the correct current divisor, delay rounding until the required step, and compare the result with the complete package's actual weight. These habits make shipping estimates more dependable and reveal where a smaller or more consistent package can reduce avoidable cost.
Comments
0No comments yet. Be the first to share a helpful note or question.
Leave a Comment
Your email address will not be published. Comments are reviewed before appearing on the site.