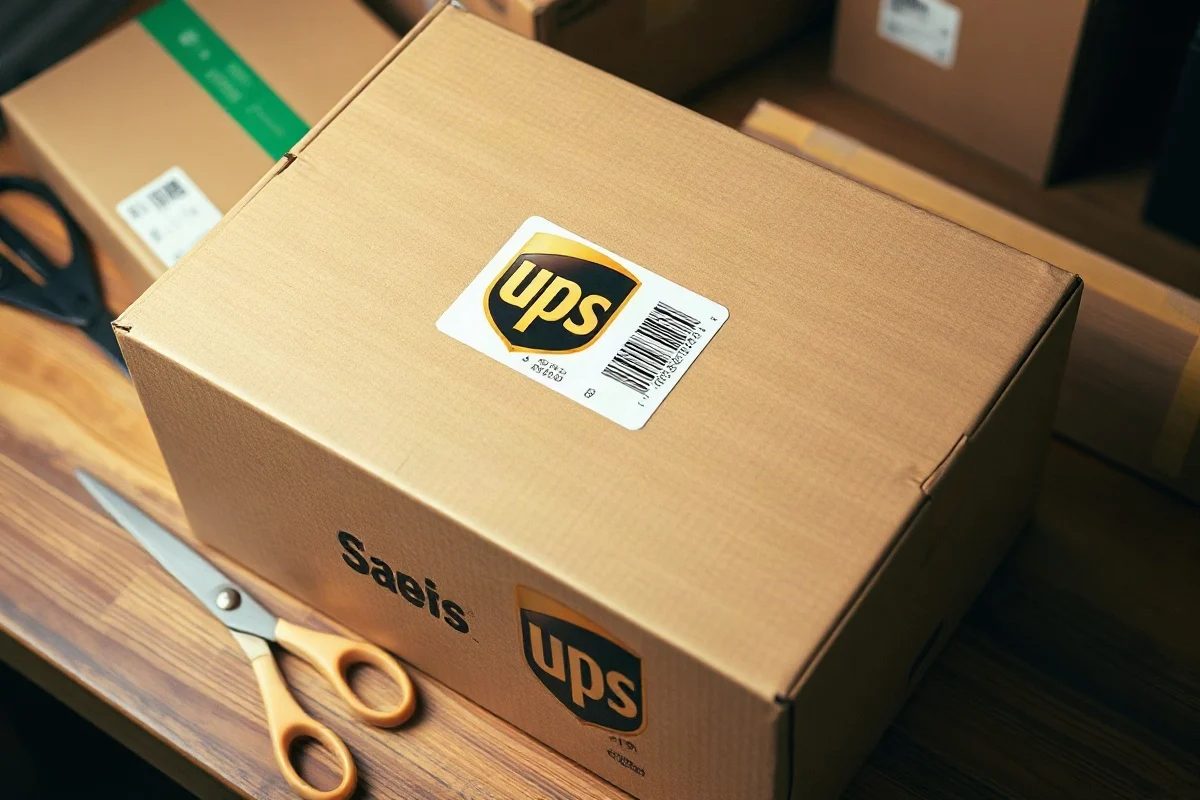
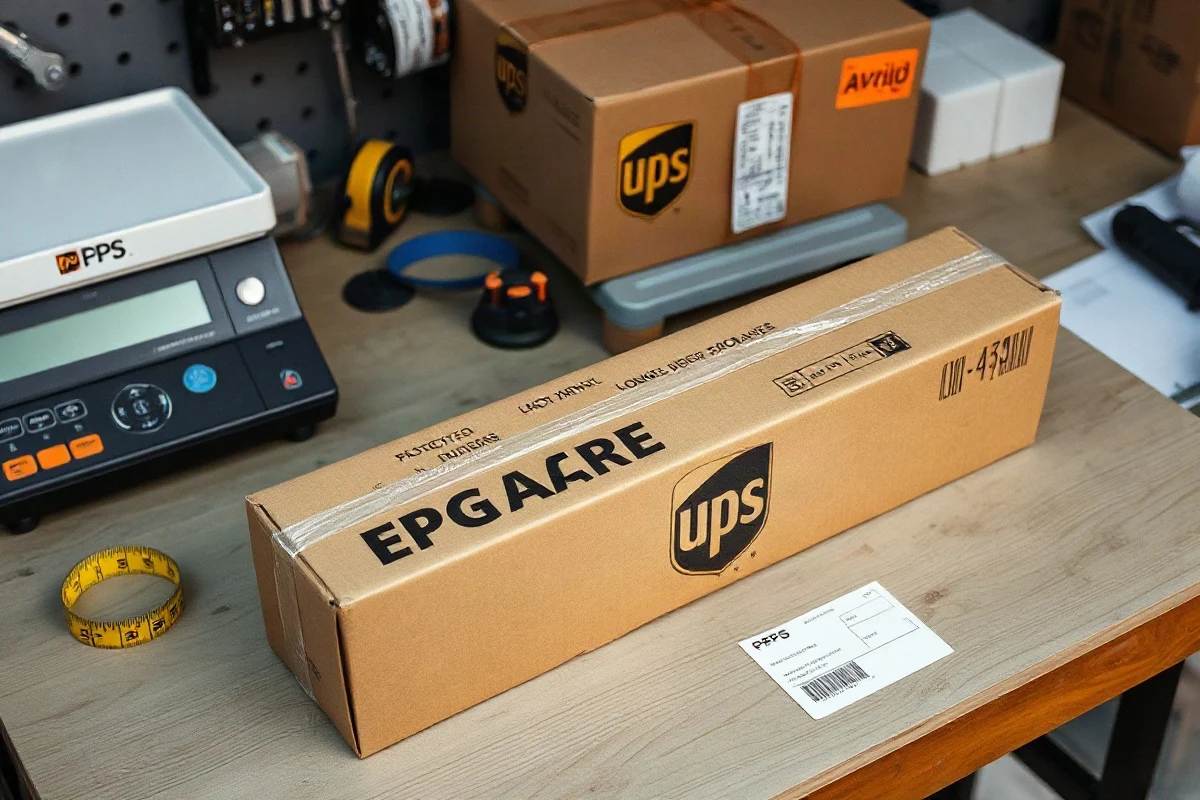
Place the UPS shipping label on the largest, flattest side of the box, usually the top surface. Keep the entire label visible, smooth, and away from seams, corners, tape, straps, and other labels. The barcode should lie flat with no folds, wrinkles, or curved edges crossing it. This placement makes the package easier to identify and helps reduce scanning problems as it moves through the carrier network.
Choose the best side of the box
For most rectangular boxes, the top panel is the best location for a UPS label. It gives the label a broad, level surface and makes it easy to see when the package is placed on a conveyor, cart, or counter. If the top is too small, damaged, heavily printed, or covered with a flap seam, use the largest available side panel instead.
The ideal surface has these characteristics:
- It is flat enough for the label to remain fully attached.
- It is large enough to hold the label without bending around an edge.
- It is clean, dry, and free of loose fibers or dust.
- It does not have a major seam, strap, handle, or corner in the label area.
- It provides strong contrast between the label and the box surface.
Do not place the label across two flaps or over a box corner. A label that bridges a seam can split when the carton flexes. A label that wraps around an edge can become difficult to scan, and part of the address may be hidden when the package is handled.
Keep the barcode flat and unobstructed
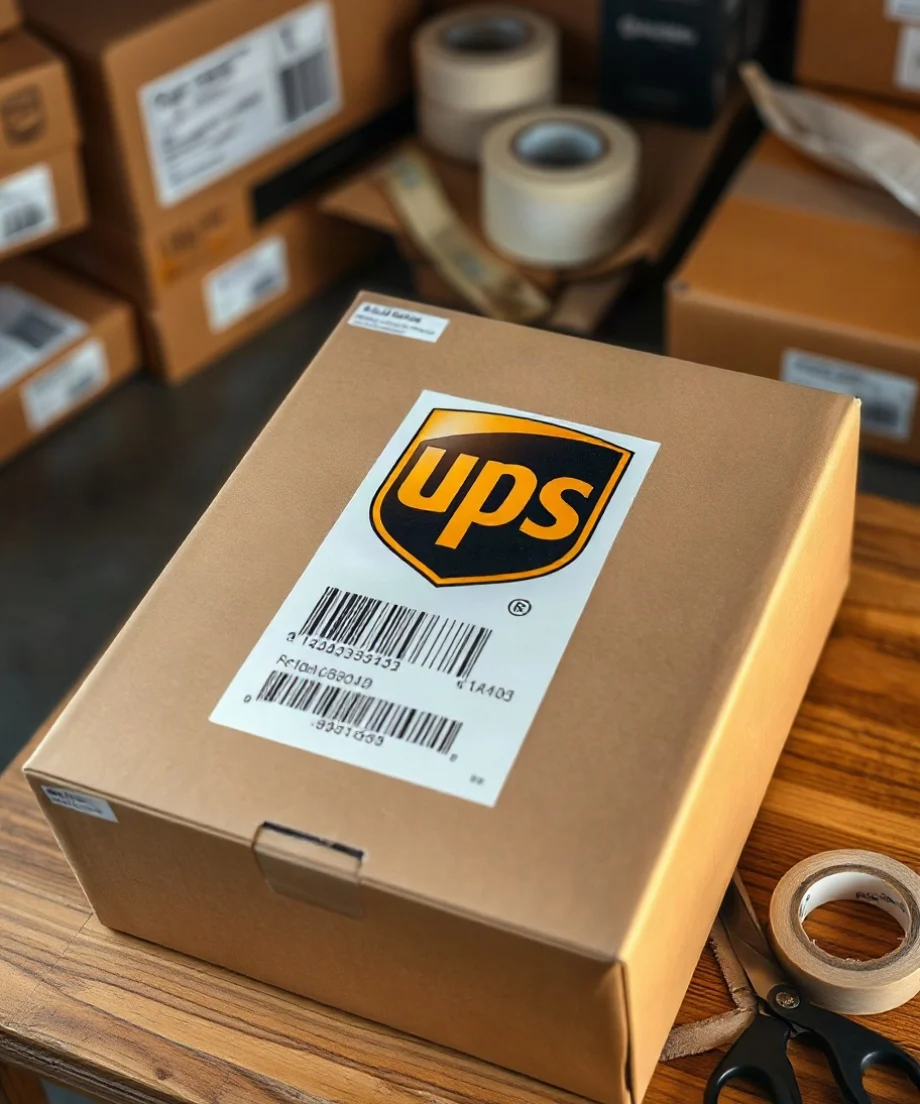
The barcode is the most important part of the label for automated handling. Do not fold, crease, cover, or scratch it. Clear tape, glossy plastic, and heavy reflections can sometimes interfere with optical scanning, especially when tape creates glare over the barcode. If you use tape to reinforce the label, apply it carefully around the label or use a label pouch designed for shipping documents rather than covering the barcode unnecessarily.
Leave the label in the orientation in which it was generated. Avoid rotating it onto a narrow side if doing so forces the barcode around a corner. The label does not need to be perfectly centered, but it should have enough surrounding space that no packing tape, printed warning, old tracking number, or handwritten mark can be mistaken for part of the current shipping information.
Do not cover the current label with another label
Before attaching a new UPS label, remove or fully cover old shipping labels, return labels, tracking labels, and carrier barcodes. Reusing a box is fine, but an old barcode that remains visible can create confusion during handling. Black out old addresses and tracking information if a label cannot be removed cleanly, then confirm that no old barcode is still exposed.
Do not place a new label directly over an old label if the old label can cause the surface to bulge or peel. Removing it first usually creates a smoother result. If the box has a large printed barcode that cannot be removed, position the new label so the current barcode and address are clearly separated from it.
Prepare the box before applying the label
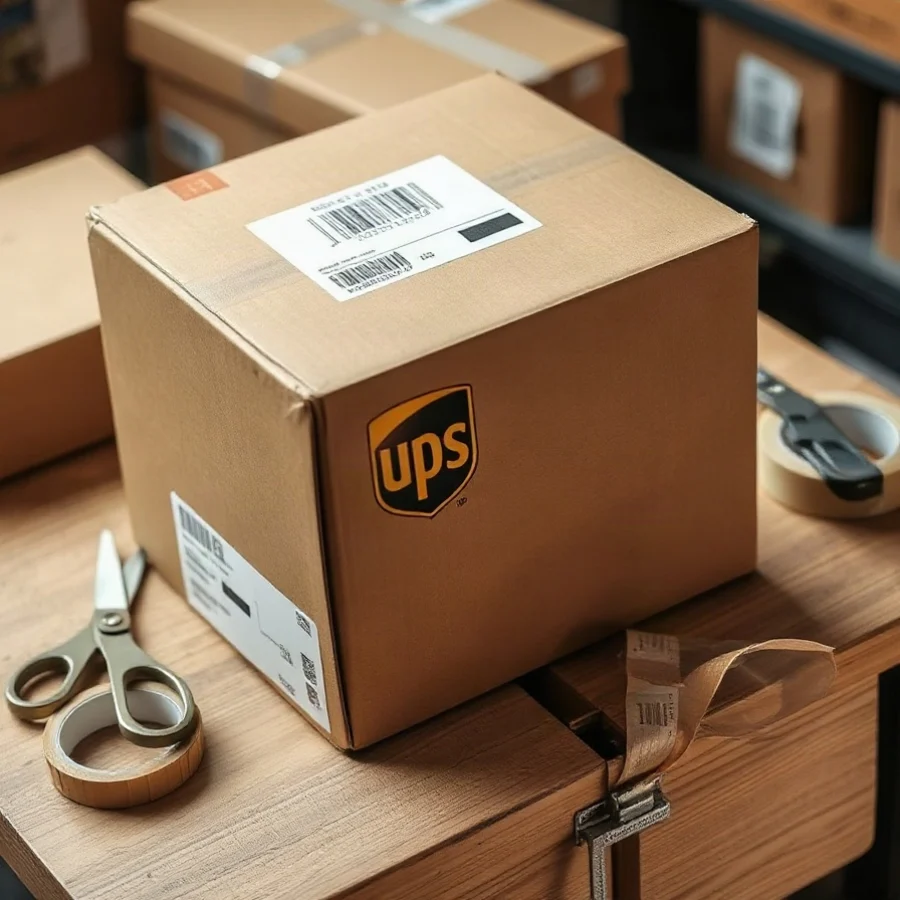
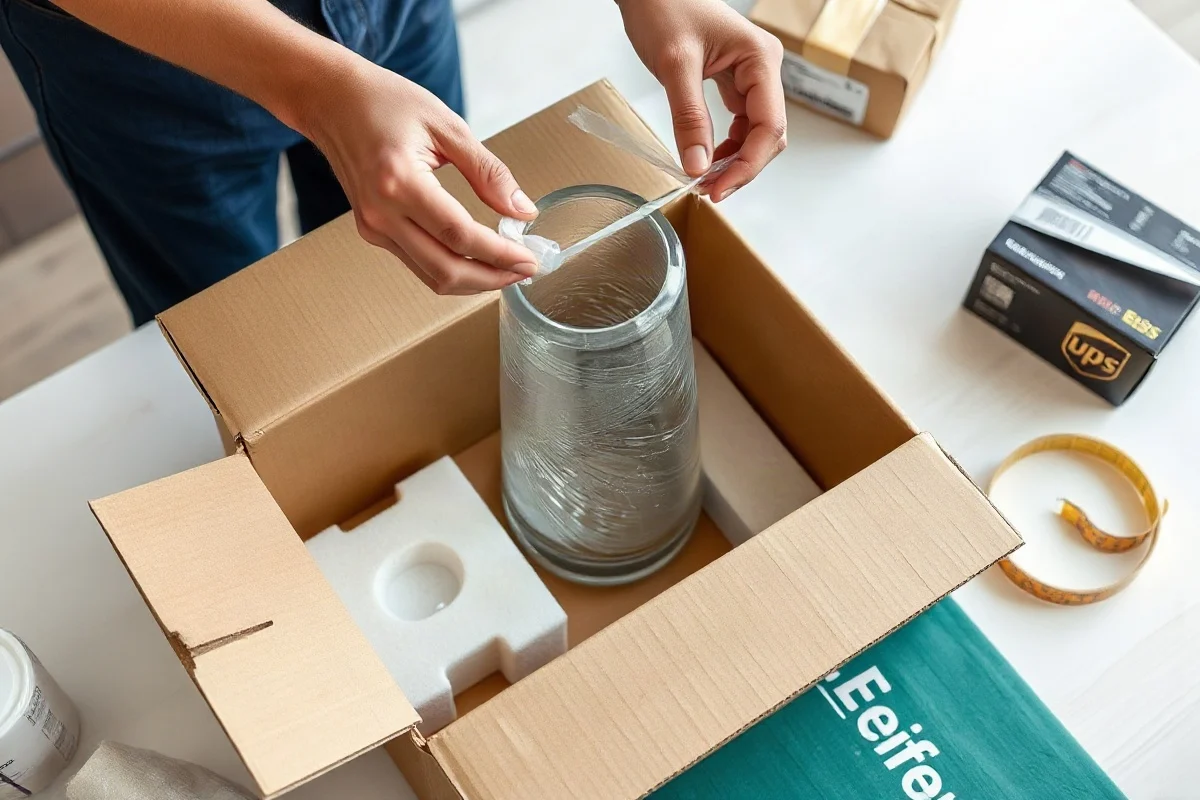
A good label starts with a stable package. Close the box securely before printing or attaching the label. Use packaging tape made for shipping, and seal the main center seam and the edge seams that need reinforcement. The label should go on the closed carton, not on a flap that could be opened during inspection or handling.
Before applying the label, check the surface for:
- Moisture, grease, dust, or loose cardboard fibers
- Deep dents or torn areas
- Excess tape wrinkles
- Raised seams and staples
- Straps, handles, strings, or shrink wrap that can cover the label
Wipe away dust with a dry cloth and allow any damp surface to dry completely. Press the label from the center outward to remove air pockets. Run your fingers around the edges so the corners adhere firmly. If the label is printed on standard office paper, a clear adhesive pouch or suitable protective method may help protect it from abrasion and moisture, but do not create glare or a plastic fold across the barcode.
Label placement on unusual packages
Not every UPS shipment is a simple rectangular carton. For tubes, soft mailers, oversized cartons, and irregularly shaped packages, the same basic principle applies: use the broadest stable surface and keep the label flat and readable.
Cylindrical tubes
Do not place a flat label lengthwise around a narrow tube if it must curve sharply. Use a label size and placement that keeps the barcode as flat as possible. If the tube has a broad side created by its packaging or an attached document area, use that surface. Make sure the label cannot slide under a cap, strap, or protective end piece.
Poly mailers and soft packages
Place the label on the smoothest broad area of the mailer, away from folds, handles, zippers, and closure flaps. Remove wrinkles before applying it. If the mailer is overfilled and the surface remains highly curved, move items inside the package or choose a more suitable package so the label can lie flat.
Large or heavy cartons
For a large carton, use a broad panel that will remain visible during normal handling. Avoid placing the label where a pallet, strap, corner protector, or another carton will cover it. If a shipment has multiple packages, each package should have its own correct label. Match each label to the correct carton before sealing the shipment.
Check the label after attaching it
Take a short inspection pass before handing over the package. Confirm that the recipient address, return address, service information, and tracking number are correct. Then inspect the physical placement:
- Make sure the complete label is attached to one surface.
- Confirm that the barcode is flat, clean, and not covered by tape or another label.
- Check that no edge of the label is loose.
- Verify that the label is not wrapped around a corner or seam.
- Remove or cover every old shipping label and barcode.
- Make sure the package is sealed and the label has not been damaged during packing.
It is also useful to save the tracking number separately until delivery. If a label is damaged or a package needs to be located, having the tracking information available can make follow-up easier.
Label placement and package measurements
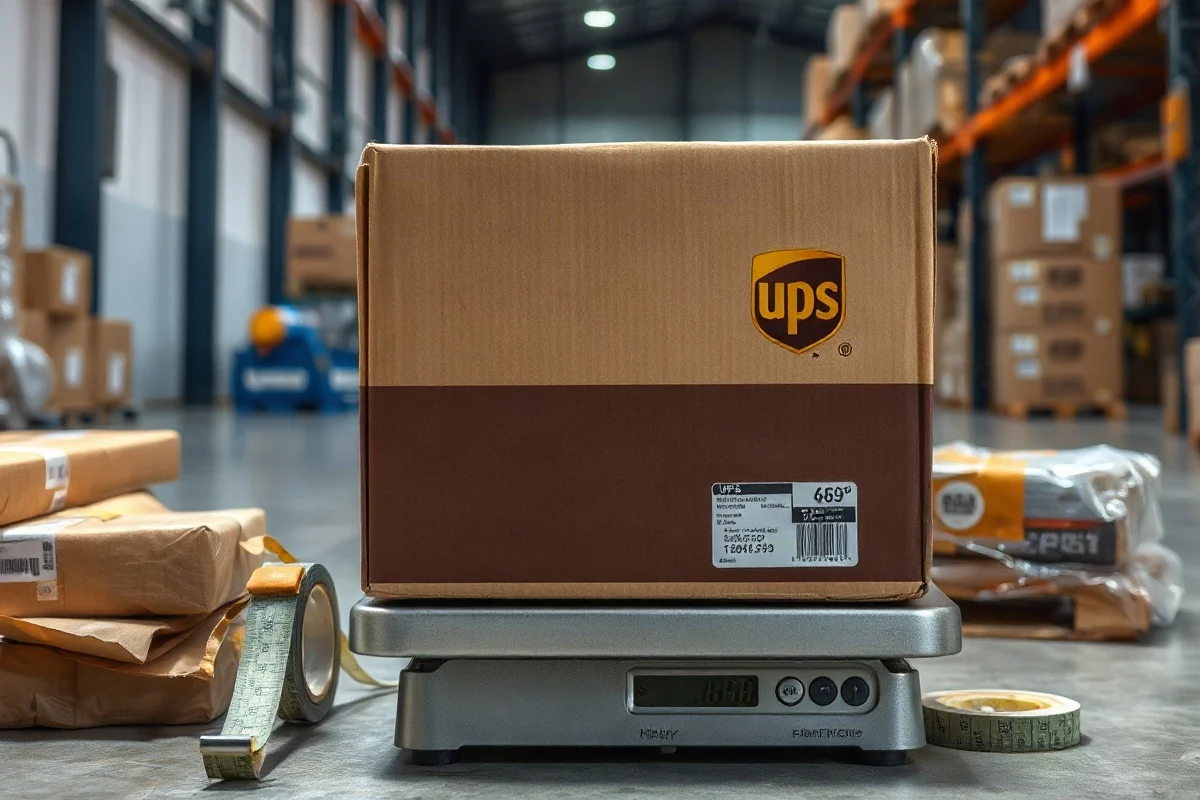
The label location does not change how you measure the package, but poor placement often reveals a packaging problem. Measure the final sealed package, not the product or the empty box. Record the outside length, width, and height at their greatest points, including bulges when applicable. For a rectangular carton, the usual order is the longest side as length, the next longest as width, and the remaining side as height.
For example, if the sealed box measures 16 inches long, 12 inches wide, and 8 inches high, those are the package dimensions used for shipping calculations. In centimeters, the same dimensions are approximately 40.6 by 30.5 by 20.3 centimeters. Use a consistent unit system when entering measurements into a calculator or comparing carrier instructions.
Package dimensions can affect shipping charges through dimensional weight. A common calculation structure is:
Dimensional weight = length × width × height ÷ carrier divisor
The divisor, rounding method, minimum chargeable weight, and service conditions can vary by carrier, service, package type, destination, and current pricing rules. Do not assume that one divisor applies to every UPS shipment. Check the current UPS rate and service documentation for the specific service, or use a dimensional weight calculator as an estimate while verifying the result against the carrier's current terms.
To compare package choices before sealing a shipment, you can also use the box size calculator. A smaller, properly protected box may reduce both material use and dimensional weight, but it should still leave enough room for cushioning and safe closure.
Common mistakes to avoid
Putting the label on the bottom
The bottom of a box may rub against conveyors, shelves, and other packages. It may also be hidden when the package is stacked. Use the top or a broad side whenever possible.
Placing the label across tape or a flap
Tape can create ridges, glare, and weak adhesion. A moving flap can crease the label. Attach the label to a single, solid panel.
Using a tiny or damaged box surface
If the label is larger than the available flat area, do not force it around the carton. Repack the item in a box that provides a stable label surface.
Leaving old labels visible
Old tracking numbers and barcodes should not remain exposed. Reusing a carton without clearing its previous shipping information is an avoidable source of confusion.
Assuming a label pouch solves every problem
A pouch can protect paper from moisture and abrasion, but it does not correct a curved, dirty, wrinkled, or poorly positioned surface. The pouch and label still need to lie flat and remain readable.
When to verify current UPS instructions
Label placement is generally straightforward, but packaging requirements can vary by service, destination, package type, and shipment characteristics. Special handling, dangerous goods, international shipments, freight, returns, and third-party shipping arrangements may involve additional documentation or placement instructions. Before shipping a nonstandard package, check the current official UPS instructions for the service you selected.
For related guidance on package measurements and carrier considerations, visit the UPS Package Guide and review current carrier documentation before relying on a specific limit, fee, or service rule.
The practical rule is simple: put the UPS label on the largest clean, flat, visible surface; keep the barcode smooth and uncovered; and remove every old label from the box. A few minutes spent preparing the surface can help the package remain identifiable throughout its journey.
Comments
0No comments yet. Be the first to share a helpful note or question.
Leave a Comment
Your email address will not be published. Comments are reviewed before appearing on the site.