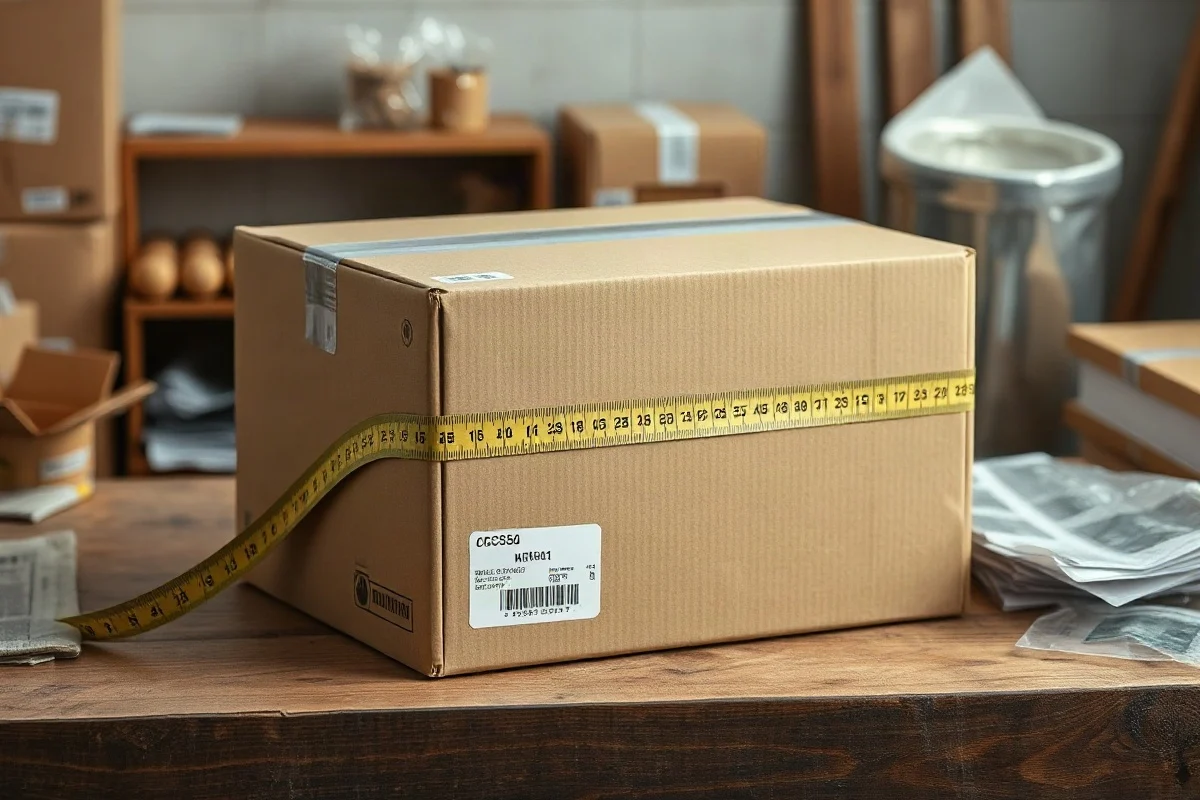
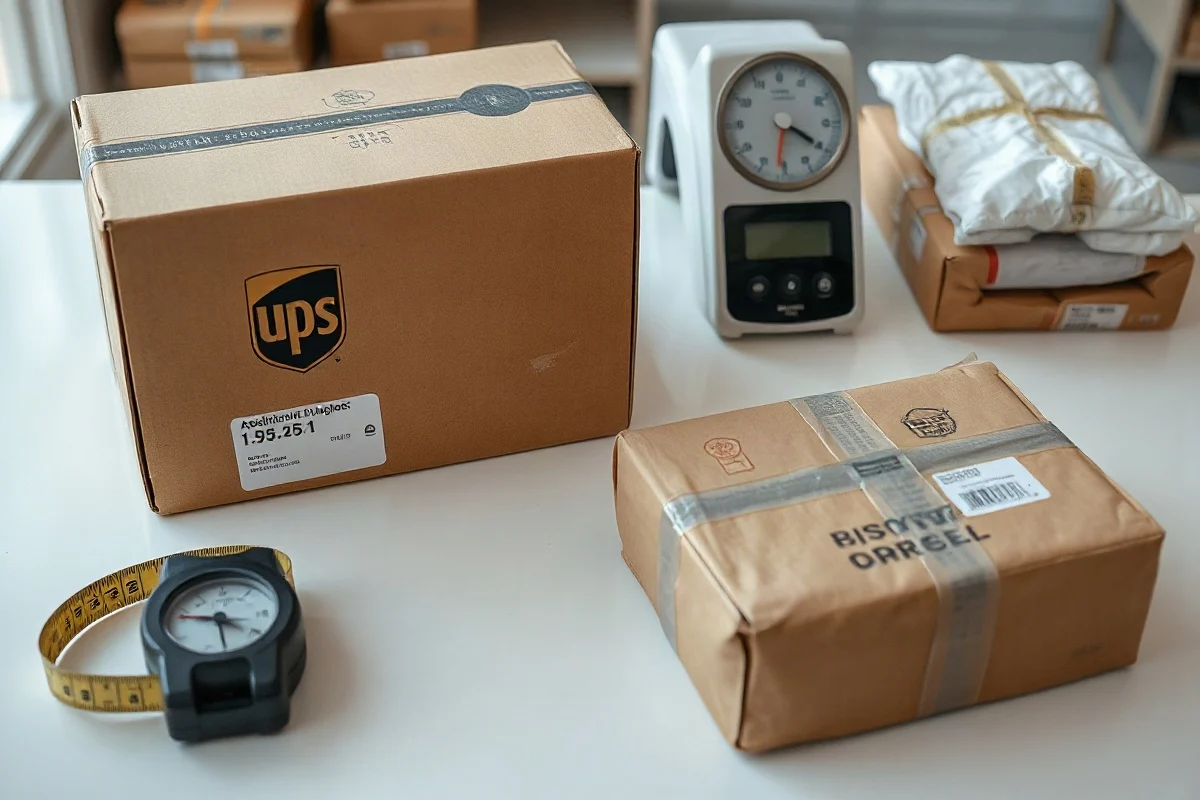
Measure a package after it is fully packed, sealed, and ready to ship. The final package—not the empty box or the product alone—is what you should measure when entering dimensions for a shipping label, estimating dimensional weight, or checking whether the parcel fits a carrier’s current requirements. Measuring the box before packing can still help you choose materials and estimate space, but it should not replace a final measurement.
Why the packed package matters
Shipping measurements describe the outside dimensions of the parcel that a carrier receives. Once you add the product, cushioning, an outer box, tape, labels, and any bulges or protrusions, the final size may differ from the box’s listed dimensions.
A box labeled with an inside size of 12 × 8 × 6 inches may have slightly larger outside dimensions because the cardboard walls take up space. A filled box may also swell if it is overpacked, or its flaps may remain slightly raised if the contents are too large. Those changes can affect the billable size of the shipment.
For that reason, use the empty box’s dimensions during the planning stage, then measure the completed parcel before you buy postage or create the shipping label. This approach gives you a more realistic basis for shipping cost estimates and helps prevent avoidable corrections.
When to measure before packing
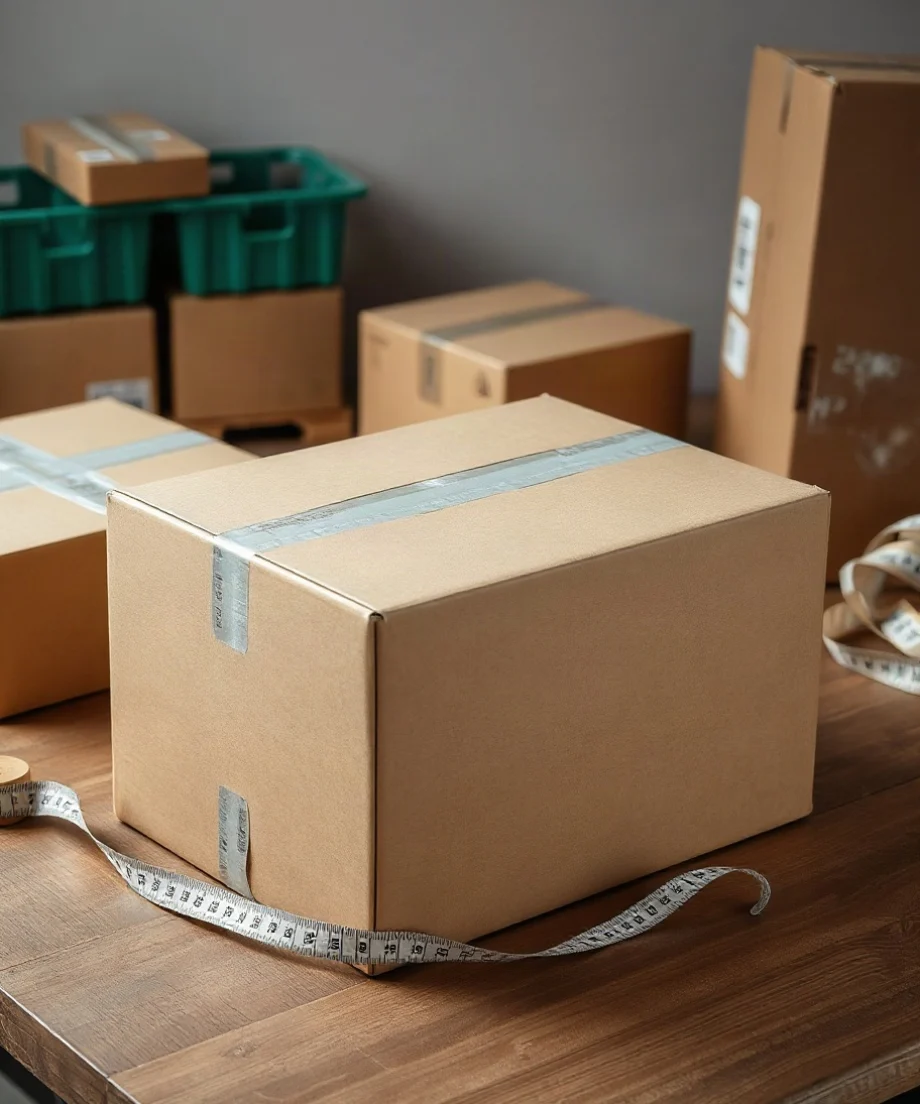
Measuring before packing is useful, but it serves a different purpose. You can measure an empty box or compare product dimensions with available box sizes to answer questions such as:
- Will the item fit without being forced into the box?
- How much room is available for bubble wrap, paper, foam, or other cushioning?
- Which box will minimize empty space and unnecessary shipping volume?
- Will the planned package stay within a service’s current size restrictions?
- Is the box large enough for the product but small enough to avoid excessive dimensional weight?
Pre-packing measurements are especially helpful when you are selecting packaging for a product line or preparing several identical shipments. You can use the box manufacturer’s specifications as a starting point, but confirm the outside dimensions of a finished sample. Published box sizes may refer to inside dimensions, while a carrier generally needs the outside measurements of the sealed parcel.
For help comparing common carton dimensions and packaging choices, see the box sizes guide. It is still important to verify the final parcel because actual measurements can vary with the box design, material thickness, packing method, and contents.
How to measure a packed package correctly
Use a rigid tape measure or ruler and measure the longest points of the sealed package. Do not measure only the flat panels or rely on the nominal size printed on the carton.
1. Finish packing the item
Place the product, protective materials, inserts, paperwork, and any other contents inside the shipping container. The package should be packed in the same way it will be presented to the carrier.
Do not compress the carton temporarily just to obtain a smaller measurement. If the contents push the panels outward, leave them in that condition. Likewise, if a soft mailer expands around its contents, measure the filled mailer rather than the unused envelope.
2. Close and seal the package
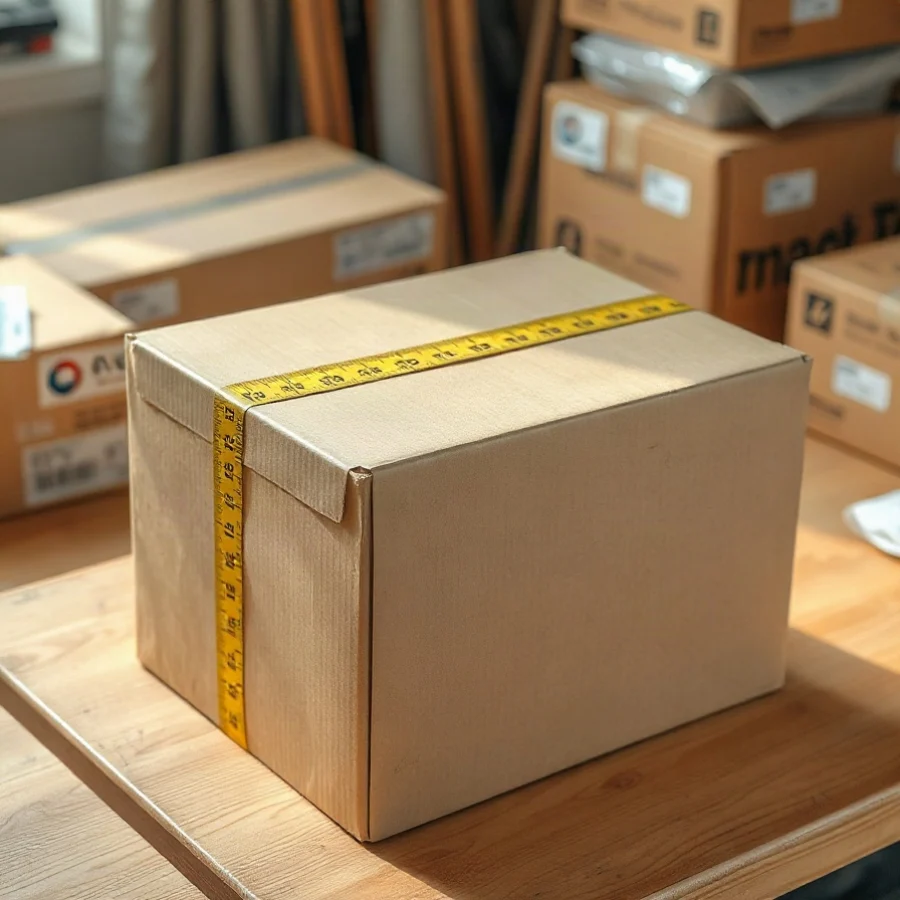
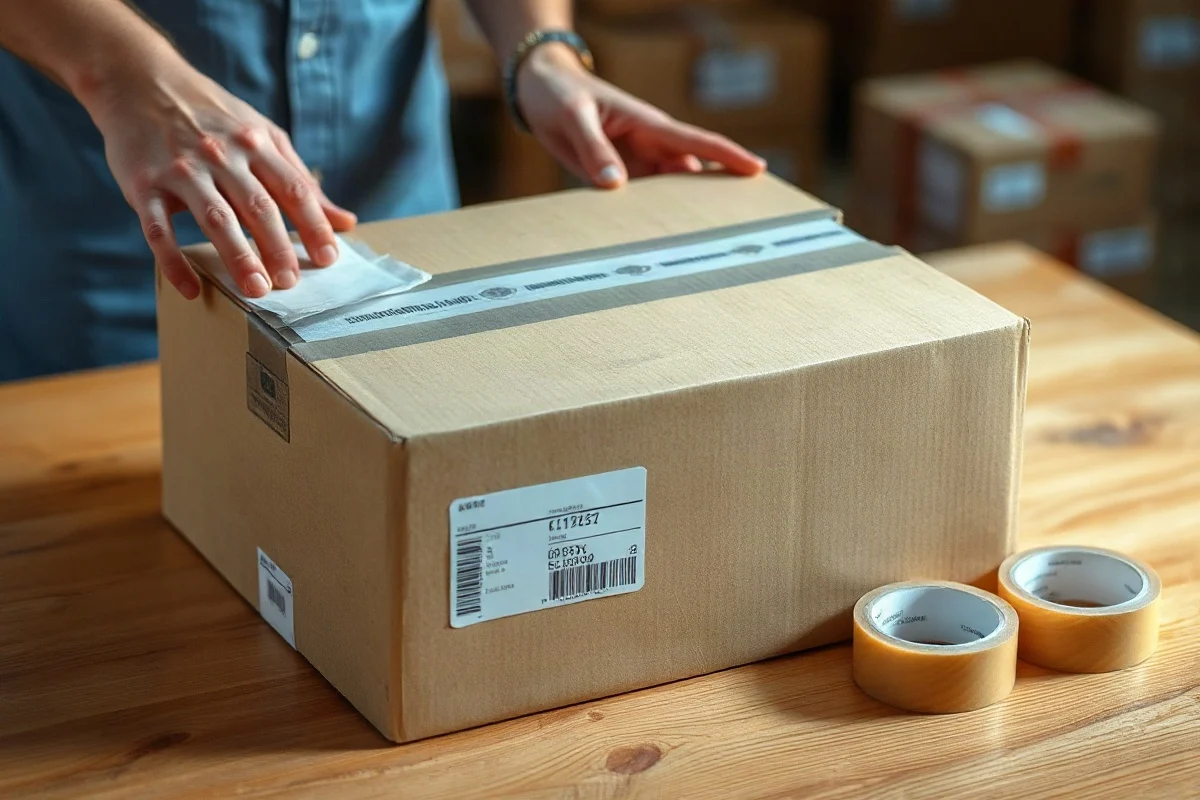
Close all flaps and apply the tape or sealing method you will actually use for shipment. Tape can slightly increase an edge measurement, and a properly closed box may have a different shape from an open or empty carton.
Make sure the package is not resting on an unusual bulge, loose flap, or temporary piece of packing material. Remove loose straps, excess stretch wrap, or other features that will not be part of the final shipment. If a permanent feature remains on the parcel, include it in the measurement.
3. Identify length, width, and height
For a conventional rectangular box, identify the three dimensions as follows:
- Length: the longest side.
- Width: the side next to the length, usually the second-longest side.
- Height: the remaining side, measured from the base to the top.
The package’s orientation does not change its physical dimensions, but using a consistent order makes records and shipping forms easier to understand. If the box is nearly square, select one side as length and another as width, then use the vertical side as height.
4. Measure the outside edges
Measure from the outermost point of one side to the outermost point of the opposite side. Keep the tape straight and parallel to the edge. Avoid estimating by sight, especially when the package is close to a size threshold.
Round measurements according to the current instructions for the carrier, service, or shipping software you are using. Rounding practices can vary, and some systems may apply their own rules. If you are uncertain, use the current UPS guidance or the instructions in the postage platform before submitting the dimensions. Never assume that a fraction can always be rounded down.
How to measure irregular packages
Not every shipment is a perfect rectangular carton. Poly mailers, tubes, padded envelopes, boxes with bulging panels, and packages with attached parts require extra care.
For a soft package, fill it and close it before measuring. Measure the greatest length, width, and thickness created by the contents. If the mailer has a rounded or uneven shape, use the largest practical outside measurements rather than pressing it flat.
For a cylindrical tube, measure the full end-to-end length and the outside diameter. A shipping system may ask for dimensions in a particular format, so follow its instructions when entering a tube or nonrectangular package.
For an irregularly shaped object, imagine the smallest rectangular box that would fully enclose it. Measure the outside envelope of the packed shipment, including permanent protrusions. If a carrier applies special handling or measurement rules to unusual packages, those rules may depend on the service and can change over time. Check the current official carrier information before shipping.
Why final dimensions affect dimensional weight
Carriers may price a shipment using either its actual weight or a calculated dimensional weight, depending on the service and shipment details. Dimensional weight represents the amount of transportation space a package occupies.
A common calculation has this general form:
Dimensional weight = length × width × height ÷ the carrier’s published dimensional divisor
The divisor is not universal. It may vary by carrier, service level, package type, destination, or current policy. Some shipping software also applies specific rounding rules. Do not copy a divisor from an old label or assume that a number used for one service applies to another.
Because the calculation uses all three dimensions, even a small increase in one side can raise the calculated volume. A box that measures 16 × 12 × 8 inches has a volume of 1,536 cubic inches. If the packed parcel expands to 16.5 × 12 × 8 inches, the volume becomes 1,584 cubic inches. That difference may or may not change the final charge, but it illustrates why the finished package should be measured accurately.
You can use the dimensional weight calculator for planning, then confirm the current divisor and rounding method for the exact UPS service you intend to use.
How to reduce measurement surprises
Choose packaging with a small amount of usable clearance
The goal is not to make the package as small as possible at any cost. The product still needs adequate protection. However, an oversized box creates extra volume and may require more filler. Select a container that leaves enough room for cushioning without allowing the item to move excessively.
Account for cardboard thickness
When choosing a box, distinguish between inside and outside dimensions. The product must fit inside the internal space, but shipping measurements are based on the completed parcel’s exterior. A heavy-duty carton can have thicker walls and a larger outside footprint than a lightweight carton with the same usable interior.
Prevent bulging and raised flaps
Do not force a box closed around an oversized item. Raised flaps, bowed panels, and overfilled corners can increase the package’s largest dimensions and may weaken the carton. Use a larger box or a different packaging format when necessary.
Use the same packing method for repeat shipments
If you ship the same product frequently, create a simple packing standard: specify the box, cushioning, sealing method, and final target dimensions. Measure a completed sample and keep the result with your packing instructions. Periodically recheck the package because suppliers, products, and materials can change.
What to record before creating a UPS label
Before purchasing postage, record the final package weight and the three outside dimensions. Confirm that the units are correct—usually inches and pounds for U.S. shipments—and check that the shipping software has not accidentally retained dimensions from a previous package.
If the parcel is close to a carrier or service limit, measure it again on a flat surface. Compare the result with the current official UPS requirements for the specific service and destination. Size limits, additional handling rules, surcharges, rounding practices, and other shipping conditions can change, so an older label or an online forum is not a reliable substitute for the current source.
For broader guidance on UPS-related packaging questions, visit the UPS Package Guide. You can also review the site’s package dimensions guide for practical measurement terminology and examples.
A simple final-check routine
- Pack the product with its actual protective materials.
- Close and seal the package completely.
- Place it on a level surface.
- Measure the longest outside length, width, and height.
- Check for bulges, raised flaps, loose wrap, or permanent protrusions.
- Weigh the sealed package.
- Enter the measurements and weight in the shipping system using the requested units.
- Review the current UPS service requirements before purchasing the label.
In short, measure before packing to plan your packaging, but measure after packing to ship accurately. The final sealed parcel is the measurement that matters for the label, dimensional-weight estimate, and most size-related checks.
Comments
0No comments yet. Be the first to share a helpful note or question.
Leave a Comment
Your email address will not be published. Comments are reviewed before appearing on the site.