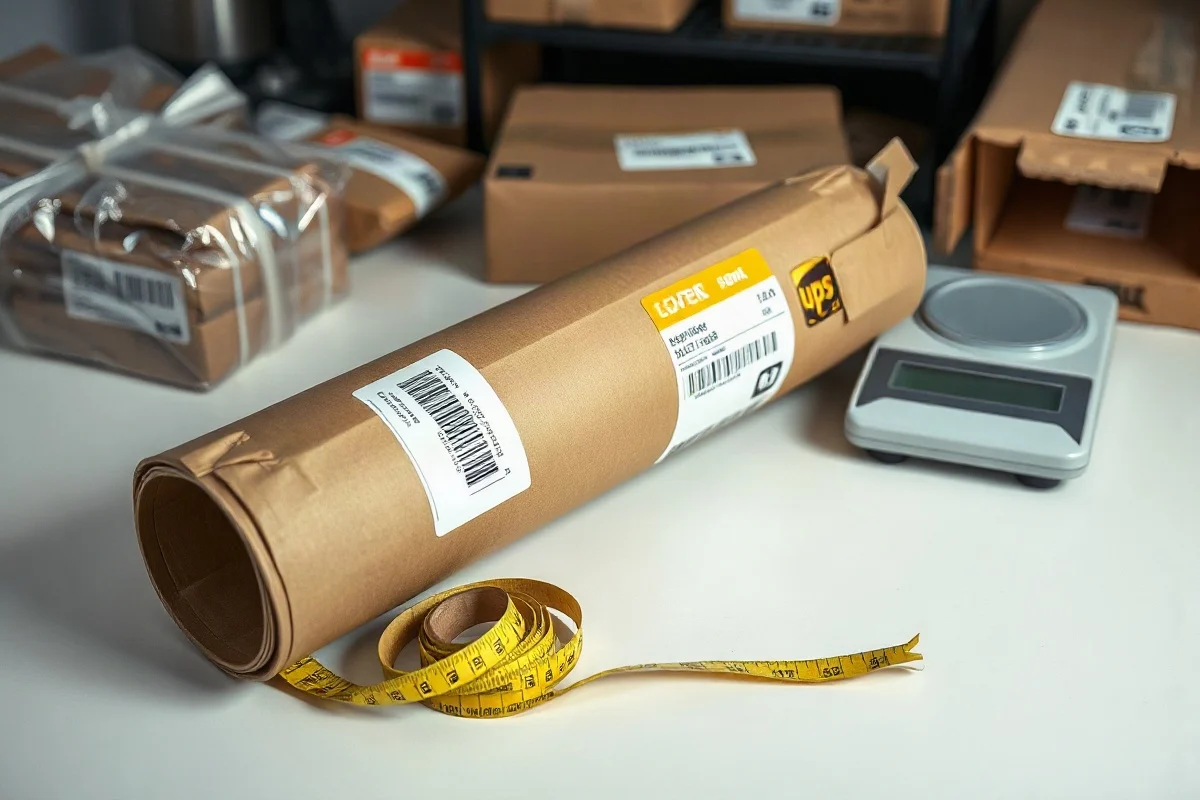
To ship a mailing tube with UPS, place the document or item in a sturdy tube with secure end caps, measure the completed package, weigh it, create the label using the actual package details, and verify the current UPS rules for your service and destination. A tube is usually treated as a package rather than a flat envelope, so its final length, outside diameter, weight, and shape can affect the available service and price.
The safest approach is to package the contents first and measure the tube only after the caps are installed. Do not rely on the nominal size printed on the tube. A tube advertised as 3 inches by 24 inches may be slightly larger outside, and the end caps can add length. Those small differences matter when a shipment is close to a carrier threshold.
Choose a tube that fits the contents
Start with the item you plan to ship. Posters, blueprints, art prints, calendars, maps, architectural drawings, and other flexible materials can often be rolled, but they should not be forced into a tube that is too narrow. A tube that is too tight may crease the material when it is removed. A tube that is excessively wide leaves room for movement and may require additional cushioning.
For paper products, roll the item smoothly around a clean inner sheet or a lightweight protective sleeve when appropriate. Avoid using rubber bands directly around the document because they can leave marks or create pressure points. If the contents are valuable, use a waterproof inner bag or another moisture-resistant layer before placing them in the tube.
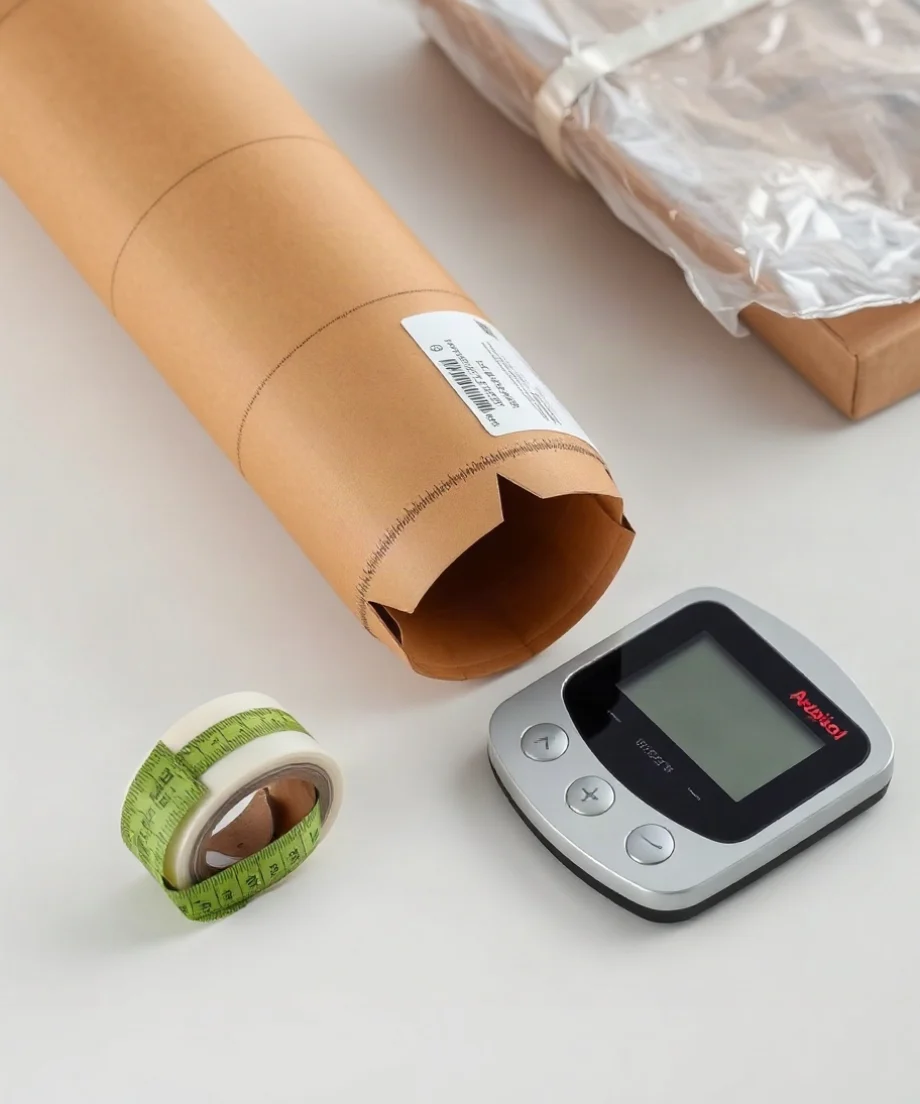
Round tubes versus triangular mailing tubes
A round tube is familiar and works well for many rolled documents, but it can roll during handling if it is not secured in a shipping container. A triangular or square-profile mailing tube may be easier to label and stack. The best choice depends on the contents, the available packaging, and the current UPS acceptance requirements for the service you plan to use.
Do not assume that an unusual shape will be priced or handled exactly like a rectangular carton. Carrier treatment can vary by package type, service, destination, and the rules in effect when you ship. Check the current UPS packaging and rate information before sending a tube that is unusually long, heavy, rigid, or difficult to handle.
How to measure a mailing tube for UPS
Measure the finished package, not the empty tube. Install both end caps, add any exterior protection, and then measure the following:
- Length: Measure from one end of the package to the other along its longest dimension.
- Diameter or width: Measure across the widest part of the tube. For a round tube, this is the outside diameter.
- Height: For a round tube, the height used in a rectangular dimensional-weight calculation is generally the same as the outside diameter. If the shipment is placed inside a rectangular outer box, measure that box instead.
- Weight: Weigh the sealed package, including the tube, caps, cushioning, tape, and label.
Use a ruler or tape measure that can show small increments. Measure to the carrier's required unit and round according to the current UPS instructions or the shipping software you are using. If your measurements are near a published limit, do not round down. A conservative measurement helps reduce the risk of a correction after acceptance.
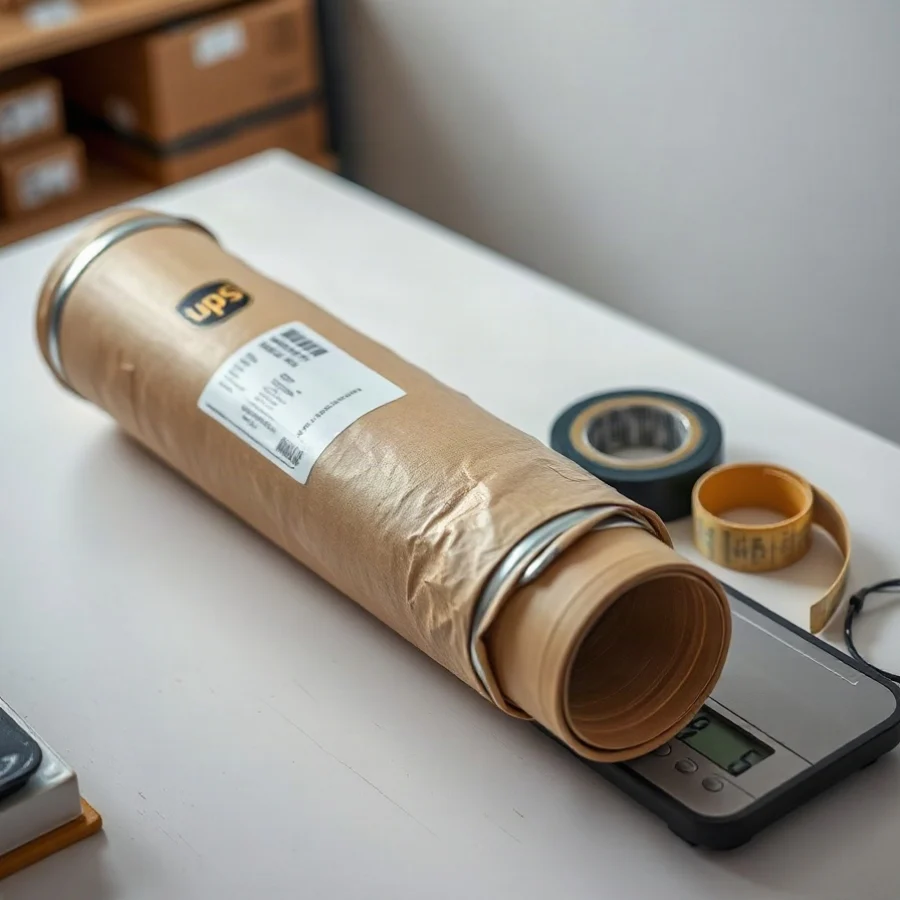
For a tube, record the dimensions in the same order every time: length, outside diameter, and outside diameter. For example, a completed tube might measure 27 inches long and 4 inches across. The package dimensions would be recorded as 27 × 4 × 4 inches. If the tube has a cap that extends beyond the body, include that extra length.
Check length, girth, and service restrictions
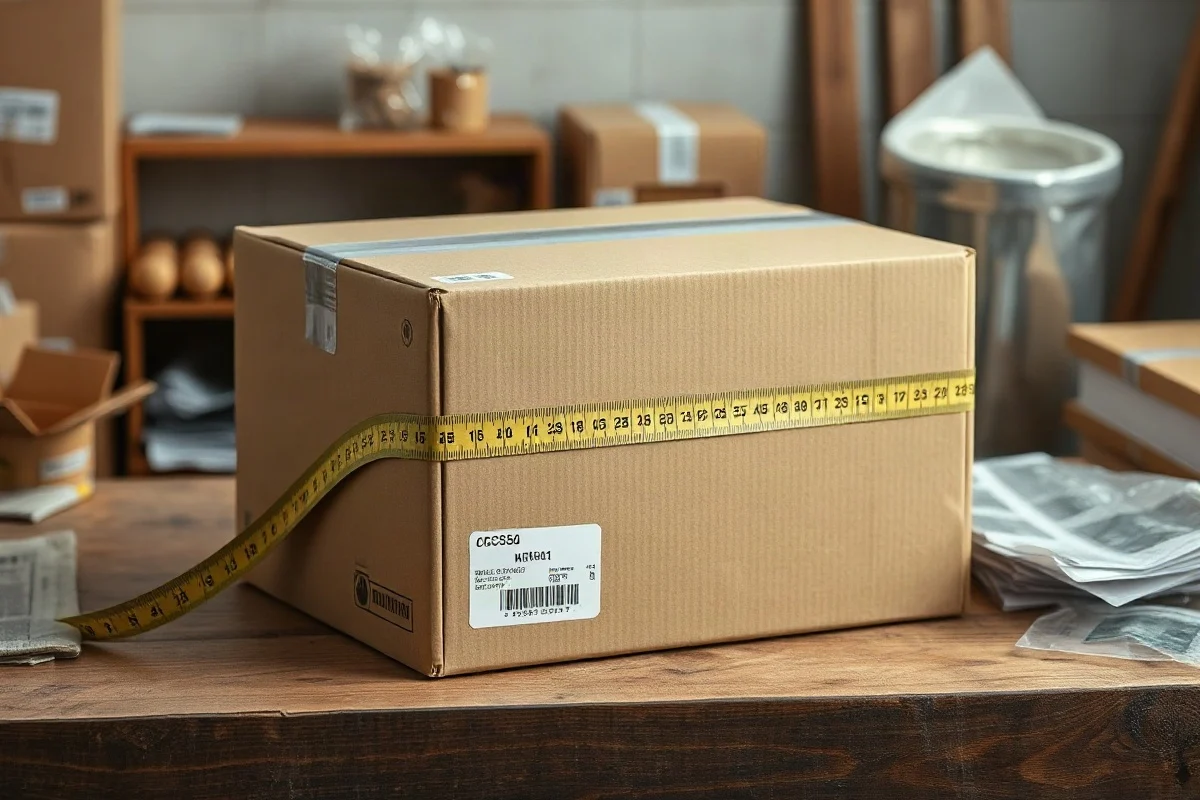
Carriers commonly evaluate long packages using a combination of length and girth. A widely used measurement is:
Length plus girth = longest side + 2 × width + 2 × height
For a round tube treated as a rectangular package, you can use the outside diameter for both width and height. A 27-inch-long tube with a 4-inch diameter would produce an estimated length-plus-girth measurement of 27 + (2 × 4) + (2 × 4), or 43 inches.
This calculation is useful for screening, but it is not a substitute for checking the current UPS terms. UPS limits and surcharges may differ by service, origin, destination, package characteristics, and account or shipment conditions. Some services may also have separate rules for maximum length, maximum weight, additional handling, or packages that are difficult to process. Confirm the current requirements on the official UPS website or in the shipping platform you are using before buying the label.
If a tube is close to a limit, consider a shorter package, a different tube design, or a suitable outer carton. Never cut a tube so short that the contents are bent against the caps. Packaging protection comes first, but the final package should still be as compact as practical.
Understand dimensional weight
A mailing tube can be light but relatively large. In that situation, the carrier may compare its actual weight with a dimensional, or volumetric, weight. The billed weight can depend on the greater applicable value, subject to the rules for the selected service and shipment.
The general dimensional-weight concept is:
Dimensional weight = length × width × height ÷ the applicable dimensional divisor
Use the divisor published for the specific UPS service, destination, and shipment type. Do not assume that one divisor applies to every UPS package. Divisors and billing rules can change, and international shipments may be governed by different requirements than domestic shipments. Check the current UPS rate guide or use a shipping platform that displays the divisor and rounding method used for your shipment.
For the 27 × 4 × 4-inch example, the dimensional volume is 432 cubic inches before applying the current divisor. You can use the dimensional weight calculator to explore the calculation, but verify the final result against the current UPS rules before purchasing postage.
Reducing empty space helps control dimensional weight, but do not compress or damage the item just to reduce the tube diameter. Select the smallest safe tube that allows the contents to be rolled without tight pressure and leaves enough room for protective materials.
Pack the tube securely
Protect the contents
Roll documents with the image or finished surface protected from abrasion. Place them in an inner sleeve, wrap, or clean protective sheet when suitable for the material. For photographs, artwork, or moisture-sensitive documents, add a barrier that protects against ordinary handling exposure. If the item must not be rolled tightly, use a rigid flat mailer or a box instead of forcing it into a tube.
Secure both ends
Push each end cap on completely and check that it does not wobble or pull off easily. Use packaging tape to secure the caps according to the tube manufacturer's design. Tape should hold the closure in place without covering the entire label area. Avoid relying only on friction-fit caps for valuable or heavy contents.
Shake the closed tube gently. The contents should not slide freely from end to end. If movement is excessive, add appropriate cushioning or adjust the inner wrap. Do not fill the tube with loose material that could crush the document or make the package unnecessarily heavy.
Use an outer package when needed
A rigid outer box or protective sleeve can help prevent punctures, crushed caps, and label damage. This is especially useful when the contents are delicate or the tube has thin walls. If you use an outer package, measure and weigh the complete outer package because those are the dimensions UPS will evaluate.
Apply the UPS label correctly
Place the shipping label on the largest smooth surface available. On a round tube, position the label lengthwise on the least-curved area and press it down firmly so the barcode remains readable. Do not place the barcode across a cap, seam, heavy curve, or edge. If the label wraps around the tube, it may be difficult for scanning equipment to read.
Remove or cover old labels and barcodes. Include a return address and make sure the recipient's address is complete, including apartment, suite, or unit information when applicable. For international shipments, describe the contents accurately and complete the required customs information. The exact documentation depends on the destination and contents, so check the current UPS and customs instructions for that shipment.
Compare the package details before paying
Before finalizing the shipment, compare the information in the label form with the sealed package:
- Confirm that the entered length, width, and height match the outside measurements.
- Enter the actual packed weight, not the weight of the contents alone.
- Review the selected service and delivery destination.
- Check whether the package triggers a current size, weight, handling, or residential-delivery charge.
- Save the receipt and tracking number.
Prices and accessorial charges can change, and the amount shown before tender may not reflect every possible carrier adjustment. If cost is important, compare the service options using the completed package details rather than estimates based on the empty tube.
Common mistakes to avoid
The most common mistake is measuring the tube body instead of the sealed package. Other problems include entering the tube diameter as width but forgetting to enter it again as height, underreporting the weight, leaving loose contents inside, and placing the label over a curved or uneven surface.
Another mistake is assuming that a tube automatically qualifies for the same treatment as a small rectangular box. A long package can encounter different restrictions or charges even when its actual weight is low. Review the current UPS package guide and official UPS service information before shipping a tube near a limit.
For a broader review of measuring and recording shipment dimensions, see this guide to package dimensions. If you ship tubes regularly, create a simple packing checklist with the tube size, finished measurements, packed weight, label position, and final inspection steps.
Final inspection before drop-off or pickup
Inspect the tube from end to end. The caps should be secure, the contents should not rattle, the label should be flat and readable, and no old barcode should remain visible. Confirm the destination and tracking information one more time. Then check the current UPS service rules for the shipment, particularly if the tube is unusually long, heavy, rigid, or international.
With accurate finished measurements, secure closures, a readable label, and a service choice based on current UPS information, a mailing tube can be prepared for dependable carrier handling without guessing at its billable size.
Comments
0No comments yet. Be the first to share a helpful note or question.
Leave a Comment
Your email address will not be published. Comments are reviewed before appearing on the site.